Even though I own it, I know very little about ZBrush. It may forever remain a mystery for me – like driving a car or getting excited about Team Sports. It’s just… not for me. Be that as it may, I’ve often wondered how clothing manufacturers use a character as a reference to make or update clothing geometry in ZBrush. Perhaps a jacket that doesn’t quite fit, or some boots that need a quick adjustment.
The challenge here is that both the character and the clothing need to be imported into ZBrush, and we need to be able to adjust the clothing only, while seeing the character in the background as a reference so we can work around it.
While the art of sculpting in ZBrush entirely eludes me, I believe I have finally understood the overall workflow. Before I forget it again, I thought I’d share it with you and my future self. Let’s see how we can transfer a clothed Genesis 3 figure from DAZ Studio 4.11 into ZBrush 2019.1, make adjustments on an item, and then bring it all back with a few clicks.
DAZ Studio to ZBrush
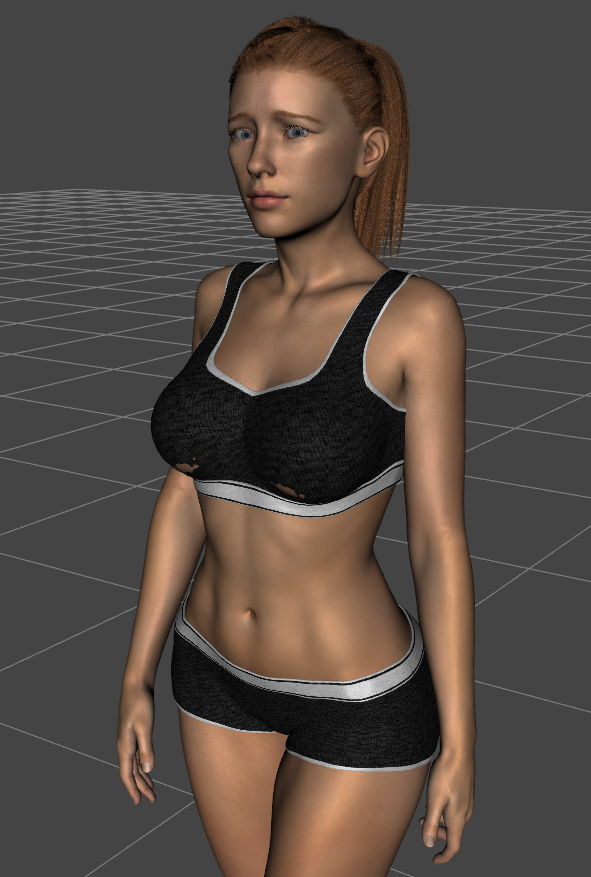
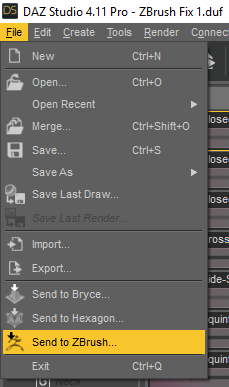
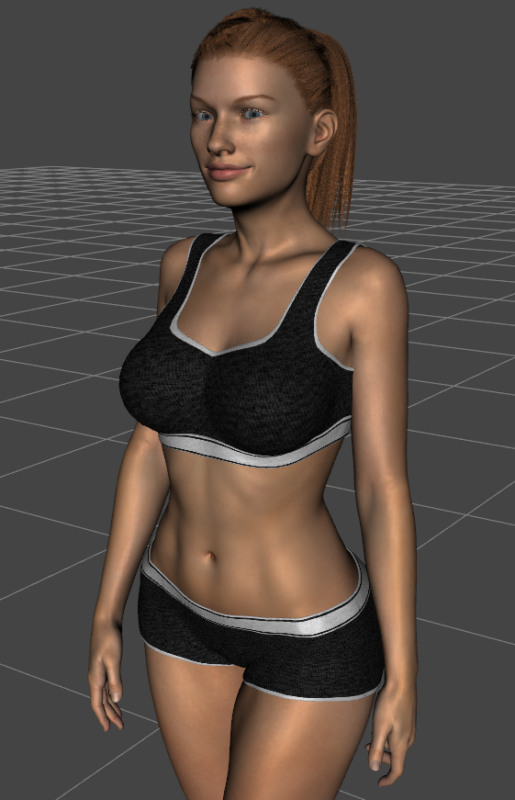
For this example I’ll endeavour to fix a bit of poke-through on our character’s top. She’s looking worried, so perhaps it’ll help both of us out. With the character and fitted clothing selected in the DAZ Studio scene tab, head over to File – Send to ZBrush. I should mention that the latter should already be open at this point, and GoZ for DAZ Studio should be installed.
This will give us an export dialogue in which we can specify to export at the current resolution and/or with any applied deformations. It’s worth thinking about this for a moment.
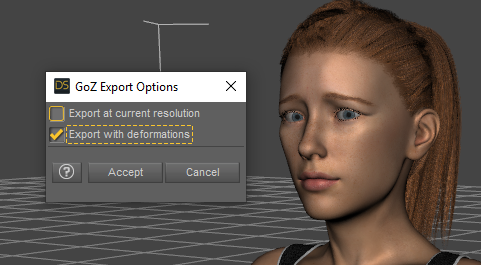
The “current resolution” refers to any applied subdivision modifiers and the increased polygon count that may be applied. Organic forms like clothing and characters often have those, while many architectural items do not. This leaves the base geometry low while implying more polygons for display and rendering (you can see this under Parameters – Mesh Resolution). Unless you intend to modify the high resolution geometry in ZBrush, leave this box unchecked. Turning this on will export a large amount of data, which for a simple fix may not be necessary. On the other hand, checking this box will allow you to add very fine detail to your objects.
The other option, “export with deformations“, refers to any morphs that may be dialled in on your character or clothing items. Unchecking this box will set all morph values to zero, while checking this box will export with those settings intact. If you’re working on a clothing item for distribution, leave this box unchecked. If you intend to make a change just for one particular scene you’re working on, check this box.
For my example, I’m going to leave the current resolution unchecked (exporting at base resolution), but I’ll enable the deformations so I can make changes on the top with the current character morph.
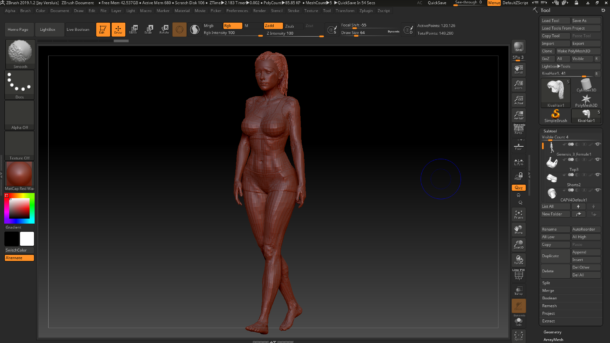
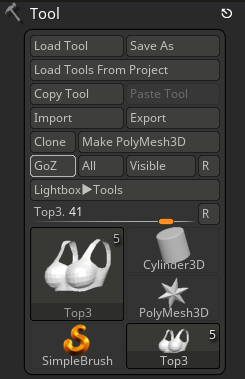
Over in ZBrush, I’ll see that all my items have been imported as tools (top right). When I drag out the currently selected tool and frame it up properly, I’ll get an exact duplicate of what I had in DAZ Studio, including my pose and my morphed character. That’s exactly what I want.
My figure and all its attached items are now visible in the Subtool Panel, where I can select one part of the export and start sculpting on just that selected object. No other items in the list will be affected unless I specifically select them. I’ll take a look at the top so I can fix the poke through, while making sure I don’t sculpt on the character.
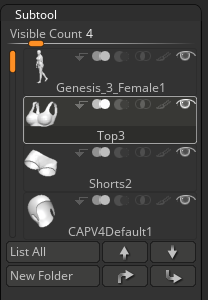
Since our poke-through is happening on both sides of the top, I’ll activate the X axis Symmetry in the Transform Tab. Now I’ll grab my regular Standard Brush, adjust the size and intensity and gently paint on those troublesome areas until I’m satisfied.
ZBrush to DAZ Studio
When I’m happy with my work, I really only need to transfer back what I’ve changed. I don’t want everything to go back and perhaps upset my scene. Thankfully the GoZ plugin takes care of this for us automagically.
When I hit the GoZ Button in the Tool Tab (in ZBrush), DAZ Studio will open up and recognize what has been changed, and on this occasion offers various options for re-integration into my current scene.
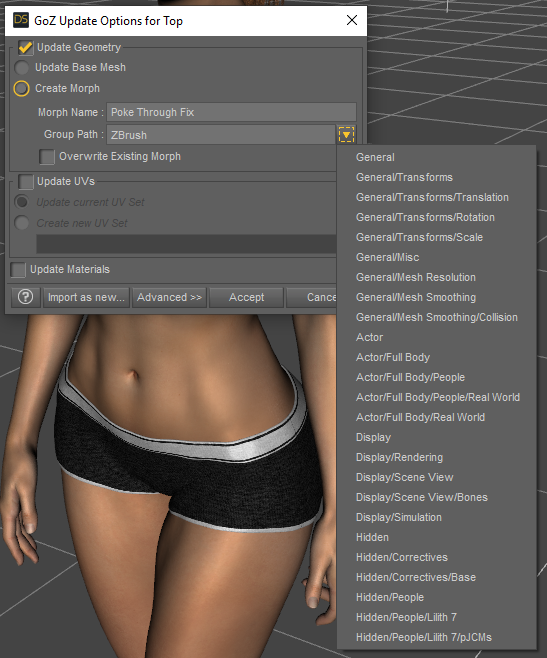
I can either update the base mesh, which will change the geometry to exactly what I’ve done in ZBrush. It’s a binary change really, but literally a one-click solution. If something went wrong or I don’t like what I see in DAZ Studio, I can simply head back to ZBrush, do more work (including any undo steps) and export again.
The other option will create a morph that I’ll be able to tune in and out in stages. 100% recreates my ZBrush work, but I’ll have the option to “fade it in and out” if you will. This will also allow me to save the morph and share it with others without redistributing the actual geometry. I’ve added the long menu on the right in the screenshot to show that I can save my morph not only in a new folder (ZBrush by default), but I can select a path that already exists. That’s a nice touch I hadn’t spotted before. I can also give my morph a name here.
Again the choice is yours and will very much depend on your circumstances. It looks like the DAZ developers have done some serious work on GoZ, as I don’t remember the options to be this extensive. Did you see the option to update UVs and materials? That’s definitely new. Well done, chaps!
For my example I’ll go ahead and create a morph in the ZBrush folder. It’s at 0% right now, so I’ll have to go and crank it up to show the results in my scene. Head over to the Parameters Tab and find your morph. Mine is in the Top under ZBrush and it’s called Poke Through Fix.

I didn’t even have to dial it to 100%. Nice! I can still go back to ZBrush and make changes now, then simply export again if I want to, either to create another morph, or to update and overwrite the existing one. Looks like my character is much happier now.
Working like this essentially gives us the Poser Morph Brush (for $895 plus tax).
Nice Jay, I really like this. I was working on doing this exact thing a few days ago but ran into a big issue. Once I got in ZBrush I didn’t know how to fix my issue. LOL Well, I’m going through my old notes now so that should be resolved soon.
The GoZ tool seems to be a fantastic way to quickly create custom morphs for fixing clothing items for characters.
Thank you! I remember using it a few years ago, but I don’t recall it being as elegant as it is now. The morph-less option is so quick. If only I knew more about how to use the many brush tools properly…
I wonder if there’s a similar tool for Blender?
Dear.Jay Versluis
Your article has solved my problems. It was very helpful. Thank you.
I’m not an English speaker so I apologize if the sentences are strange.
I’m so glad to hear it beruki, thank you for letting me know! You’re English is perfectly fine 🙂