I’ve been intrigued by how easy it is to render a scene from Synty Studios in Unreal Engine. It’s as easy as opening the project and selecting the demo map. This allows us to explore the scene with the default Unreal Mannequin.
I wanted to find out how to use a Synty character in its place, and it looks like I’ve found out how to do this. These are my case notes, based on a video by BeefaloBart. He’s using the Heist Pack, while I’m going to try my luck with the Polygon City scene and condensed his instructions.
I have an updated version of this process, with less confusion steps, updated for Unreal Engine 4.25. I’ll leave this article here for posterity as it shows an alternate approach to retargeting animations. You can read the new version here.
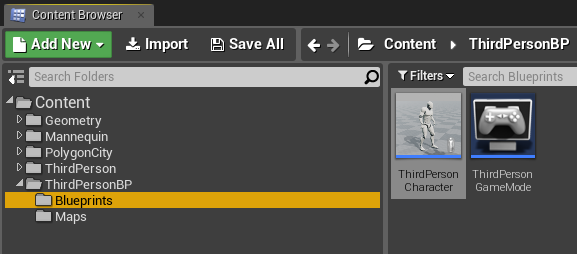
Starting with a Blueprint
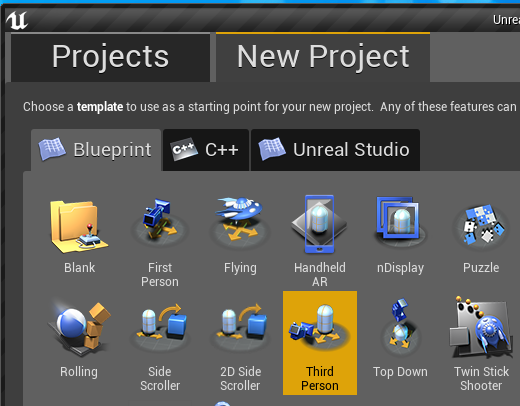
I’ll start with the Third Person template in Unreal Engine 4.22. This will give me the regular Unreal Mannequin with default animations and a third person camera. Just what we need!
To get the Synty Assets into this project, it may seem counter-intuitive but the recommended way is to migrate the Synty project into this project. For that we have to open the Synty Project in a second instance of Unreal, selecting its content, and then choosing Migrate.
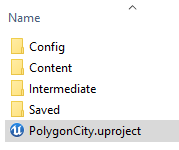
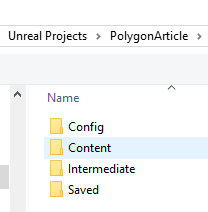
Unreal Projects (unlike Unity Projects) come as a ZIP inside the Windows ZIP file you get with the Synty assets. Once unpacked, you’ll see something like this:
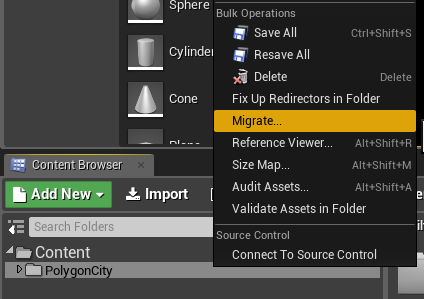
Double-click the project and Unreal opens up another instance of itself. Right-click the top-level folder in the Content Browser and choose Migrate.
This will open a big window of files that shall be transferred (choose OK) and then bring up a file browser. Navigate to your other project and drill down into the Content folder. Select it and choose Select Folder.
Close this Unreal Project once the files have been copied and switch back to your original (third person) project.
Playing the Demo Scene
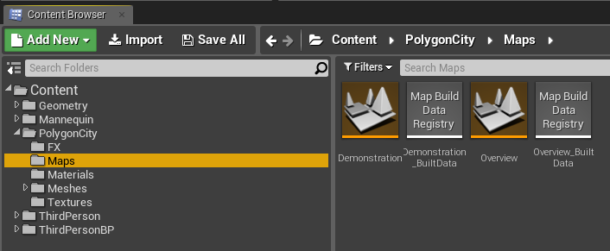
Notice that your project now contains the Synty Assets (PolygonCity in my case). Open up the Maps folder in there and double-click the Demonstration level to see the scene.
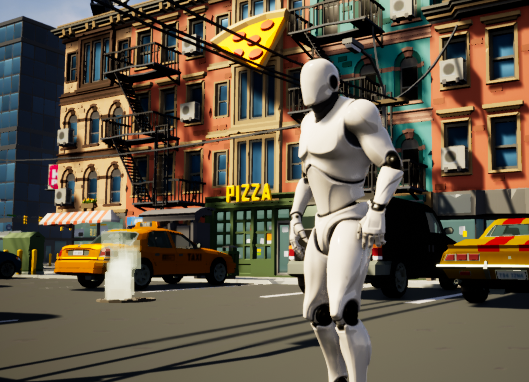
When you play this level, you can walk around with the Unreal Mannequin. How cool is that?
We want to go one step further though and replace him with one of the included citizens. This is where it gets interesting! The Synty characters come rigged in a T-Pose, but our Unreal Guy is rigged in A-Pose. Let’s fix that first: head over to Mannequin – Character – Mesh and double-click UE4_Mannequin_Skeleton. You’ll see something like this:
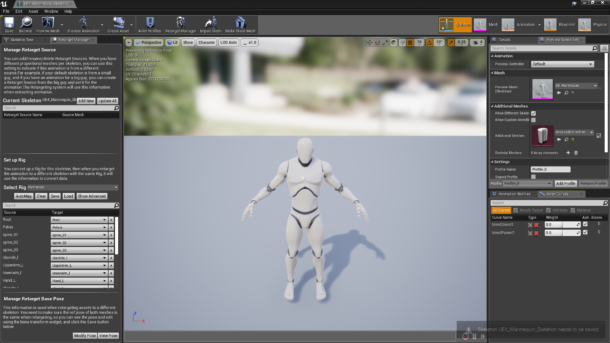
You may need to open the Retarget Manager at the top, and choose Humanoid under Select Rig (on the left hand side). Now pick the following bones on Unreal Guy and rotate them into the T-Pose:
- Upper Arm: +50 (green)
- Lower Arm: -10 (green) AND -30 (blue)
- Hand: +10 (blue)
- apply on both sides of his body
Choose Modify Pose – Current Pose at the bottom, then save and close this window.

Retargeting the Synty Characters
There’s a generic skeleton in the Synty assets folder, Meshes – Characters. It’s got a blue icon, and depending on the asset pack you bought it’ll have a different name. Mine is called SK_Character_City_Rig.
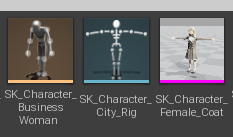
To make this universal, I’m going to rename mine to SK_Polygon. It’s not strictly necessary, but it’ll make it easier to find when we apply it to our other characters in a moment. F2 will rename this file, or you can right-click to do so.
Next we need to re-target our other characters with this base skeleton. To do this, right-click on any of the skeletal mesh characters (with a pink underline) and choose Skeleton – Assign Skeleton.
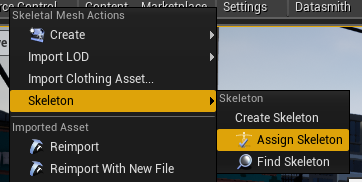
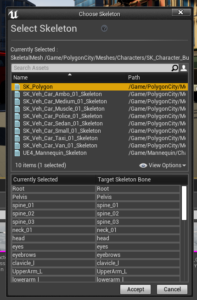
You can choose multiple characters at the same time, just make sure they have a pink underline in the icon. A window will open to show you many more scary properties. In here, choose SK_Polygon as your skeleton and hit Accept. Do this multiple times for all characters you’d like to re-target.
Preparing animations (I think)
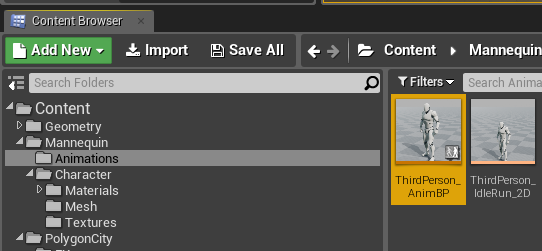
I’m a little unclear why this next step needs to happen, or what it actually does, but trust me when you don’t do it, you can’t select an animation in the following step. Soooo… let’s take a peek at the Mannequin – Animations folder and take a note of the ThirdPerson_AnimBP title. Let’s copy this name (F2, then CTRL-C).
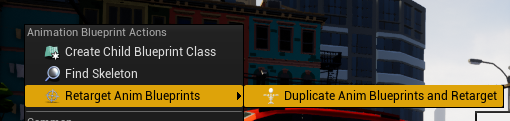
Now right-click this icon and choose Retarget Anim Blueprints – Duplicate and Retarget. This will open yet another scary window.
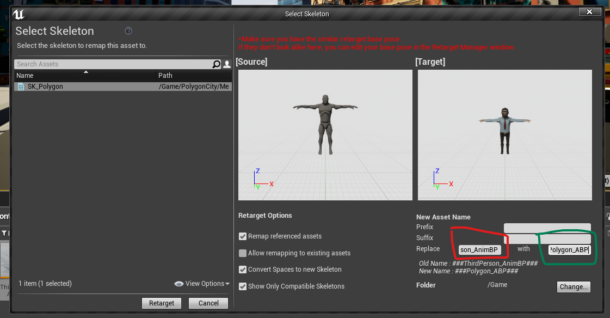
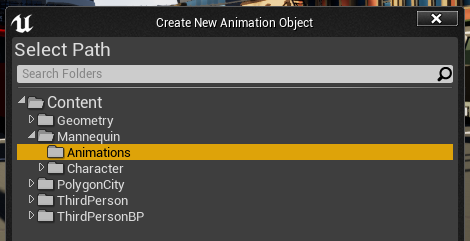
Select the SK_Polygon skeleton in the list on the left, then paste the ThirdPersonAnimBP value into the first replace field on the right (see red box in the screenshot). Now type Polygon_ABP into the second field (green box in the screenshot) and hit change. ABP is short for Animation Blue Print by the way, in case you’re curious. Change will bring up a path selection dialogue. I’ll pick the Animations folder, but from what I understand it’s personal preference.
Now hit Retarget. It’ll do some magic, and one day I’m sure I’ll find out what it is.
Replacing Unreal Guy with our own character
We’re nearly there, bear with me here. We need to pick one of our Synty characters to appear as the player character, and also configure how that character is animated. Thankfully the default walk/jump animations from Unreal Guy work nicely. Let’s make it happen!
Head over to the ThirdPersonCharacter in your Blueprints folder. This object is part of the Third Person Blueprint I started my project with, and it controls the character. Double-click to open it, then navigate to the Viewport Tab at the top. Don’t worry about the super complex interface, it just has a lot of options we don’t need right now. Nothing to be scared about, kids!
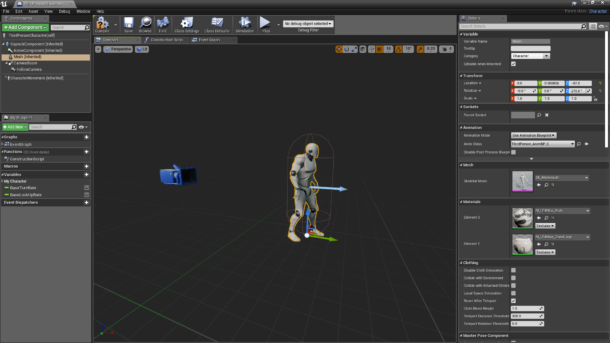
We’ll see our camera behind the character, and our breathing Unreal Guy waiting for something to do. Select him so he has an orange outline around him. This will bring up various other options on the right hand side, one of which is Animation and Mesh, both of which are currently showing their default values.
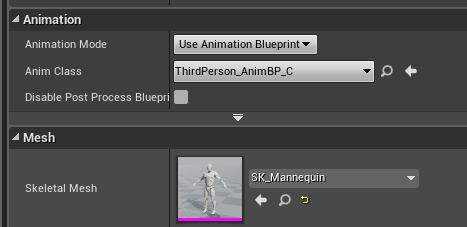
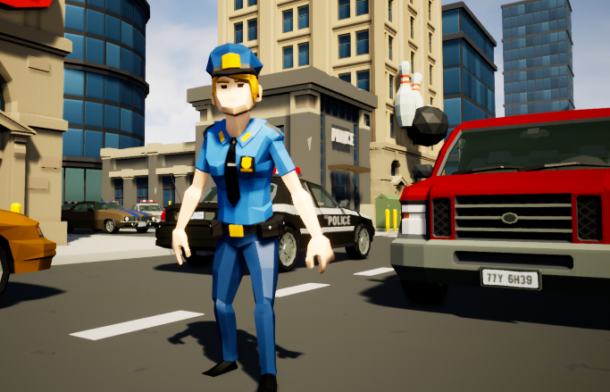
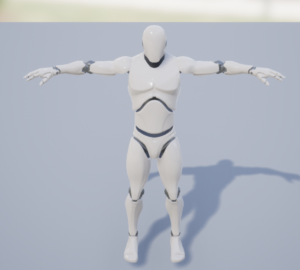
Under Mesh, pick one of the characters in the list. I’m going to use Female Police Officer, and it will make her appear in a T-Pose in the main window. That’s great! However, she’s not moving yet. In the Animation section, I’ll pick Polygon_ABP, which is the value we’ve added in the animation section above. When we do, our T-Pose character will change into a breathing animation.
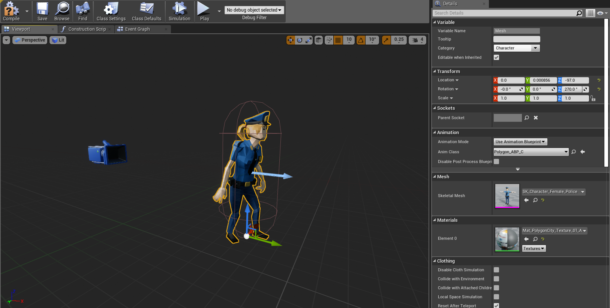
We need to hit Compile at the top left, then save and close this window. Congrats! Now when you start to play the scene, we’ll see our Female Police Officer directing traffic!