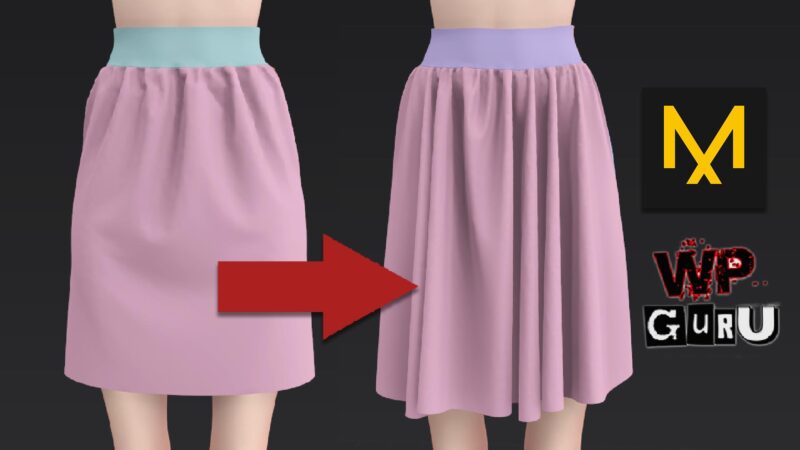
The Slash and Spread tool can be used to add fullness to a garment. In the above image I’ve made a simple skirt from two squares (on the left), but after a few strokes with the Slash and Spread tool it looks much neater (on the right). Here’s a clip from when I discovered it, it’s a very neat tool.
From what I understand, real life clothing makers use this technique to create a cut in a piece of fabric, then fill this gap in with more fabric. In 3D, we essentially draw a line between two points. Then we pick a side to expand, and Marvelous Designer adds fabric in between, kind of on an angle. Let me show you how it works.
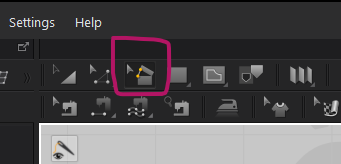
Finding the tool
To use the Slash and Spread tool, select it with the 2D toolbar icon
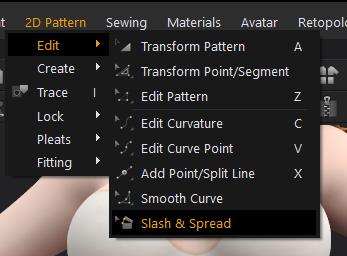
or find it in the menu under 2D Pattern – Edit – Slash and Spread.
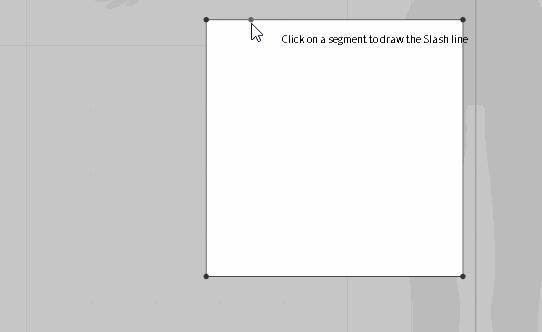
Using the Hack and Slash tool
You can now draw an internal line between two points on the outside. Click the first outside line, then pick a point on the next one. Now click on the inside of the piece you’d like to move, then move the piece. When you left-click again, fabric is added and hence fullness is created.
Adding fullness this way works best when it’s done in smaller sections. Rather than make one spread/slash incision with a larger angle, make multiple cuts and use smaller angles instead. Have fun!