I remember making notes on the projection painting tool in ZBrush back in 2013, it’s called Spotlight. It’s very powerful and yet another fun way for us to project textures onto 3D objects. Last night I found the above excellent tutorial by Kevvfx and thought I’d take some notes on how to get started with it. Kev explains it really well, here’s what I did to follow his instructions:
- apply a white matcap and fill the object with a background colour
- import or select images, then add them to Spotlight
- press Z to hide/show the image
- press SHIFT+Z to toggle Spotlight
Preparing the Object
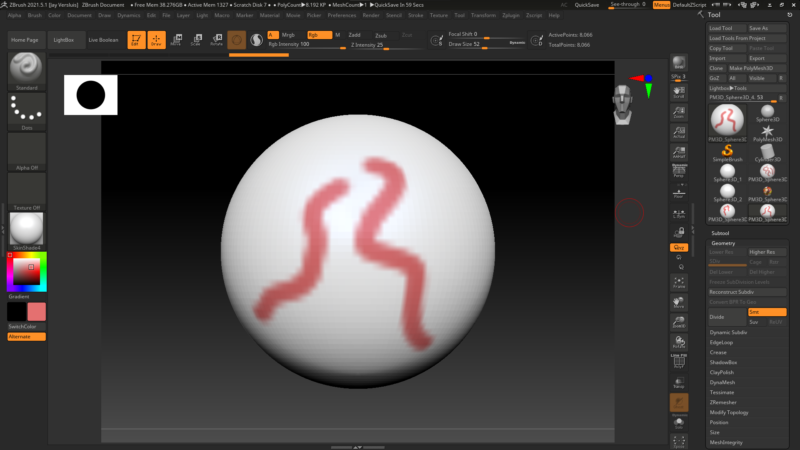
I’ll draw out a new 3D object (a Sphere_3D in this case), then turn it into a real mesh by pressing Make PolyMesh3D on the Tool shelf. In edit mode, the default is to sculpt on the object, let’s disable by making sure the Zadd button is not highlit. At the same time, make sure to enable the Rgb button at the top, enabling paint mode.
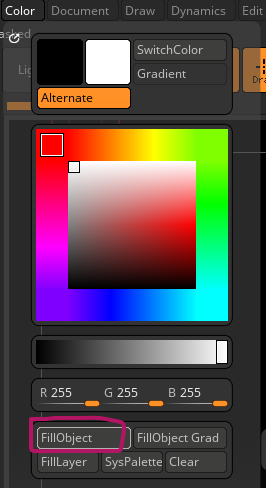
Pick a white mat cap instead of the default red one so we can see what we’re going to paint. Note that when you pick a colour with the picker on the left, you’ll notice that the whole object changes. We need to fill the object with a background colour first so that our stokes appear properly. To do that, head over to the Color Menu, pick white and select Fill Object.
Pick another colour and see that you can paint on your object. Sweet!
Make sure to subdivide your model so that we have enough vertex detail (pixols) to paint on. Remember we’re not painting on a texture, but directly on the outside vertices of the object. We’ll cover how to turn those into textures in another article.
Painting with Textures
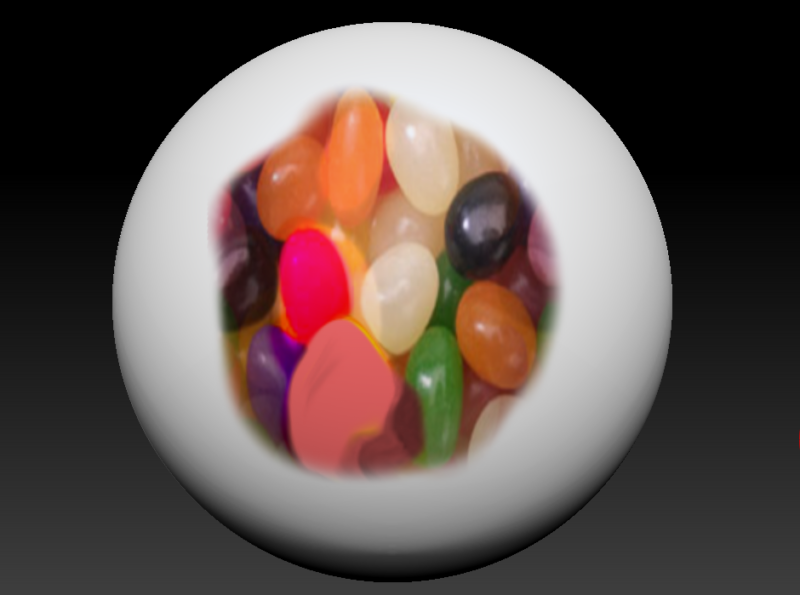
Let’s take a look at Spotlight now, which is the tool that lets us paint with textures on our object. Click on the Textures Menu and import images you’d like to draw with. Some are included with ZBrush, feel free to pick the Jelly Beans image for a quick test. Kev docks the Textures menu on the left hand side of his ZBrush interface for easy access, but that’s optional.
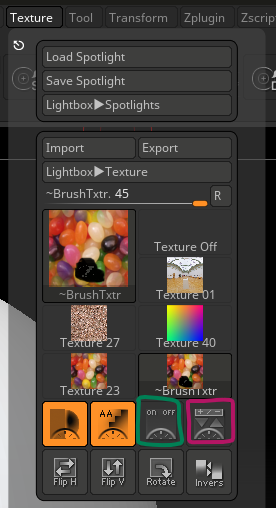
Images need to be added to Spotlight before they can be used. There’s a plus/minus button that’ll do that (red). When you’re ready to paint, press the ON/OFF button to start Spootlight (green, or press shortcut SHIT+Z). This next step is potentially every so slightly disturbing for newcomers as you’ll see something like this:
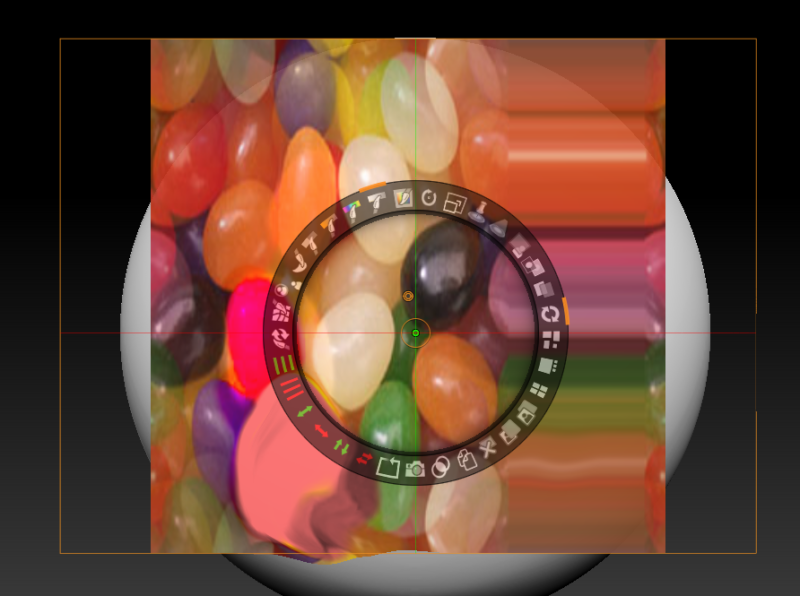
This shows the shortcut circle of Spotlight, and the image you’re painting with. Icons on the circle will let us adjust the image in size, rotation and even colour. while clicking in the middle of the circle will move our image around. Hover over each icon and find the Opacity option, with which we can dim the preview of our image. Position the object underneath, align your image and press Z to hide Spotlight. Now we can start painting.
There are plenty of goodies on this mysterious dial, such as the Nudge option that lets us distort the image before painting with it (ideal for adding organic imperfections). There are also options to flip, mirror, tile and clone your image. You can also switch between other images that have been added to Spotlight, but I find that part less than intuitive (like pretty much every aspect of ZBrush).
ZBrush appears to be a very stable app, except when it’s in Spotlight mode, where it’s prone to crashing. It’s probably an endearing feature, so make sure to save often when projection painting with this tool.