Blender can do projection painting with textures that can be used as stencils. It’s super handy when it comes to transferring 2D images onto 3D objects. All we need to do is load in a texture, then rub it onto our objects in either Vertex or Texture Paint mode, as well as the new Sculpt Paint mode. As soon as we set the texture mapping to Stencil, we’ll see our texture overlaid at the bottom left of the viewport.
But how to we move it where we need it to be, perhaps even scale, rotate and reset it again? Here’s how (as of Blender 3.2):
- Right-click to move
- SHIFT + right click to scale
- CTRL + right click to rotate
You can tap X or Y to constrain the scaling to either of these axis. It works great, and with a little practice you’ll be flying around with these features.
Resetting the Stencil
If you’ve screwed up the scaling and rotation and you’d like to put things back to how they were before making adjustments, head over to the Texture drop-down and choose Reset Transform.
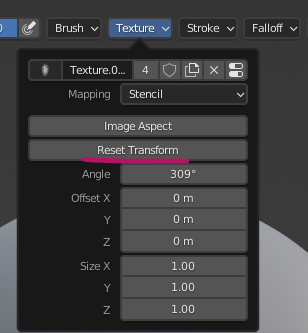
This menu is also available from the Tool Shelf (N) under Tool – Texture.