Quixel Megascans assets are a pure marvel of detail and flexibility. I’m having great fun using 3D meshes and surfaces in Unreal Engine 5 thanks to the fully integrated bridge. What you may not know is that the Quixel Bridge was designed as a stand-alone asset library, with true one-click export options to other running applications. Unreal Engine is one of them and perhaps the most popular one, but the Quixel Bridge can export the same assets to many other apps including Blender.
I had a few questions getting started and thought I’d take some notes for next time. I’m using Quixel Bridge 2022.0.8 and Blender 3.5.0 for this article. Once installed I’ll cover to to send both 3D objects as well as materials with displacement over to Blender.
Installing the Quixel Blender Add-On
You can download the Quixel Bridge installer from here. The bridge will offer to install the Blender plugin during installation, and I believe that with the Windows installer version of Blender, it’ll work automatically. My Blender is installed in a custom location, so the add-on needs to be installed manually. Make sure Blender is closed for now, but start the Quixel Bridge once it’s installed.
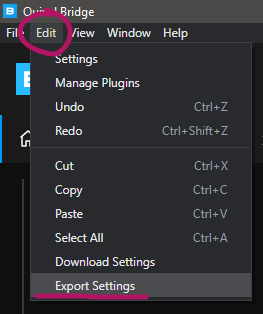
Just to make sure the Blender files are installed, you can click on Edit – Export Settings. A new pane on the far left will open.
Select Blender from the list. If the files are installed, it’ll say so underneath the drop down. If it isn’t, click the big blue download button and wait a moment.
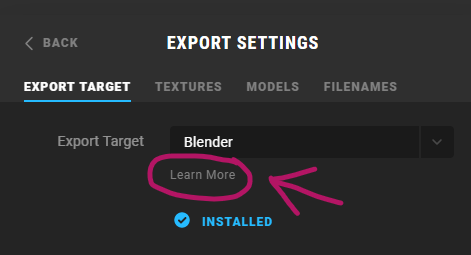
See that Learn More link? Click it and an (outdated) web browser will open with a document about the Quixel Blender bridge. Towards the bottom in the Custom Installation section, you’ll see three links to the latest versions of the each operating system. Click on the appropriate one and copy the link, then download in your own web browser (the included version has issues with file downloads). Just in case, here are the current latest versions at the time of writing:
- Windows: https://quixel-megascans-static.s3.us-west-2.amazonaws.com/bridge/plugins_12/blender/win/3.6.zip
- macOS: https://quixel-megascans-static.s3.us-west-2.amazonaws.com/bridge/plugins_12/blender/mac/3.6.zip
- Linux: https://quixel-megascans-static.s3.us-west-2.amazonaws.com/bridge/plugins_12/blender/linux/3.6.zip
Open the archive and extract the MSplugin folder.
Now find your current Blender installation folder, traverse into version number – scripts – startup and paste in that folder. As an example, for Blender 3.5 the full path is 3.5/scripts/startup (paste the whole MSplugin folder here).
Sending 3D Objects to Blender
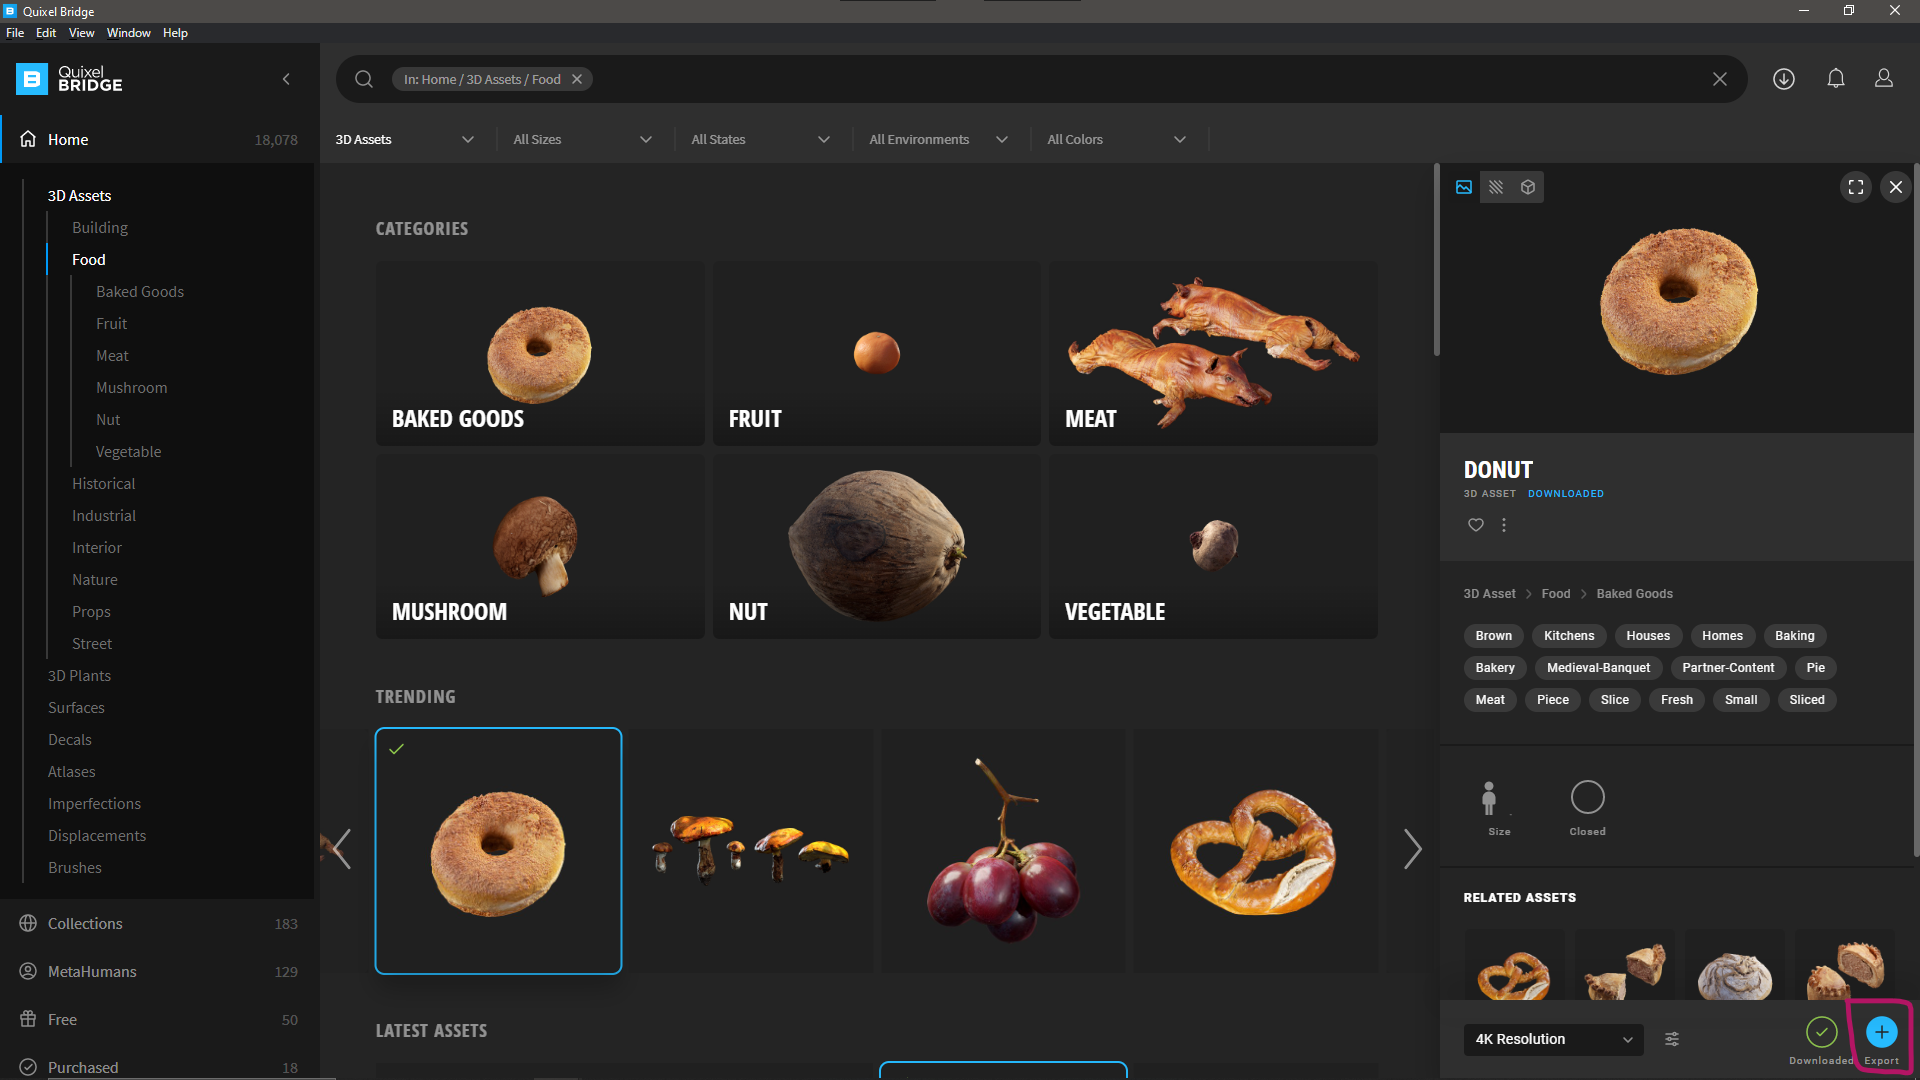
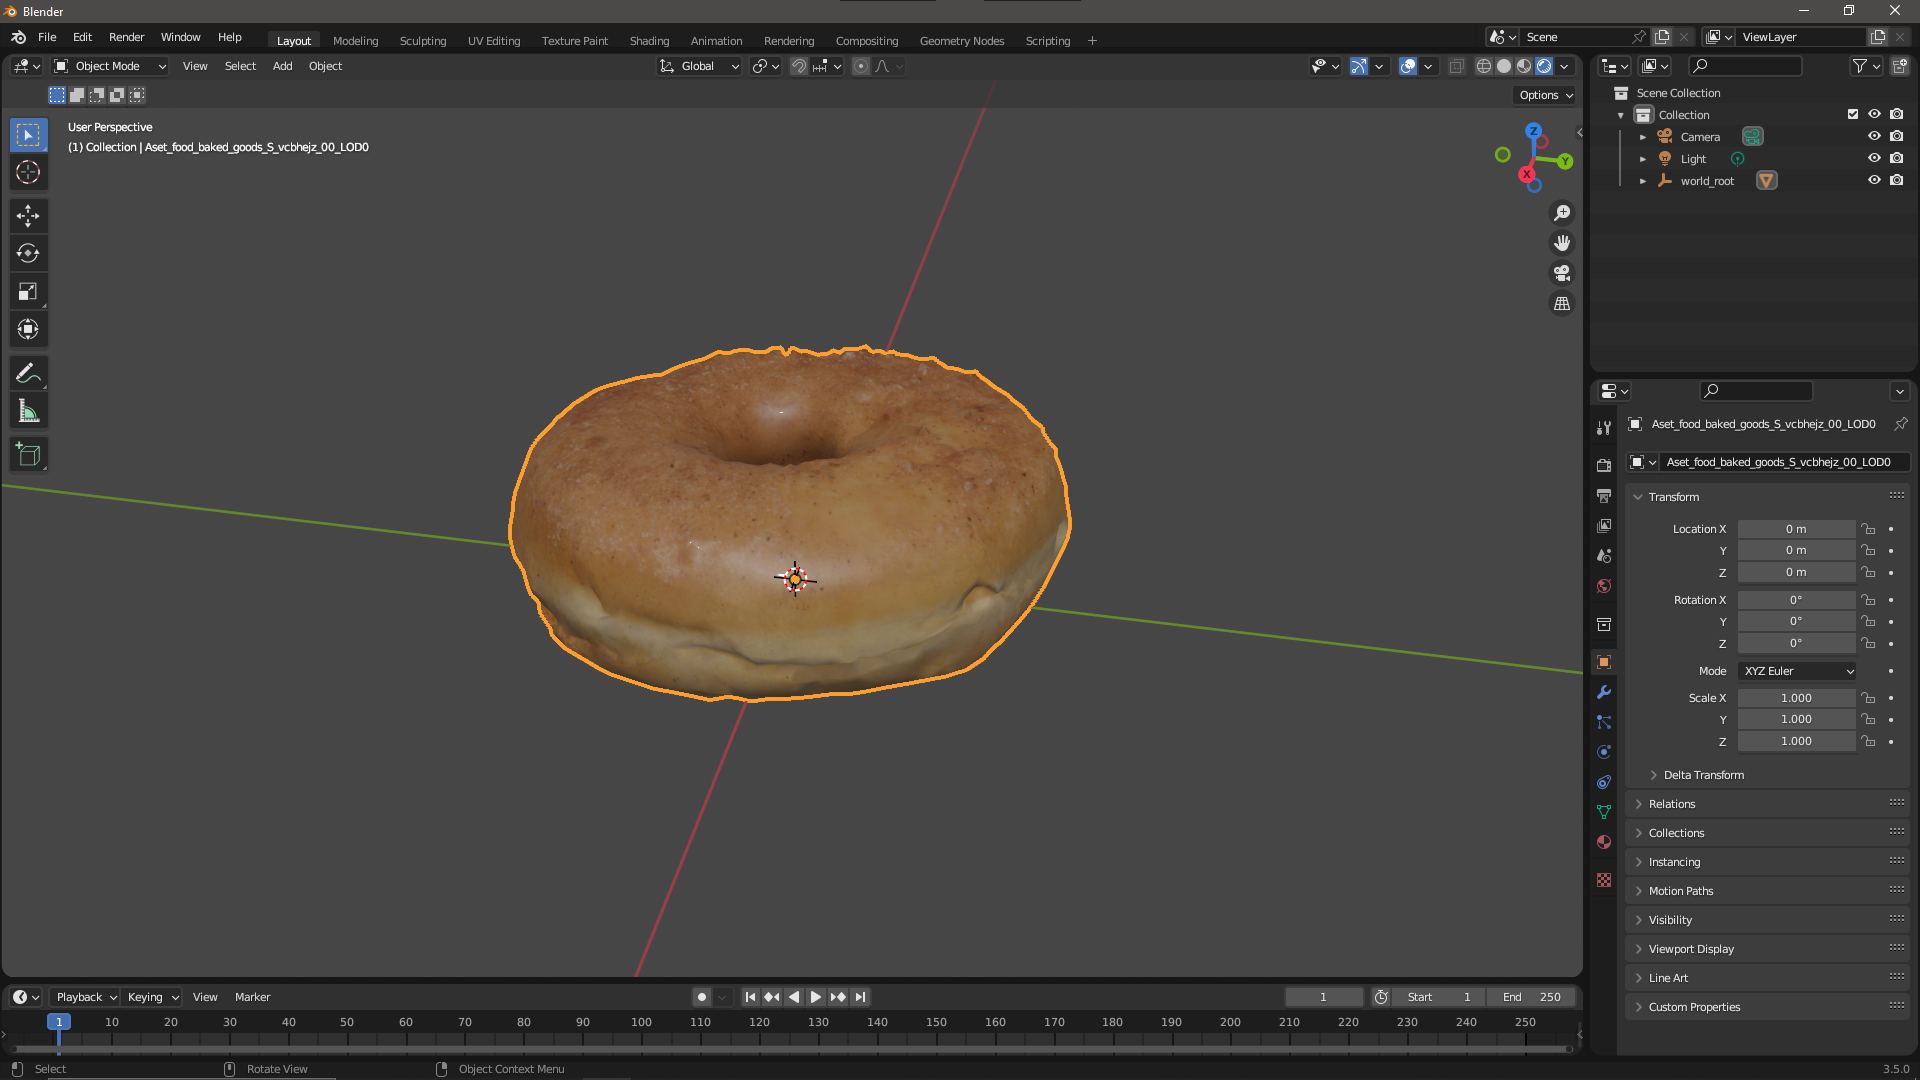
With the Quixel Bridge still open, launch Blender. It needs to be open to receive our asset. The above add-on should launch automatically, there’s no need to activate it. Pick an asset in the bridge, download it at a desired resolution, then click the blue Export button at the bottom right. This will send your item over to Blender and put it in the middle of your scene.
That’s it! your item appears in the centre of the viewport at the correct scale, complete with PBR materials. It’s seriously cool!
Sending Quixel Materials to Blender
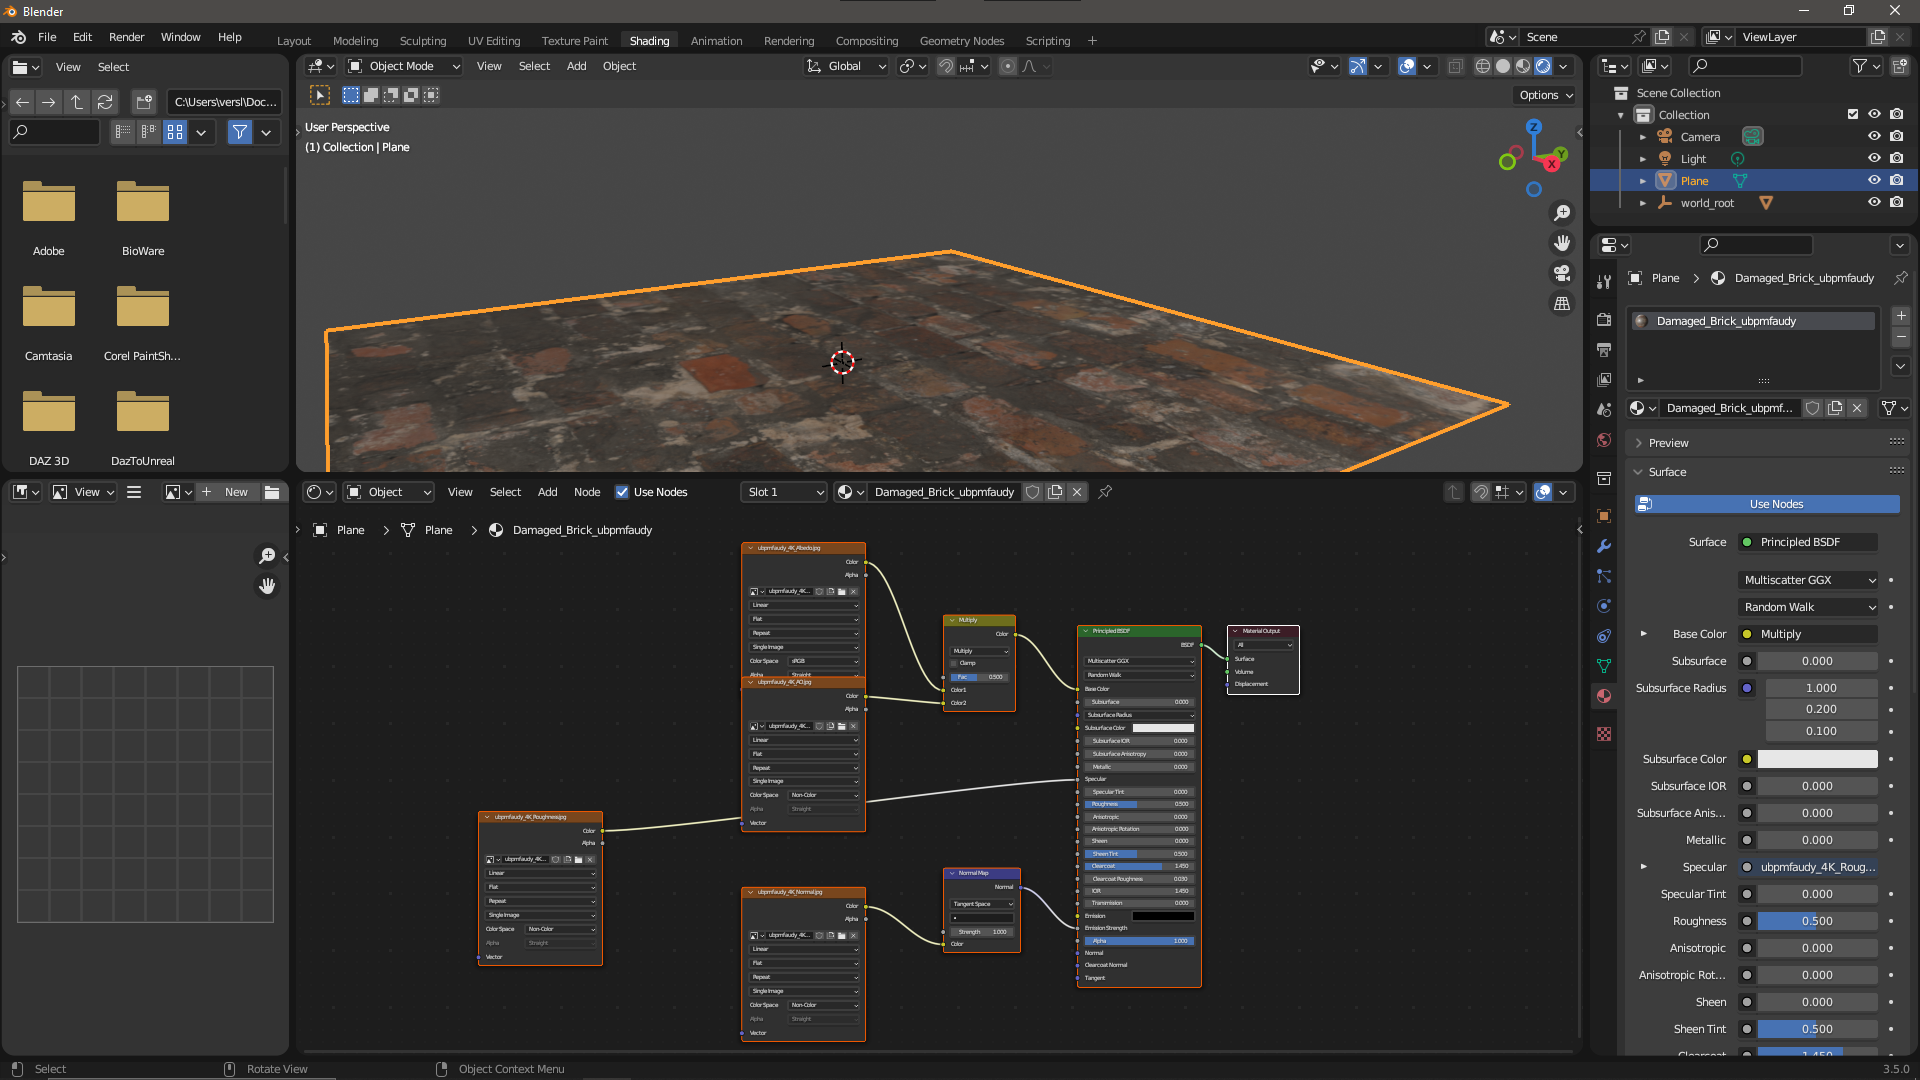
Many of the Quixel assets are tile-able materials. They work out of the box just like 3D objects do, but there’s a small caveat when it comes to using the displacement channel. Say you made a plane, send over a material then select it in Blender, everything except for the displacement part will be setup. It’ll make the object look OK, but completely flat.
Here’s what the Damaged Brick Mortar material looks like on a regular plane. All I did was select the material:
To make the Displacement Nodes arrive, we need to do a little bit of setup work. Thanks to Jason Alan Dewey for this tip! Here’s what we need to do to our receiving object (my plane in this case):
- switch to Cycles and enable the Experimental Features
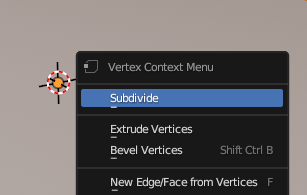
- select the object, then enter Edit Mode (Tab)
- right-click and hit Subdivide
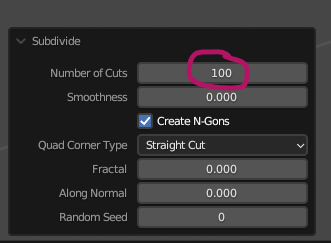
- at the bottom right, pick a decent number of subdivisions (say 10 or 100)
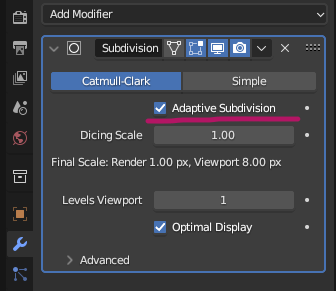
- add a Subdivision Surface modifier
- enable Adaptive Subdivision on that modifier (it’ll only show with Cycles Experimental)
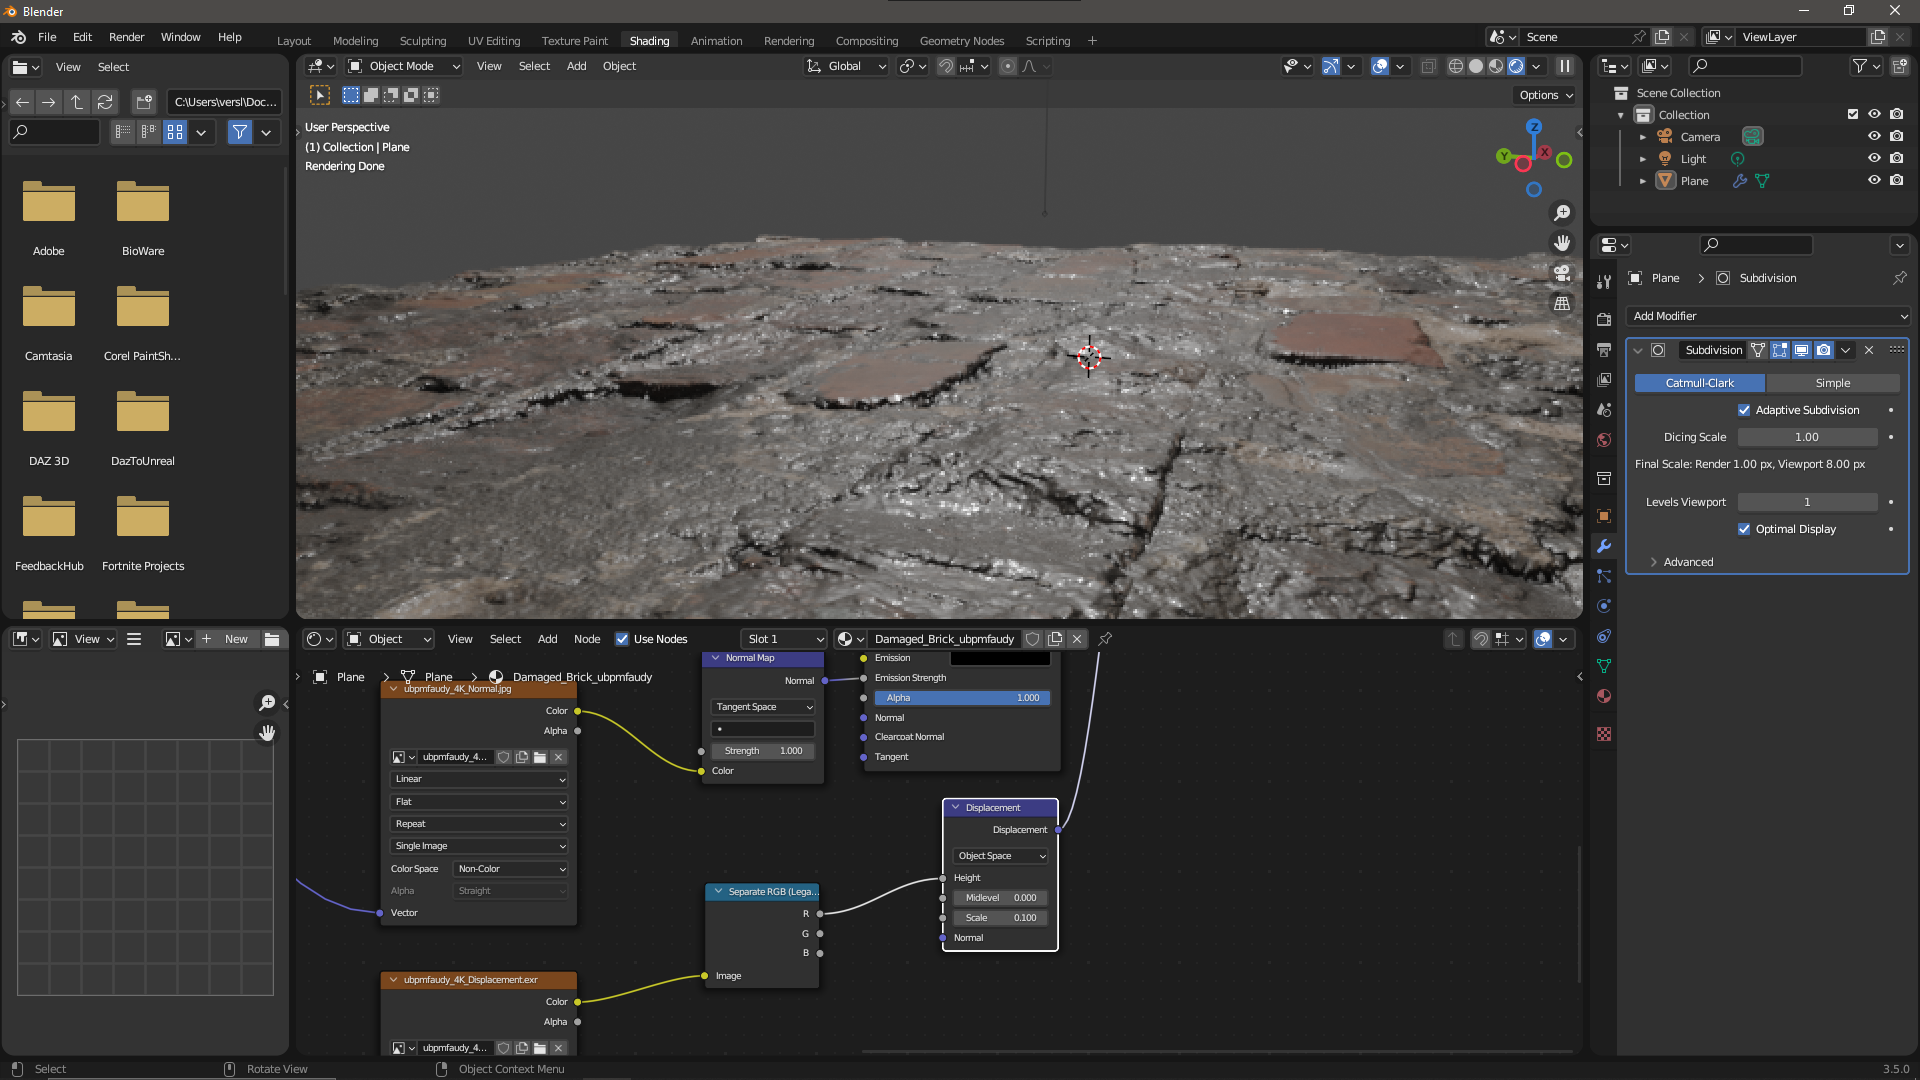
Send the material over again from the Quixel Bridge and now it’s setup with displacement channel, looking seriously great.