When you download assets from the UE Marketplace, they’re downloaded into a temporary location called the Vault Cache before being copied into your actual project. This means that by default, you’ll end up with an asset at least twice: once on the Vault Cache, and once in your project. The reasoning is that when you delete your project, but would like to use an asset in another project, the EPIC launcher doesn’t have to re-download your content: it simply copies it from the Vault Cache, making your access to already downloaded assets faster.
Trouble is, by default that ever growing Vault Cache is likely on your main system drive, and as such space is severely limited. Thankfully we can change this location, although it wasn’t entirely obvious to me how to do that. If you’re in the same boat and want to free up your current location, here’s how to do it:
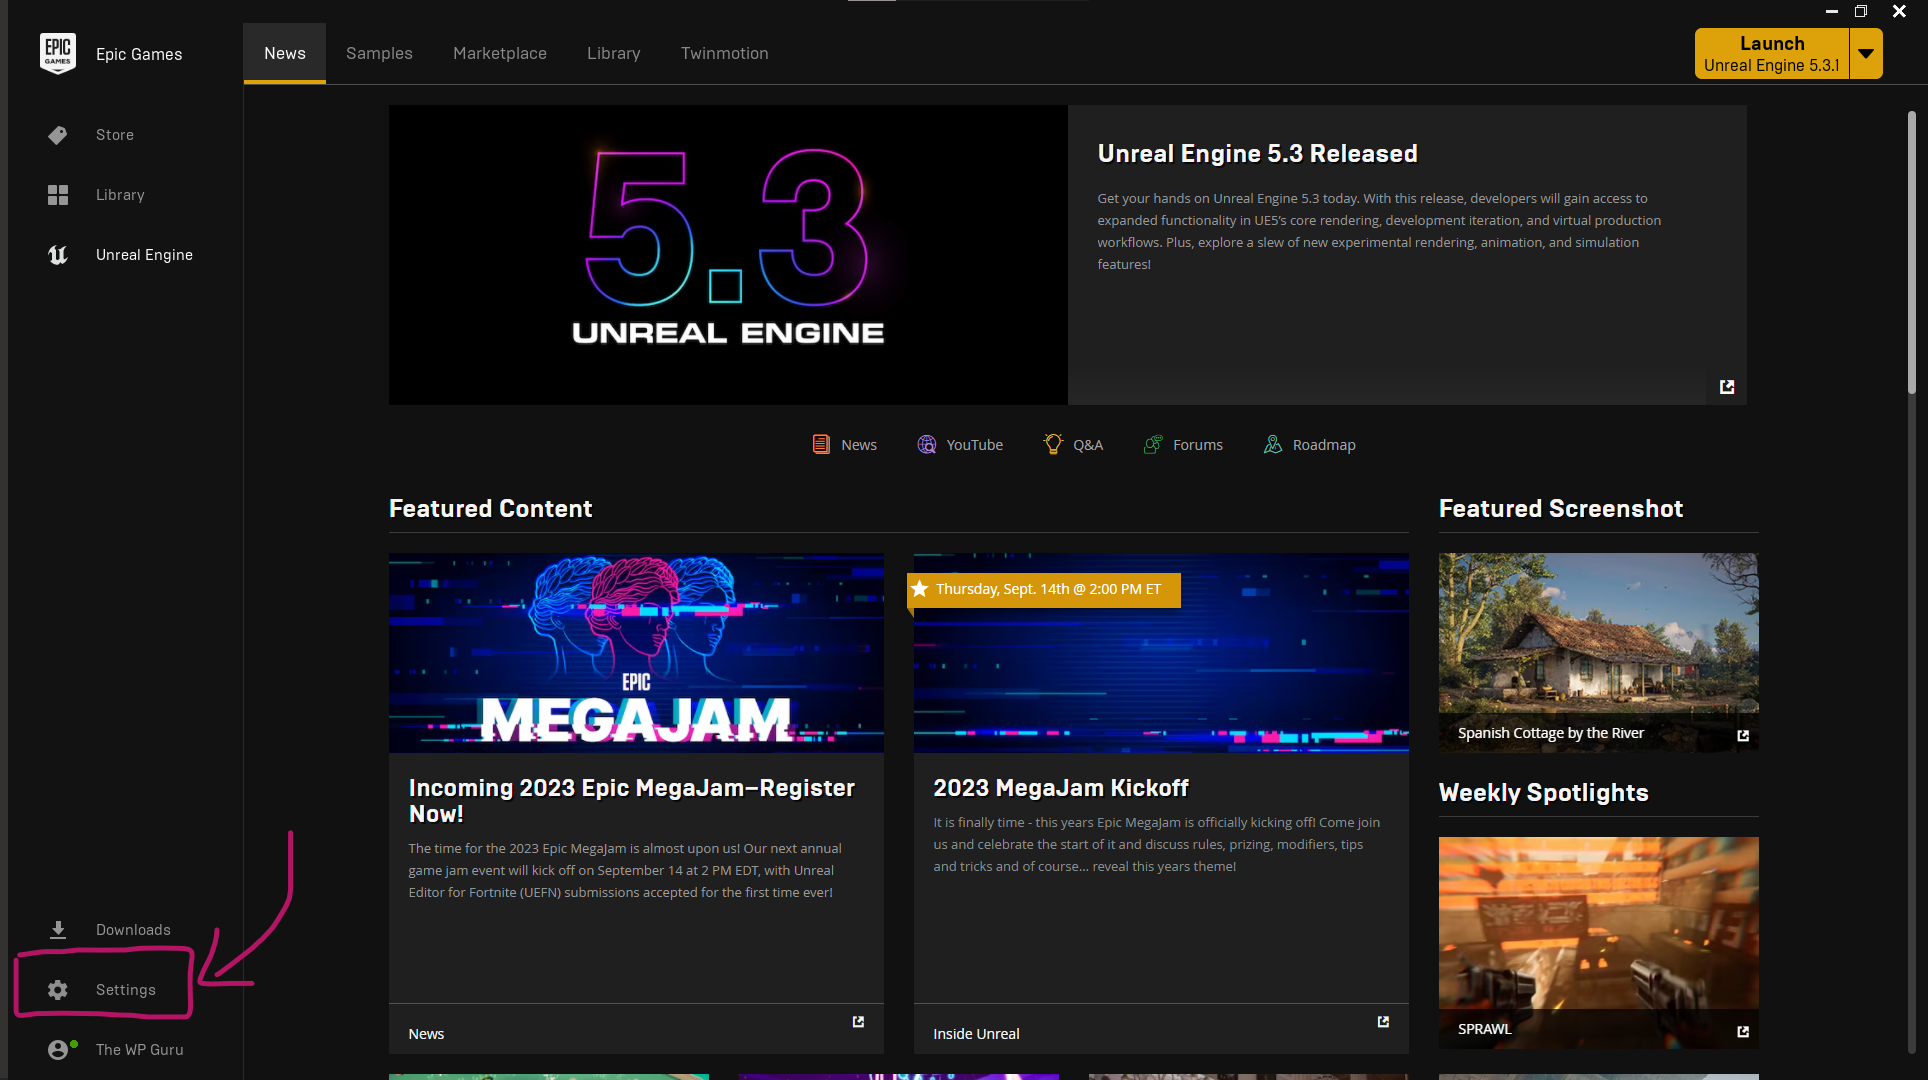
Open the EPIC Launcher and head over to Settings (gear icon at the bottom left).
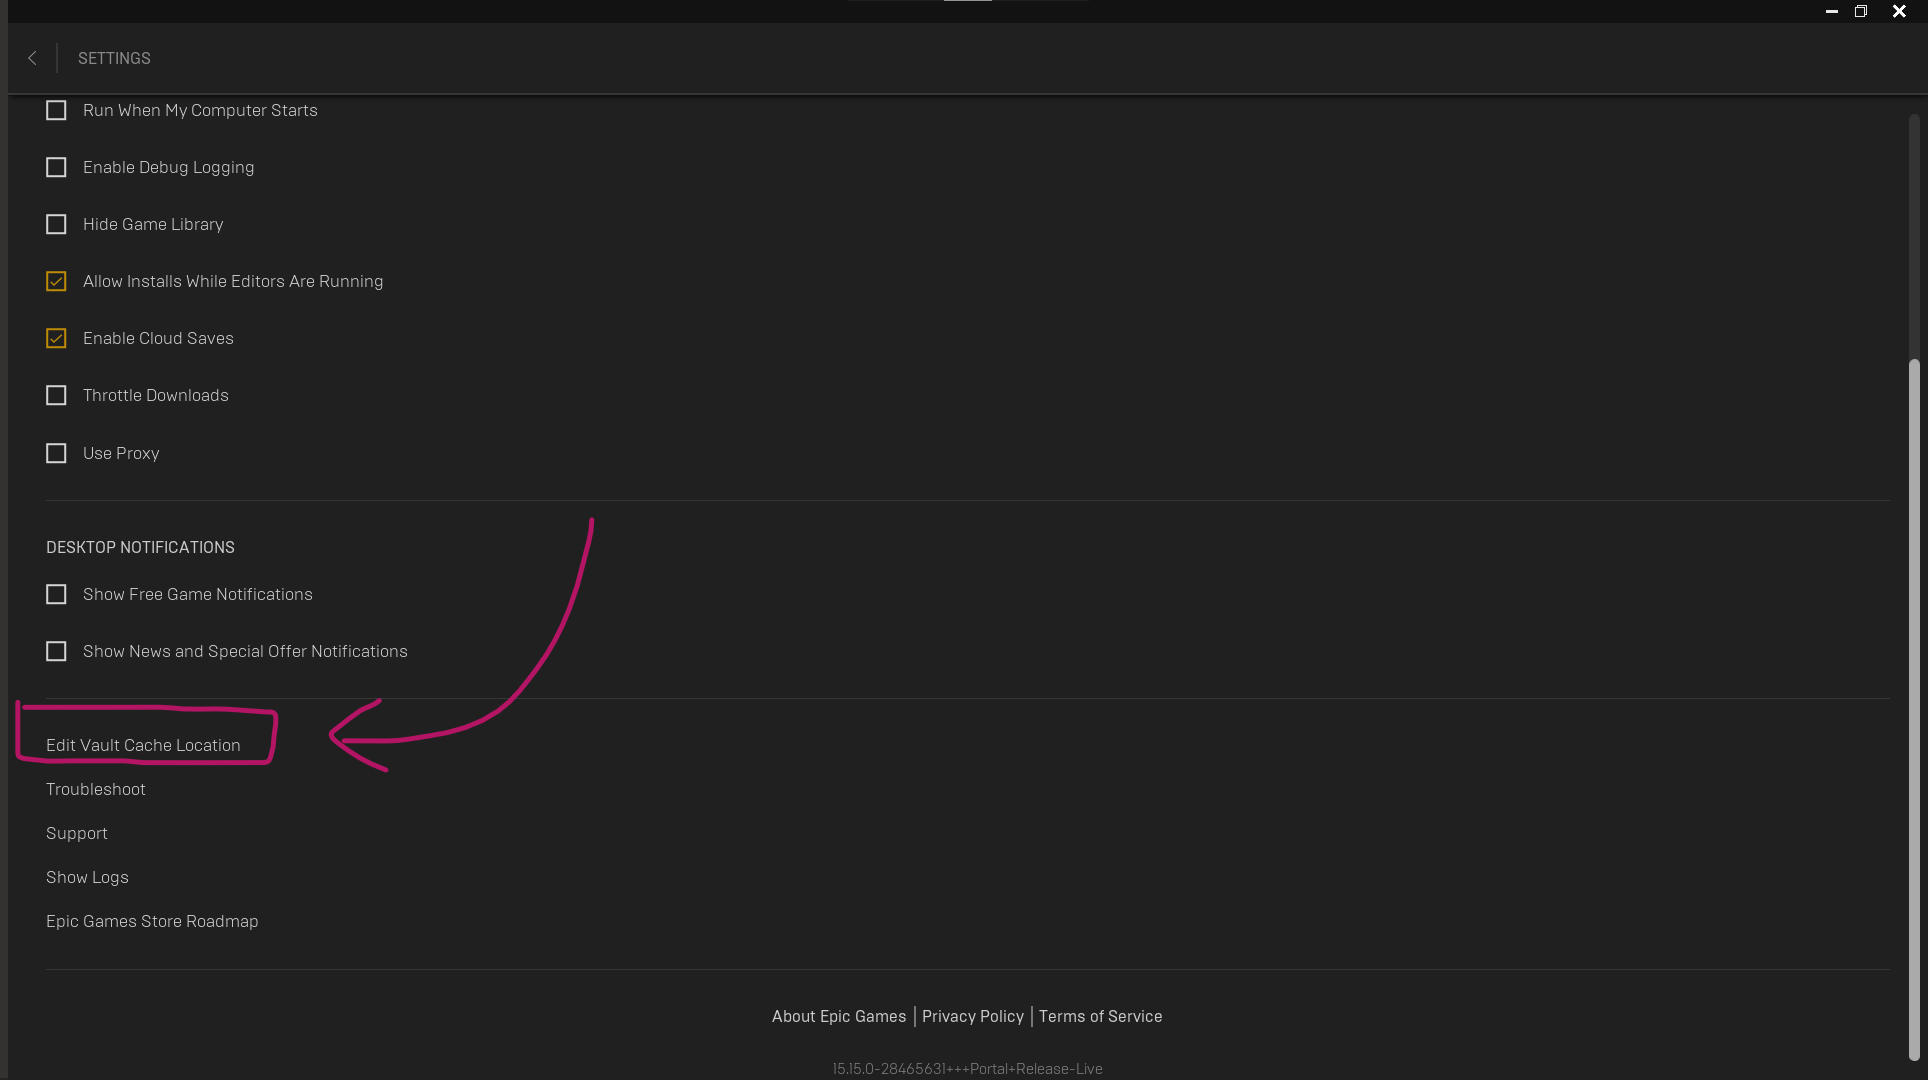
Scroll to the bottom and click on Edit Vault Cache Location (and yes, I’m as surprised as you are that this is a clickable option rather than plain text as it seems to be… trust me, it’s clickable).
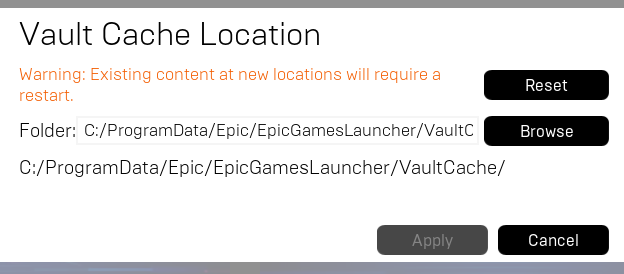
Browse to a different drive/location and hit Apply.
Restart the EPIC launcher for this change to kick in. You’ll see a new directory called VaultCache appear inside the directory you’ve chosen.
Note that existing content will not be moved or deleted automatically, so make a note of the existing default path (see above) and delete content manually from the old location. There doesn’t seem to be a way to copy existing content into the new location though, as the launcher won’t recognise it (or rather: it will notice that it’s in the new location, but thee proceed to download it anyway).
That’s it! Another Unreal Engine Mystery has been solved.