In this article I’ll show you how to take a character from iClone with an animation applied, import them into Cascadeur to make changes, then bring the animation back into iClone. The official documentation is a little outdated at the time of writing, and thankfully this pipeline has been greatly improved. This works with CC3+ and CC5 characters alike, as well as my favourite ActorCore people.
Let’s see how we can export the figure, import and rig in Cascadeur, apply the animation, and get them all back into iClone. This little animation shows the original character in the middle, and auto physics applied on two different characters on the left and right of it.
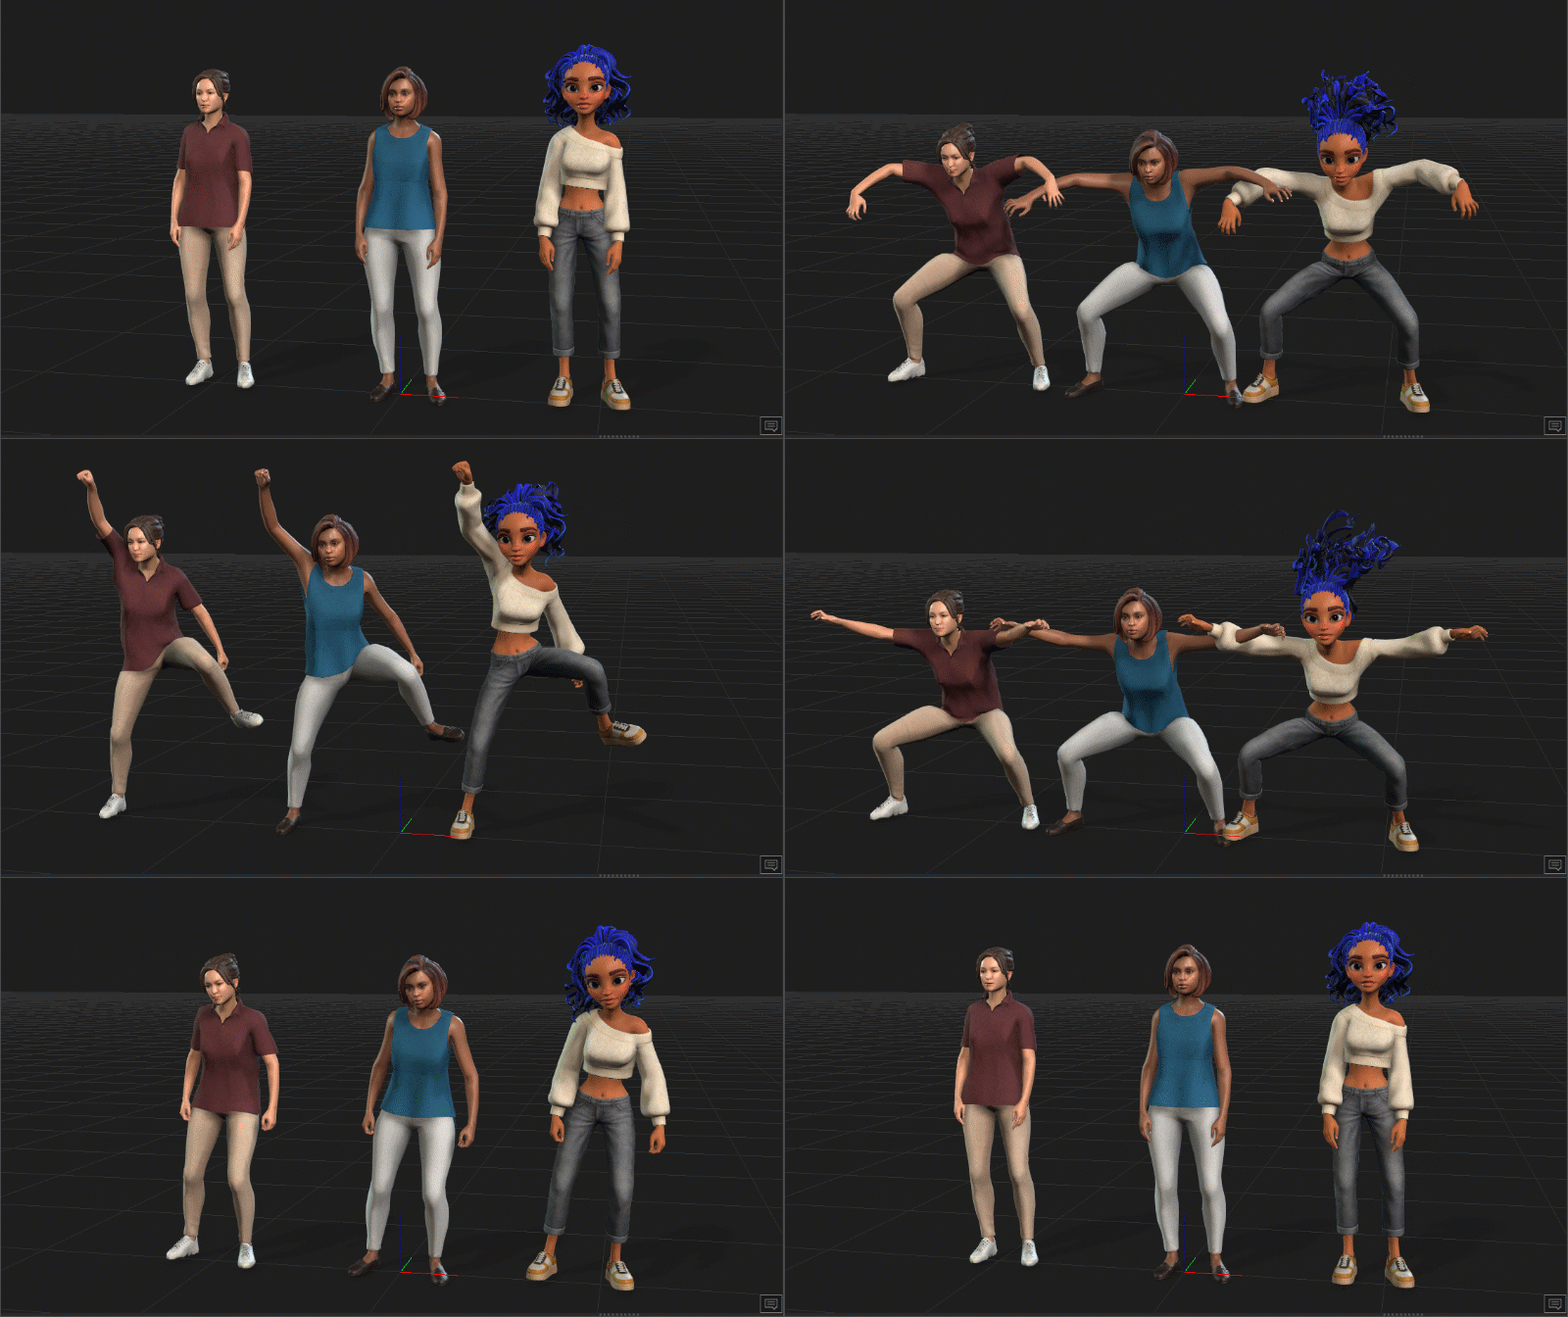
I’m using Cascadeur 2025.3 and iClone 8.7 for this demo.
Exporting from iClone
The original documentation suggests we have to start the export in CC, but nowadays we can start directly in iClone with a figure that already has a motion applied. I was clever and have set my play range to the duration of the animation to avoid excess frames. I’m using an ActorCore figure here with “Battle Dance” motion applied.
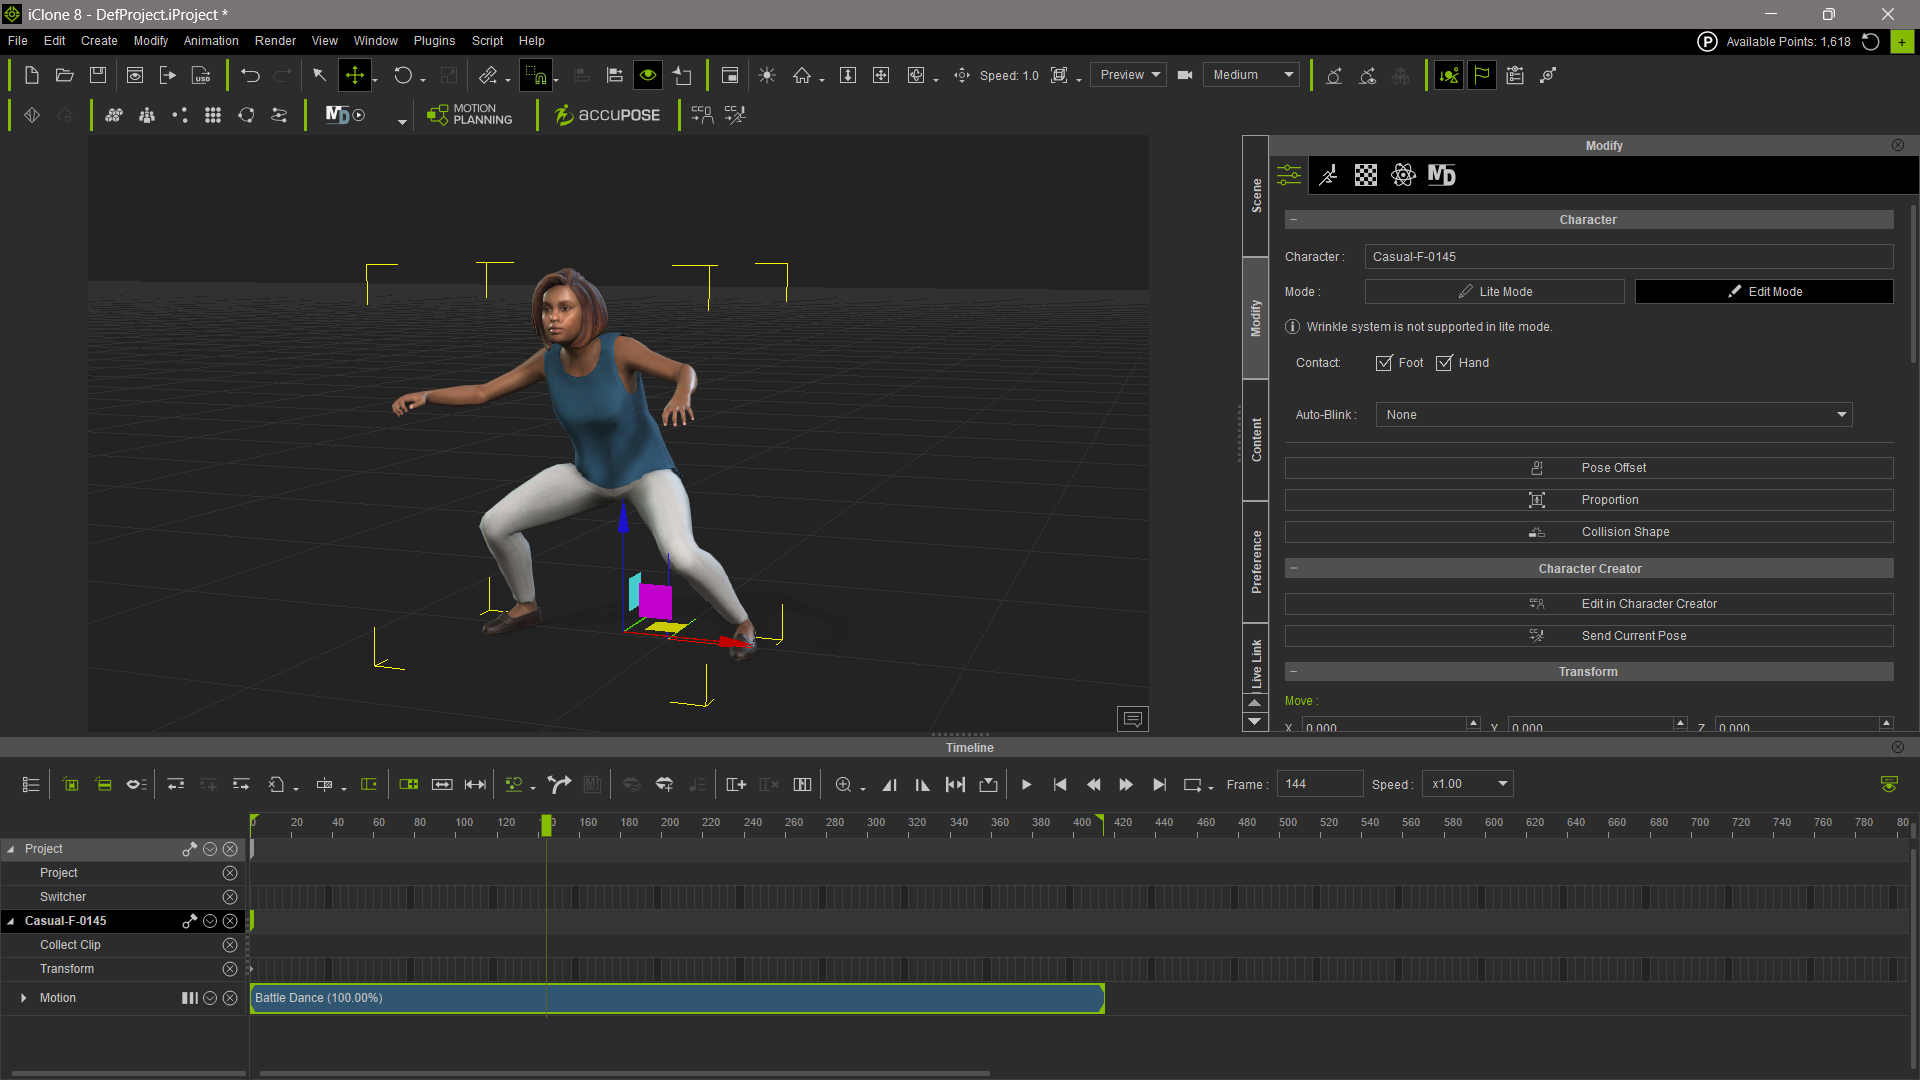
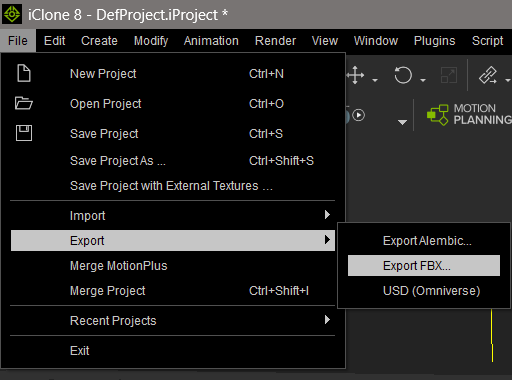
With the figure selected, head over to File – Export – Export FBX.
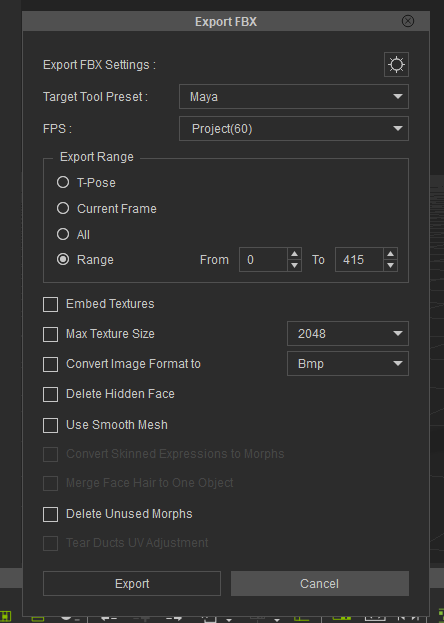
Let’s use the Maya template here using my Export Range, at 60fps, without embedded textures. You can enable this and see your figure in full technicolor with the Filament version of Cascadeur if you like, but I’m OK without them.
Importing into Cascadeur
Importing is a two step process: first we’ll bring in the figure, then the animation. In a brand new Cascadeur scene, let’s use File – Import – Import FBX/DAE.
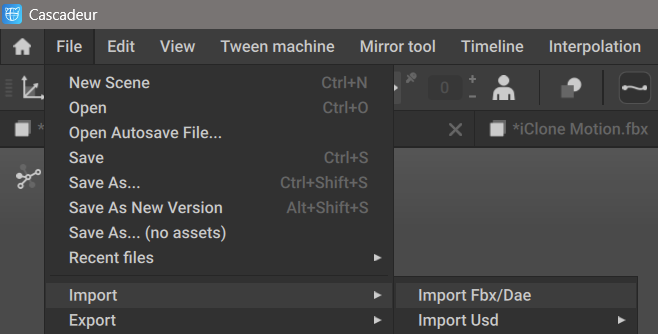
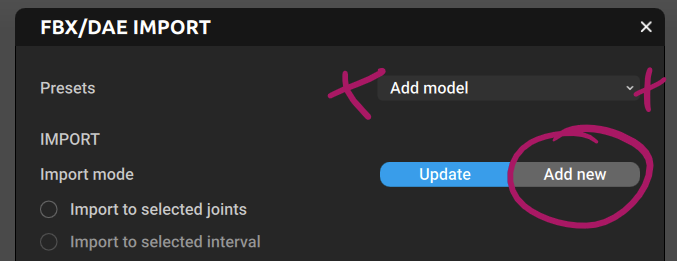
This brings up another window. Choose “add model” from the presets, then switch it to “add new” under import mode (upon which, your preset will switch to custom). Select your iClone export from the previous and the import process will begin.
What happens next is a little scary if you see it for the first time, but don’t worry about it. CC/iClone characters are recognised automatically by Cascadeur 2025 and later, so it’s mainly a process of clicking OK several times. I’ll try to make sense of it as we go through this step by step.
The first question is, “do we want to enter rig mode”. We do, so click yes.
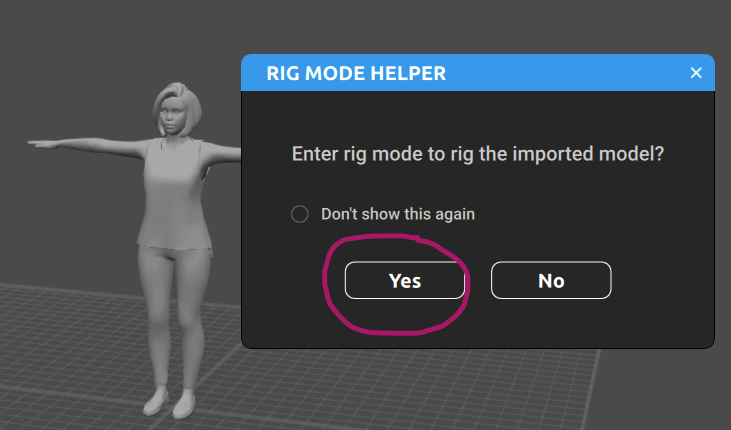
This will use our character’s skeleton to create a control rig for us, and it will take us to another portion of Cascadeur. While we can do this manually for very custom and non-standard characters, there’s a better way for humanoid figures, namely the Rig Mode Helper. It’s a little like AccuRig, but does a whole lot more. So the next question is, “do we want to use the Rig Mode Helper”, and since we are using a humanoid figure, the answer is yes.
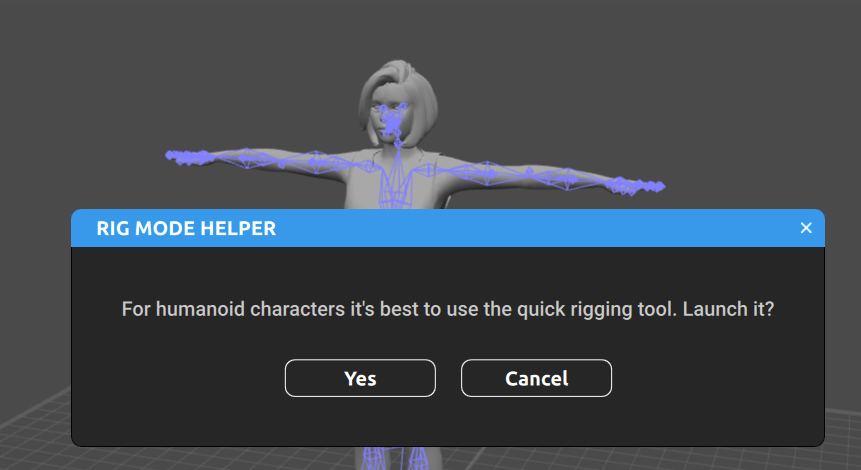
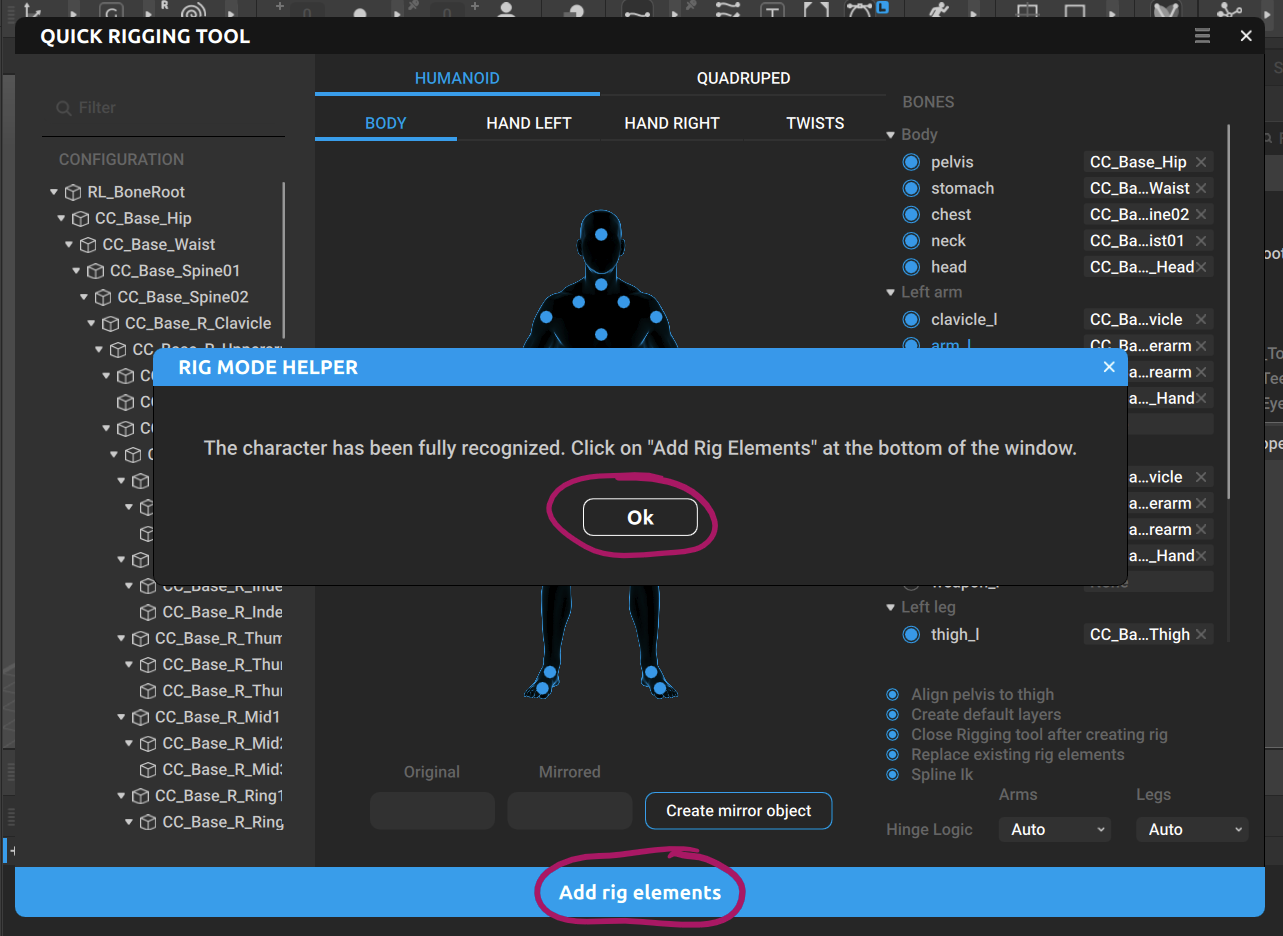
The Quick Rigging Tool will launch, letting us build relationships between the skeleton’s bones and the control rig. It’s a bit like the characterize option from Character Creator if you’re familiar with that. Thankfully we don’t have to do it manually, because our iClone character was recognised by Cascadeur, which has created the whole setup for us. Let’s click the big OK button in the middle.
This will dismiss the modal window, but we’re still in the Quick Rigging Tool. To create the actual control rig, we also need to click on “Add Rig Elements” at the bottom to move forward. This will create weight maps and collision shapes for our figure.
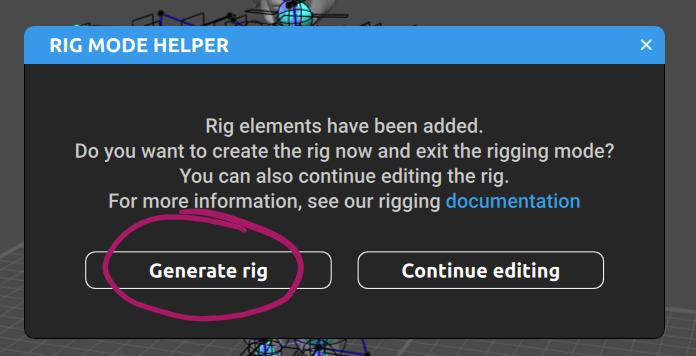
We’re nearly there! To attach the rig and all the other bits to our figure, we need to do one last thing, and that is to click on Generate Rig. Once done, our figure is ready for use in Cascadeur.
Importing our animation into Cascadeur
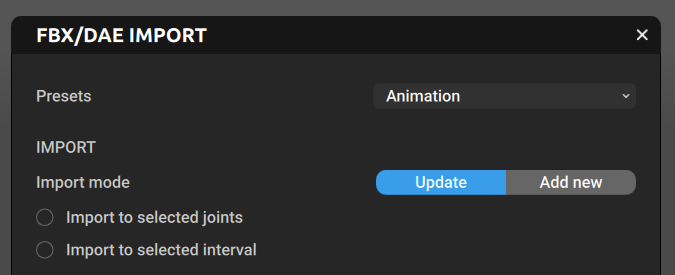
With the setup now in place, we can import the same FBX file from iClone again, this time applying the animation to our character. With it still selected in the scene, head over to File – Import – Import FBX/DAE once more. This time however, we’ll pick the Animation preset. You can leave the defaults in place.
This will show our character with the first frame of the animation applied, and the timeline populated with keyframes. Notice though that we can only see the first 100 frames, and not our entire animation if it’s longer. If your animation is shorter, you’ll see it, but still see a duration of 100 frames (it’s the Cascadeur default, much like the 250 frames in Blender’s timeline).
Cascadeur knows the actual length of our animation though, as shown at the bottom right corner in blue. Click on that field and the timeline’s duration will be expanded (or shrunk) to what we’ve just imported. Press play to see the full animation.
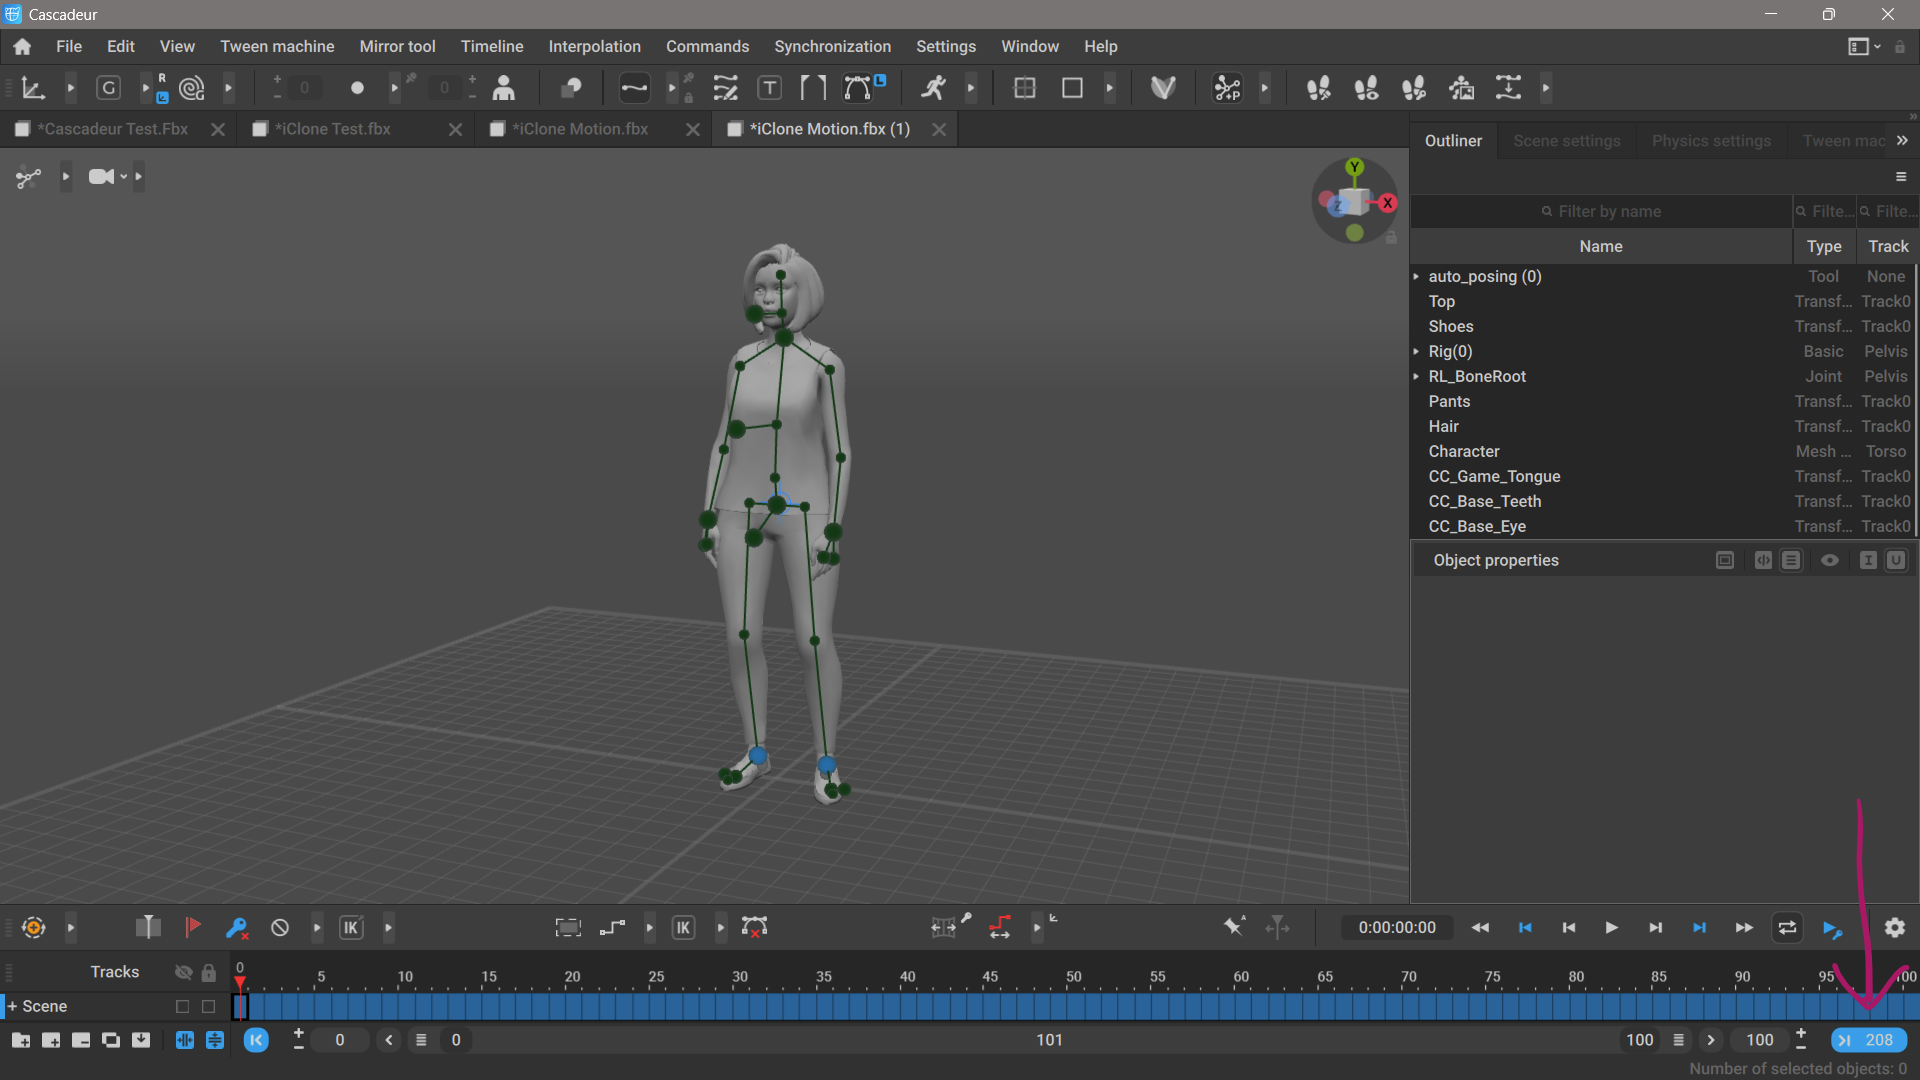
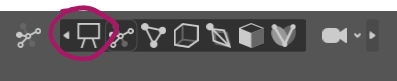
If you don’t want to see the green dots of the control rig, switch the viewport over to View Mode at the top left (the tiny little arrow icon will bring up a context menu).
Exporting from Cascadeur and importing back into iClone
Let’s assume we’ve done some serious work with this animation and applied some changes in Cascadeur. Two good examples would be Unbaking and Auto physics. Our next step then is to export those changes out again so we can bring them back into iClone. Here’s how to do that.
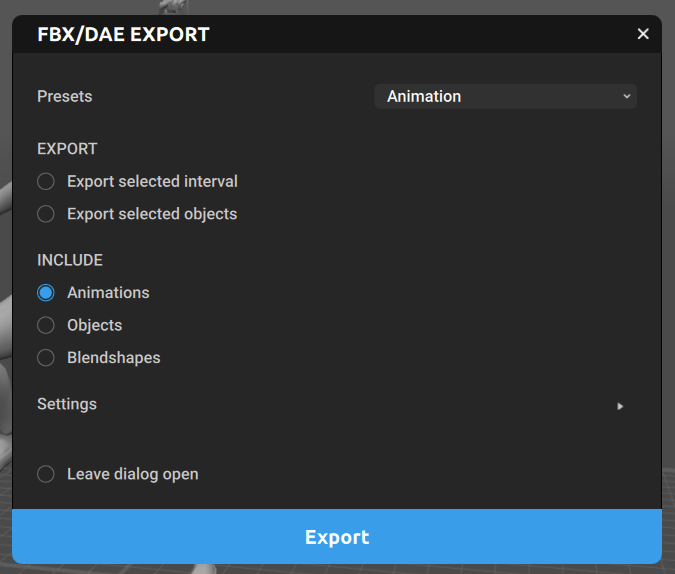
Let’s choose File – Export – Export FBX/DAE, which brings up the familiar dialogue. Pick the Animation preset and select a suitable location for your file.
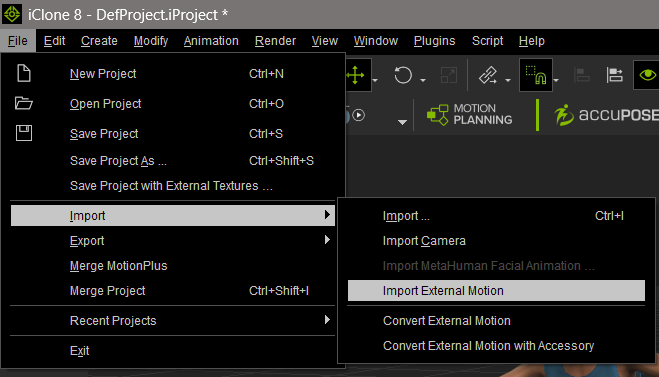
Back in iClone, make sure you have a character selected. Park your play head on the first frame of the timeline (ideally), then choose File – Import – Import External Motion.
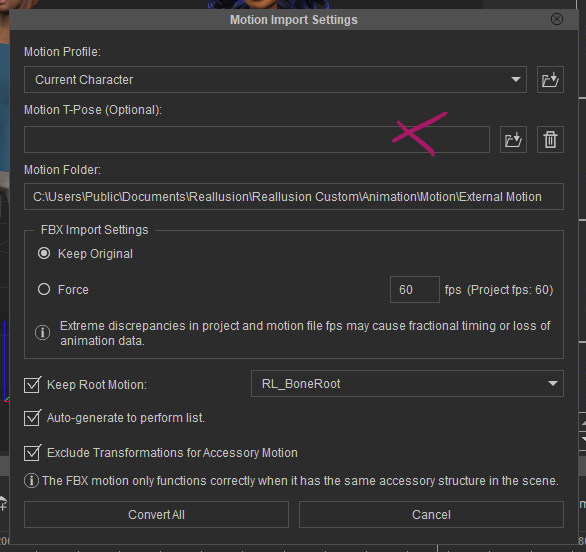
In the next context window, make sure to leave the Motion T-Pose field empty. If you don’t, the first frame of your animation will be interpreted as a T-pose, and if it happens to start with something like “arms down” as is the case for our animation, your arms will be raised up. Everything else can stay as their defaults in this window. Click “Convert All” to start the import.
And that’s it! If all went well, your iClone character should now have the exact motion applied you had created in Cascadeur.
Further Reading
- Cascadeur Documentation about CC characters: https://cascadeur.com/help/getting_started/import_fbxdae/working_with_character_creator