This morning I decided to get my Lenovo P15 Gen 2 ready for UEFN development. It had nothing on it yet — VS Code was installed, but no Fortnite, no UEFN, no Claude Code — which made it the perfect opportunity to document every step from a clean slate. Here’s what it takes to go from empty laptop to a working, playtestable UEFN project synced from another machine.
Before you start: disk space and hardware
The numbers first, because the installer will stop you if you don’t have them. Fortnite alone is just shy of 60GB, and UEFN adds another 20GB once installed. The launcher wants roughly twice that combined as free space for the install to succeed — in my case it asked for 143GB. Plan for it, and pick a drive for your projects separately from the install (mine live on D:UEFN Projects).
For reference, the P15 has an RTX A5000 with 16GB of VRAM, 64GB of system RAM and 7TB of storage in total. It runs Unreal Engine comfortably, and the same turns out to be true for UEFN — even with Fortnite running a playtest alongside it, the fans barely come on. More on keeping resource usage down later.
Step 1: install UEFN from the Epic Games Launcher
Search for UEFN in the launcher and install it. This automatically pulls Fortnite in as well; the two are a package deal.
One-off note on accounts: if this is a fresh launcher install, you’ll be asked to log in with two-factor authentication, and likely again the first time Fortnite connects. It won’t prompt on subsequent launches. I wasn’t asked because the launcher already knew me from Unreal Engine on this machine.
Step 2: launch Fortnite first
Before UEFN will start properly, Fortnite needs to have run once on the system. Launch it, let it log in, and wait until you reach the main menu (characters, game mode selection). Let it find its best settings — joining a match or two is optional — then close it again.
Step 3: first UEFN launch, and the 90% login stall
There’s a good chance a first launch of UEFN gets stuck at the 90% login screen. If that happens:
- Open Windows Task Manager
- End every Epic Games Launcher, UEFN and Fortnite task — and check for a lingering BattlEye process, which is easy to miss
- Wait until they’ve all completely disappeared
- Launch the launcher again and start UEFN
That’s it — it comes up fine the second time. You’ll also be prompted by Windows to let the app connect to private and public networks. Allow this.
Step 4: the Project Browser
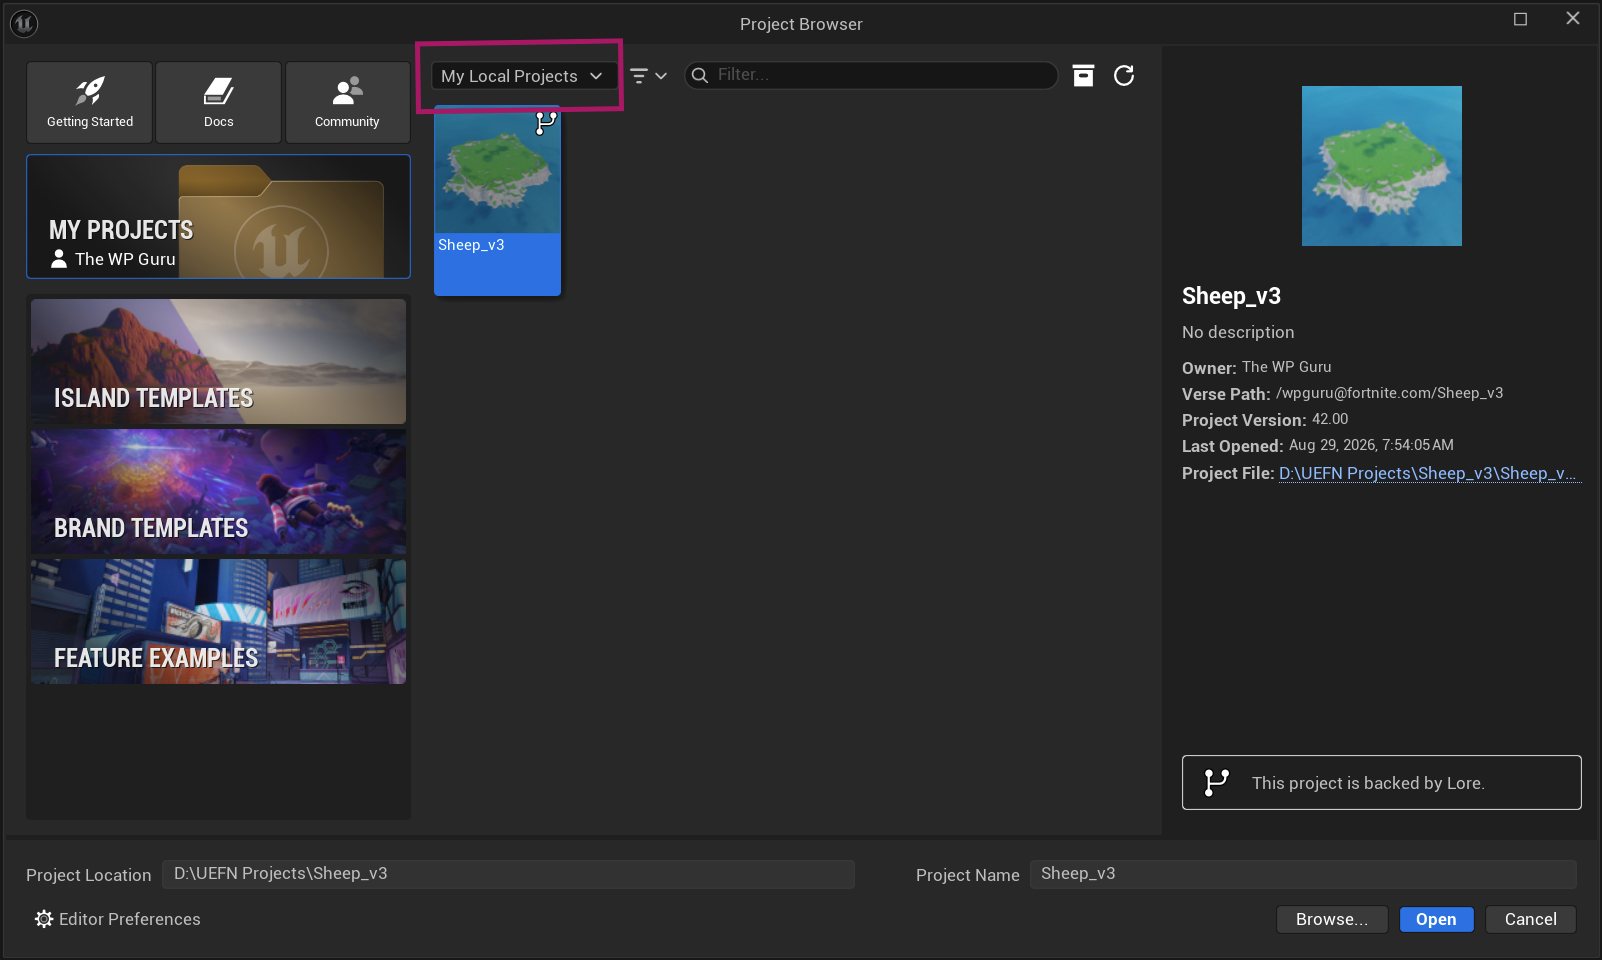
Once UEFN is up you’ll see the Project Browser, where you can create new projects from Island, Brand or Feature Example templates — or sync existing ones from Epic’s servers. Note the dropdown at the top that says “My Local Projects” by default: switch it to No Team or a Team to see what’s stored on Epic’s side. On a second machine that’s the first thing you’ll want, and my existing Sheep project synced down without any fuss. The panel on the right confirms the project version and, at the bottom, that the project is backed by Lore (more on that below).
If an existing project needs Python Editor Scripting, UEFN flags it up on open. It’s disabled by default locally, so it’s a nice touch that the editor tells you rather than leaving you to wonder why something doesn’t work.
Step 5: VS Code integration
This is where the order of operations matters. If you already have VS Code installed, the instinct is to open the project folder directly. Don’t — you’ll get plain text files with no syntax highlighting, no error checking, and no hint as to why.
Instead, look for the button on the UEFN toolbar just left of “Compile Verse”. It opens the current project in VS Code and, on that first open, installs and enables the two extensions you need: the Verse language extension and Lore. Neither is on the VS Code marketplace — they ship with UEFN itself, which is why they update in lockstep with it.
Lore (formerly Unreal Revision Control)
Lore is Epic’s version control, renamed from Unreal Revision Control (URC) around v42 — older forum threads and docs will still say URC. In VS Code it adds Source Control and Branch History panels and shows you the revision history of your Verse files. You can open older versions of text files read-only for a side-by-side comparison, but that’s about the extent of it so far: syncing, committing and restoring all happen inside UEFN. And be warned that commits and restores in UEFN are all or nothing — there’s no way to pick individual files for a commit, nor to restore a subset. On my Sheep project, that meant “restore to commit 41” was the only route back from a commit that had broken things.
The Verse build server
At the top right of VS Code sits an Unreal Engine icon that looks purely decorative. It isn’t. Click it and it turns into a small grid: that’s the Verse build server. Hovering shows the last result (“build succeeded”), clicking it again runs a build, and if the build fails the badge turns red. Compilation can now be started from VS Code as well as from UEFN — though UEFN still needs to be running with the project open, since VS Code is talking to it rather than compiling on its own.
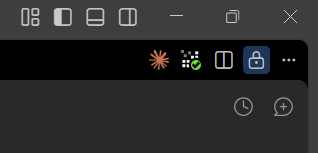
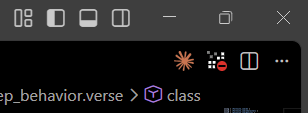
The build log lives in the Problems panel. Two things to know before you panic at what’s in there:
- On a freshly opened project you’ll see well over a hundred errors, all in Fortnite.digest.verse under Built-in Digests, all the same complaint about an abstract
Cancelfunction. That’s the read-only digest, not your code, and the build still succeeds. Use the funnel icon to filter the panel to the active file only and keep it that way. - A single typo cascades. I deliberately broke a class declaration with one stray word and got a dozen errors on lines I hadn’t touched — functions that suddenly couldn’t find a parent to override, identifiers that became unknown. Always read the earliest error first, fix it, rebuild, and only then look at what’s left.
Step 6: playtesting, and keeping the laptop cool
Next to “Launch Session” on the UEFN toolbar there’s a three-dot menu with the platform options: Launch on this PC, Mobile Preview, or Connect To Platform. On a machine that can handle it, launching on the same PC works well — and the P15 did, to my surprise. Two tips regardless:
- Disable Realtime Viewport in the viewport settings menu while you work. Fortnite is very resource hungry on its own, and there’s no point having UEFN redraw the viewport continuously while you’re playing.
- On a lower-end system, run UEFN on the PC but launch the playtest on another machine or a console. I use my PS5 through the PlayStation Portal for exactly this.
The same menu holds Push Verse Only (F6) and Refresh Session (F5), which are what the VS Code build server is standing in for.
Updates
UEFN and Fortnite install together and update together. You can’t delete Fortnite to save disk space, can’t run older versions of either, and can’t update one independently of the other. The launcher handles it: when an update is due it either installs automatically or prompts you to do so.
What’s next
Claude Code is the one thing still missing from this machine. It’s optional for UEFN work, and I’ve already covered installing it in [link to Claude Code article], so I’ll leave it there for now — wiring it into UEFN via the built-in MCP server deserves an article of its own, as does the equivalent setup for Unreal Engine. Both are coming.
For now: a second dev machine, synced, compiling, and playtesting from a clean install in a morning. Not bad.