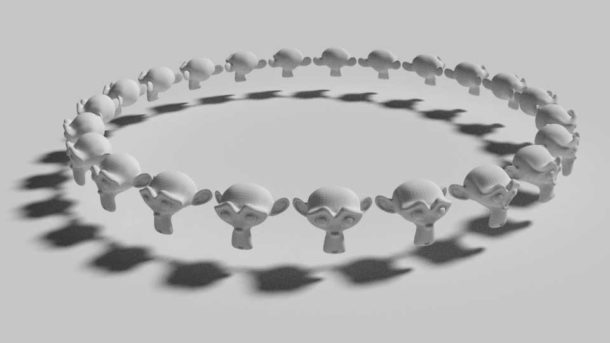
The other day I tried to create a simple necklace in Blender 2.8, only to find out that the way I’ve once learnt from Blender 2.79 and below using DupliFaces no longer works. This feature has been removed from Blender 2.8. Thankfully there’s an easier way to do this, using the Array and Curve Modifiers.
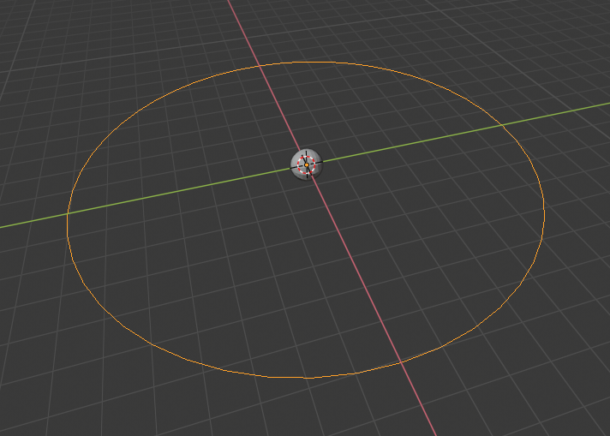
For this example I’ll create a circle for our path, and an object I want to duplicate on it. Perhaps a UV Sphere. Make sure to apply all transformations after any scaling operations with CTRL + A.
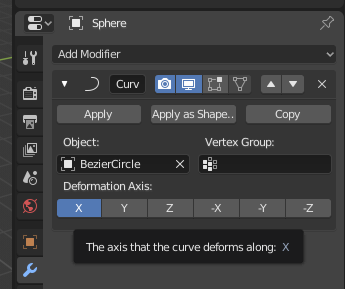
Now we’ll select our sphere and add a Curve Modifier to it. You can find it under the little wrench icon, under the Deform category. We’ll select our circle as the object.
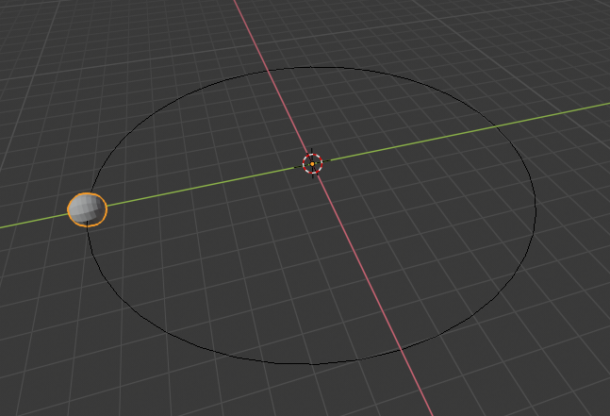
Notice that our sphere is now aligned on the path.
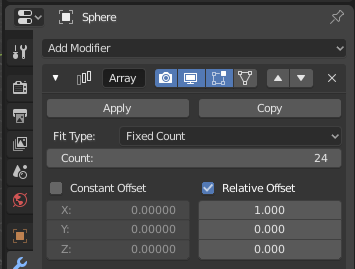
Next, let’s make ourselves some more spheres along the same path. Add an Array Modifier to the sphere and add as many objects to the Count option as you like, or use Fit Curve option to have Blender add as many objects as it can on the path. Leave all other parameters as defaults.
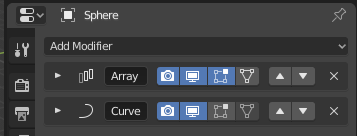
Now drag the array modifier above the curve modifier in the list using the little up/down arrows on the right hadn’t side of each modifier. Otherwise, you’ll see your objects replicated in a straight line (which is not what we want in our case).
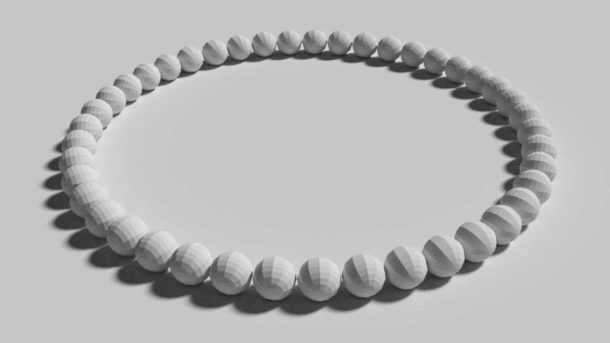
That’s all there’s to it.
Note: any translations made to the path must also be made to your replicated object, otherwise you’ll end up with unwanted results.
Thanks, this is what I was looking for.