Unreal Engine’s material graph has an interesting node called Flatten Normal that lets us change how normal maps are interpreted. It can go directly between your normal texture map and the shader input. Add a scalar parameter to it and you can control it from a Material Instance.
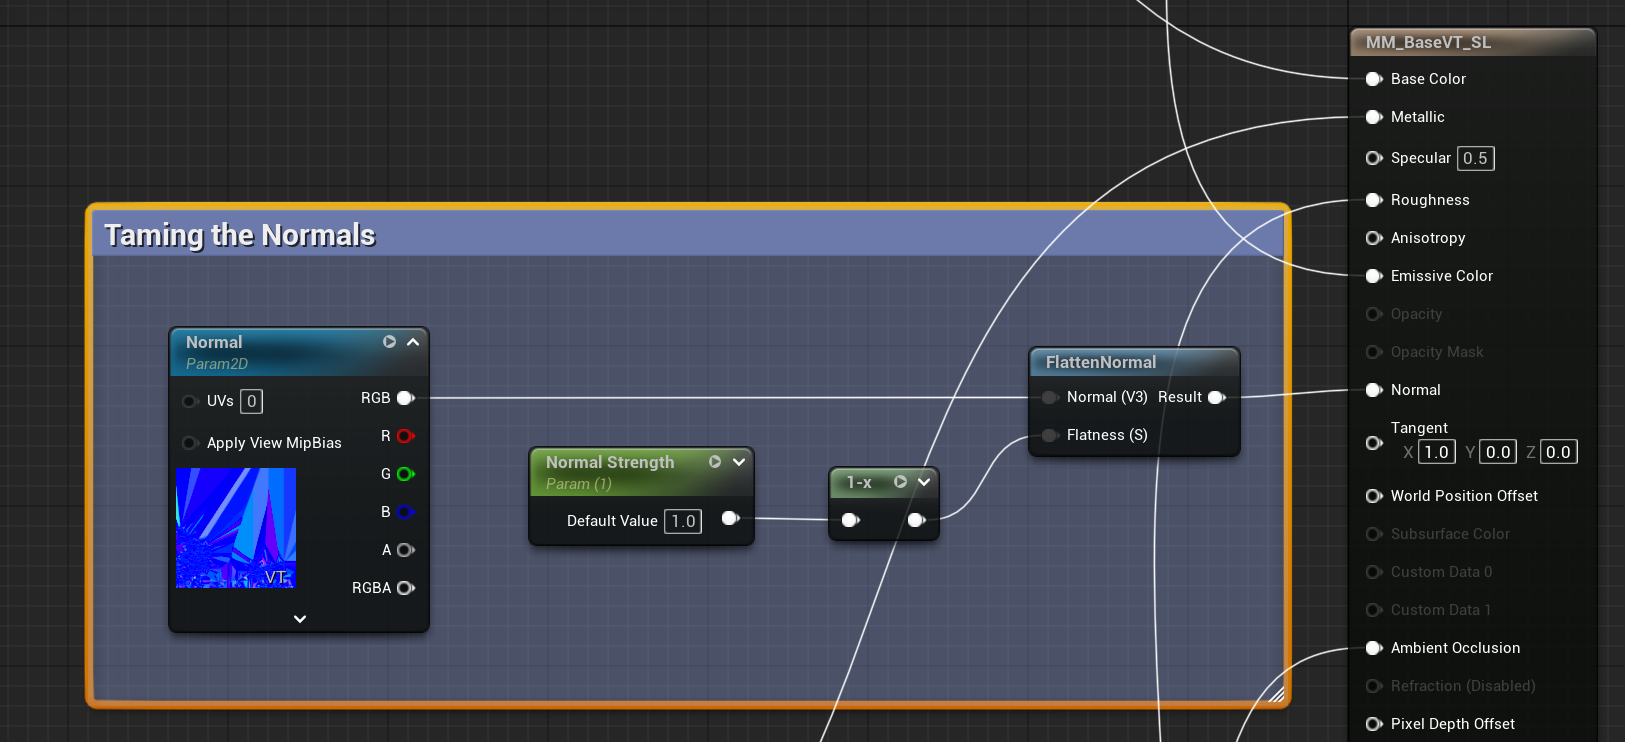
One slight snag is that 0 means the texture is shown at 100% strength, while 1 means the strength would be zero. To invert this effect and make it more artist friendly, we can use a “one minus” node (1-x) to invert this effect, as shown in the screenshot. Now 1 means full strength, and 0 means no strength at all.
With the above setup, we can also use values higher than 1 to increase the effect of our normal maps.