Sane animation apps typically have a layer system that lets us make non-destructive changes on top of a base motion. Unreal Engine 5 introduced this relatively late in its lifecycle with version 5.5, but it works well if you know how to use it. Let’s take a look at where to find it and how to make a simple change.
In this example I’m using a cube that moves left to right as my base motion, then I’ll add a single Z translation on my animation layer, making the cube move above the ground. Then we’ll animate the weight of the layer from 0 to 1 and back to 0, which makes the cube appear to lift off the ground and land,
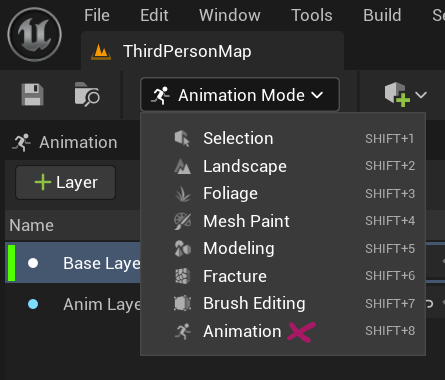
Animation Mode
Animation Layers are available in the Animation Layers mode, which brings up several other windows when you switch to it. We should see the Anim Outliner and Anim Details by default, in addition to the regular Outliner and Details panels, as well as an Animation tab (LOTS of things beginning with “anim” so you don’t forget you’re in animation mode I guess).
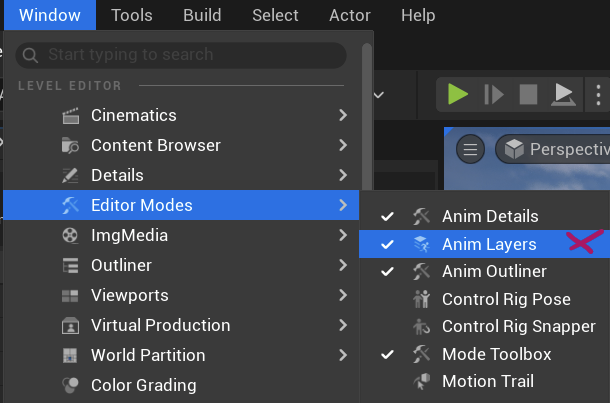
Animation Layers may or may not open, so just in case it doesn’t, head over to Window – Editor Modes and enable them from here. It’s another tab, dock it where you fancy.
Create or import your base motion. It’s just two keyframes in my example. In the Anim Layers panel, click the plus icon to create a new layer. This will actually create two entries here: the base layer that’s in charge of your current keyframed motion, and a new layer we can use for overrides. Name it something appropriate, then select it.
Notice how this is reflected in the sequencer. This means we can set new keyframes on any subsequent layer (including base), but they’re not going to interfere with anything we’ve already created. This is super handy to build complex motions on top of other motions.
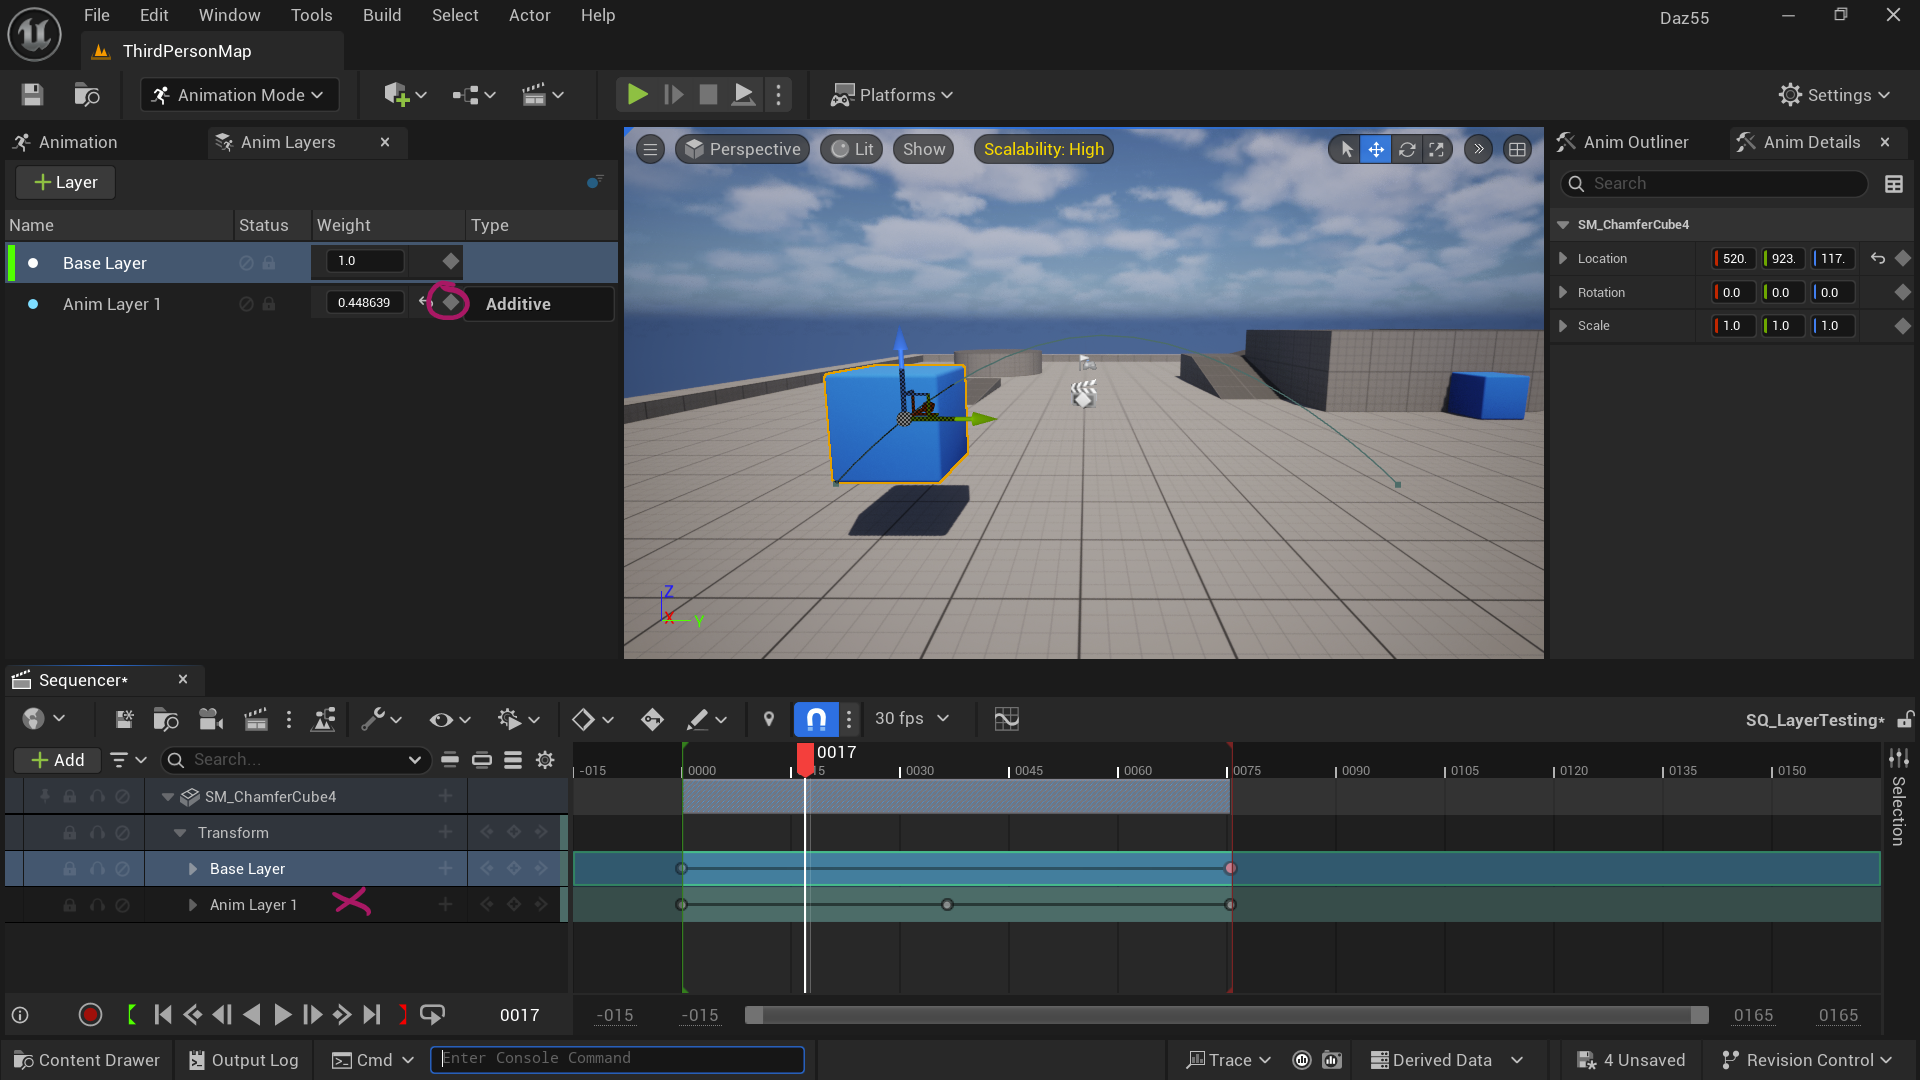
The Anim Layers panel has a few tips up it’s sleeve: first of all there’s the Weight value. This is set to 1 by default and this means that the layer will be used 100%. We can however bring this down and even animate it like I did in my animated GIF at the top. We can also mute the layer temporarily or lock it, and change its type from Additive to Override (i.e. replace the motion).
Naturally layers are available on more complex objects like rigged skeletal meshes and control rigs too. With the right layout and pose tools, UE is shaping up to be a real animation powerhouse.