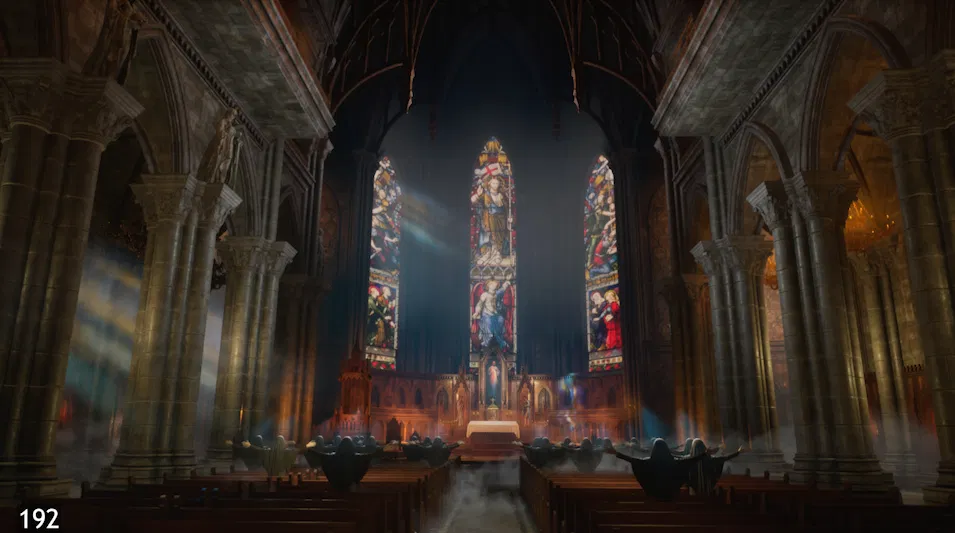
While working on a cathedral interior shot for Heart of Mercy, our director looked at a congregation of nuns — arms raised in worship, completely motionless — and asked if we could make them look more “alive”. My first thought was to put on the mocap suit and record a proper idle, but this was meant to be a quick fix on a limited time budget. It’s a 5-second shot with a slow push-in, framed wide. Surely there was a cheaper way?
There is, and it took me about ten minutes per character once I had the recipe. Even better: I discovered by accident that the whole setup can be copied from one character to the next with a simple copy and paste in Sequencer.
Breathing isn’t about the chest (at this distance)
Here’s the thing I had to get my head around first: at a wide framing, you can’t actually see a ribcage expand. What reads as “breathing” on screen is the secondary motion — shoulders rising a few centimetres, arms lifting ever so slightly, the head tipping back a touch. That’s all we need to animate. No chest deformation, no cloth sim, no mocap.
Because our nuns were already posed (arms raised to the sides), I didn’t want to touch that pose at all. The trick is to layer a tiny oscillation on top of the existing pose using an additive Control Rig section in Sequencer.
The setup
- Select the nun’s skeletal mesh in Sequencer and add a Control Rig track. The auto-generated FK Control Rig is perfectly fine — no need to build a custom rig.
- Set the section to Additive (layered), so your keyframes offset the existing pose rather than replacing it.
- Keyframe the following controls (these are the values that worked for me): Spine raised by 1°, Clavicles/Shoulders up by 2°, Head rotated back by 4°.
Timing the breath
A perfectly symmetrical in/out ping-pong loop looks mechanical, because real breathing isn’t symmetric: the inhale is quicker, then there’s a slight hold, and the exhale is slower. Here’s the timing that sold it:
- Frame 0: rest pose (all controls at zero)
- +20 frames: full inhale (the values above)
- +30–35 frames after that: back to rest
- 20–25 frame gap (the natural pause between breaths)
- Then copy the whole loop and repeat for the length of the shot
Make sure your tangents are smooth/cubic, not linear — linear interpolation is the fastest way to make it look robotic again.
The part that matters most: desynchronisation
If every character breathes in perfect unison, you’ve made a choir doing synchronised calisthenics — and the eye catches synchronised motion far faster than it catches subtle motion. The fix is simple: offset each character’s animation by a small random amount. Just slide the whole section (or the keyframes) forward or backward a little per character. This variation does more “aliveness” work than the animation itself.
The accidental discovery: copy and paste the whole rig
This was the wonderful surprise. I fully expected to rebuild the Control Rig setup on every nun. Instead, it turns out you can copy the entire Control Rig track in Sequencer, select a different character, and paste it directly onto her — and the whole setup is recreated: the additive section, all controls, all keyframes. From there, all I had to do for variation was nudge the keyframes a little per nun.
What I thought would eat an afternoon took a fraction of that, and the shot works a treat. Subtle is the word — you barely notice the motion consciously, but the congregation no longer looks like a wax museum.
Bonus: an even cheaper fallback
If your crowd characters are merged or baked meshes without usable skeletons, there’s a material-based alternative: a slow sine driven by Time in World Position Offset, masked to the upper body, with PerInstanceRandom feeding the phase so instances desynchronise automatically. It’s crude, but under heavy cloaks at a distance nobody can tell displacement from articulation. With proper skeletal meshes though, the Sequencer route is cleaner and art-directable — which your director will inevitably want.