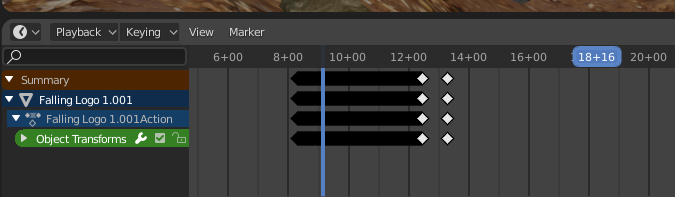
You may have seen projects or screenshots of Blender displaying a disturbing view of the timeline, in which rather than a pure 12345 frame count, you get something like 44+2 or 18+16. Something that sends the cold shivers down any animator’s spine.
What is this madness you ask, and how can we restore it to “sane mode” (as if there is such a thing in Blender)?
Turns out this is Blender showing seconds rather than frames. Sometimes it’s easier to see which part of the animation we’re in, especially on longer sequences. What Blender is doing becomes more obvious as we zoom in to the timeline (scroll the mouse wheel while hovering over the timeline):

Here we see a count of seconds plus how many frames past each second we are. It reminds me of the notation we use in film, and how specify accurate edits with “feet + frames”.
Switching back to Frame Count Mode
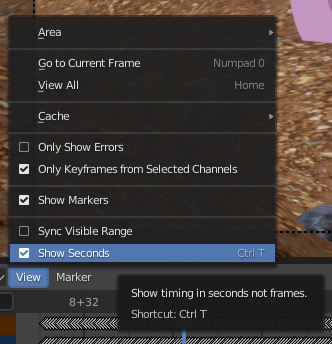
You can switch between seconds+frames and pure frame count by pressing CTRL + T. It’s also accessible from the View Menu in the Timeline.
Another Blender Mystery solved!