Yesterday I’ve written about how to create a Smart Prop in DAZ Studio, and today we’ll learn how to do it in Poser.
The principle is the same: model your 3D object as you wish, then import it – or load and create a primitive in Poser. I’ll do the latter and give Andy some exciting earrings (even though he doesn’t have ears).
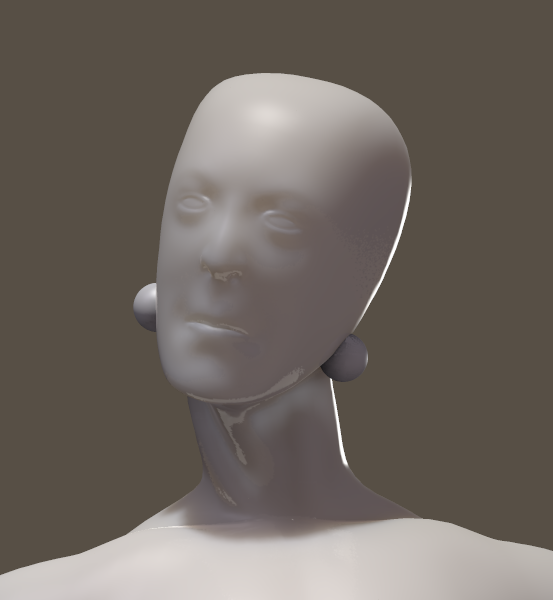
As you’ve guessed it, these are just two sphere primitives. Poser can’t create its own, but you can load a variety from the library under Props – Primitives. I’ve scaled them and moved them into place.
Parenting your object
To make our earrings move with the figure we’re creating them for, we’ll have to parent them to the appropriate place on the figure. For our earrings, that’s the head of the figure.
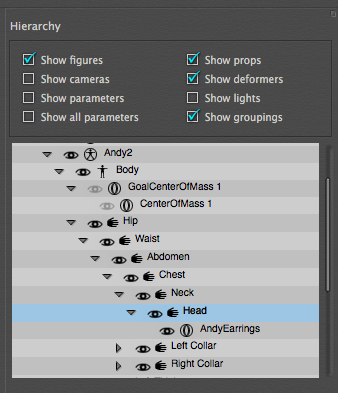
To find out the body part you need, hover over your figure and click on the part that outlines in white. This will highlight it in the Scene Hierarchy. If that window isn’t showing in your setup, head over to Window – Hierarchy Editor.
To parent your object, drag it onto the selected part in the Scene Hierarchy. Alternatively, select your object and head over to Object – Change Parent and find your body part. Either way, your Scene Hierarchy should look something like this:
Saving your Smart Prop
With your prop selected, navigate to the Props folder in a library of your choice. Now click the little plus icon at the bottom of the library to save your object. If there is no plus icon, simply select the folder you’d like to save it to and they’ll show up. Frame up the object before you do, so that Poser can create a nice looking icon for your prop.
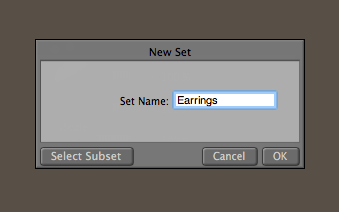
This will bring up a window that will prompt you to create a New Set. I have genuinely no idea what that is or what it does – so I’ll just name it whatever my Smart Prop is called and click OK. It doesn’t seem to have any effect on anything. Don’t worry about anything under the Subset setting – just leave everything as it is and proceed.
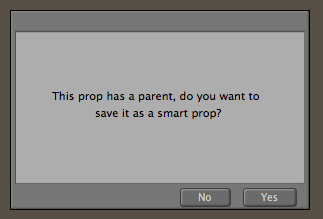
As soon as you click OK, another window should pop up. It’s Poser saying that this prop has a parent, and therefore recognising it as a potential Smart Prop. Would you like to go ahead and save it as such – and of course we do, so let’s tell Poser YES.
Loading your Smart Prop
To load your Smart Prop onto the same figure, make sure it’s loaded into the scene and selected. Then either double-click your Smart Prop in the library or drag it onto your figure. It should simply snap into place and parent itself correctly.
Saving multiple objects as a single Smart Prop
Poser being Poser, it can only save a single prop at a time as Smart Prop. In my case, I have two earrings and Poser will only let me save one of them at a time. It doesn’t matter if you group them together first, or if you select both of them. Poser just won’t have it – unlike DAZ Studio, which can indeed save as many props as are selected in your scene.
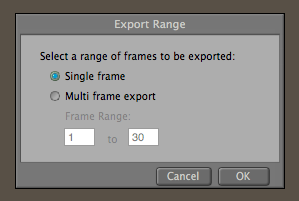
To circumvent this limitation, export all your items as OBJ (select them first, then choose File – Export – Wavefront OBJ). A couple of dialogue boxes will follow. The first one will ask you which frame you’d like to export. If you’re not doing an animation, “Single Frame” will work just fine.
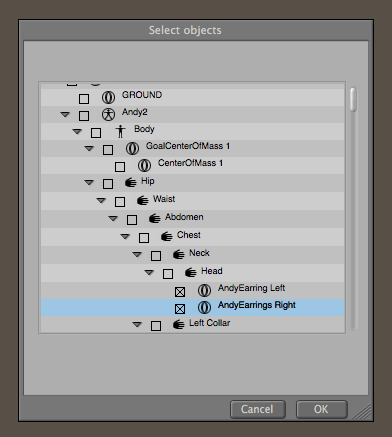
Next you’ll be prompted what item you’d like to export. Untick everything in your scene, except for your props, then click OK.
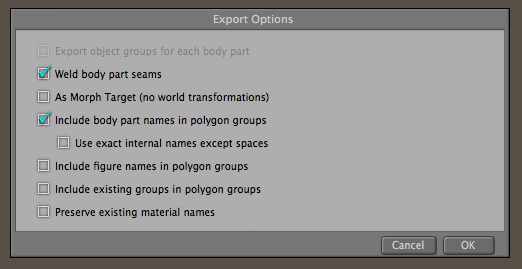
The third and final dialogue box will look like this. Tick the following options and everything will work out just fine: “Weld body part seams” and “Include body part names in polygon groups”. I believe those are the defaults.
That’s our pro written out as OBJ file at a location which you’ll choose next. Now remove or invisibilise the original props to avoid confusion in the next step, in which we’ll import the combined prop again as a single item.
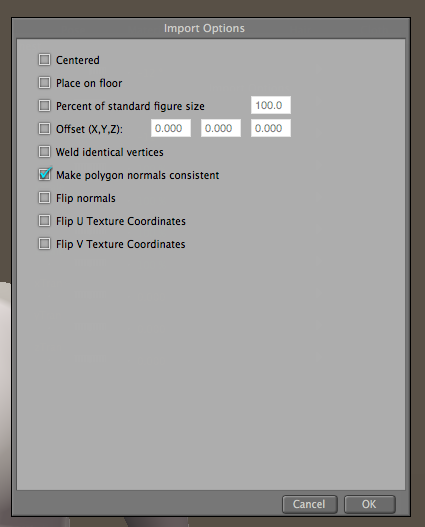
Head over to File – Import – Wavefront OBJ), which brings up the following dialogue. It’s default options are no good for our venture, so untick everything except for “Make polygon normals consistent” if you wish, then click OK.
This will import your combined prop as a single object, in the same place as your individual objects were. Name and parent said single object again, then save it as a Smart Prop as described above.
And that’s how you save Smart Props in Poser. I’ve used Poser Pro Game Dev for this demonstration, but from what I understand the process has been the same for the last several decades. I hope by the time you or I read this, it’ll still be applicable.
Happy Smart Propping!
Thank you very much, this was helpful.
I use PP11 and i have some stuff that has to become a smart prop.
Great, glad I could help!