How to use the View Selected shortcut in Blender on a Mac

On standard Mac keyboards and laptops, some of the handy Blender shortcuts are hard to find. That’s because many of them rely on us having a full-size keyboard or an additional Number Pad. While those aren’t expensive, some of us just don’t want to use another gadget that clutters our desks (be that at home or in our coffee shop).

One of the many useful shortcuts in Blender is View Selected. It frames the selected object(s) and lets us tumble the camera around them. View Selected is accessible from the View menu, and by default it’s mapped to NUMPAD + . (the period key on the number pad). I do this a lot, so I really want this as a usable shortcut on my keyboard. But the default doesn’t work, because I don’t have a  Number Pad.

There is an option under File – User Preferences that lets users like me emulate one, and it works with most keyboard shortcuts – but NOT for the View Selected shortcut. I have no idea why. Fact.

So what can we do, if we don’t want to invest into more hardware? Re-mapping the keyboard shortcut to something usable springs to mind. Thankfully, Blender is endlessly customisable. Let’s see how we can assign our own shortcut to the View Selected option.
Read more

How to set the origin (pivot point) in Blender

Every 3D object has a point around which it rotates or scales from. It’s usually the point at which the 3D manipulator gizmo shows up. In Blender this point is called the Origin. In my screenshot, that point is at the top of the selected book. But perhaps I’d like to move it to the …

Read more

Joining and separating objects in Blender

Joining objects in Blender means that two different meshes can become part of the same object. This sounds like it’s related to grouping and parenting, but it’s more useful in modelling. Think of a complex object made of several primitives: rather than having a hierarchy in Object Mode, you’ll have a single object with multiple linked …

Read more

How to use Reference Images in Blender

Reference images are nice if you’re modelling something from scratch: take pictures from the front, the back, the sides, and then use them to create a 3D model with all those fancy extrusion tools and what have you. Trouble is, how do we get them into Blender as a backdrop? Let me show you, before I …

Read more

How to add thickness in Blender

Adding thickness or depth to an object is easy in Blender, thanks to its lovely Solidify Modifier. It’s as easy as adding the modifier to your object and changing the properties – you can even do this while you’re still working on the geometry. Let me show you how to do it. For this example, let’s create …

Read more

How to weld points in Blender

Screen Shot 2016-05-09 at 15.54.22

Sometimes 3D objects are created with duplicate vertices that should be in the same place. Imagine two sides of a cube: ideally they should share the same points, but when you place two planes closely next to each other, they’re just two planes and not one object.

For that we need to “weld” vertices together, an expression shared by pretty much every 3D package – except for Blender, where “being different” is just as important as “being complicated”. In Blender, welding is called “removing doubles”.

Let me show you how to do this – no matter what you want to call it.

Read more

How to add thickness in ZBrush using Panel Loops

Screen Shot 2016-05-09 at 12.54.35

I have previously shown you how to add thickness to an object using the ZBrush Move Tool. While that method may have had its uses in the past, it is hugely cumbersome and can’t really be used on a complex object.

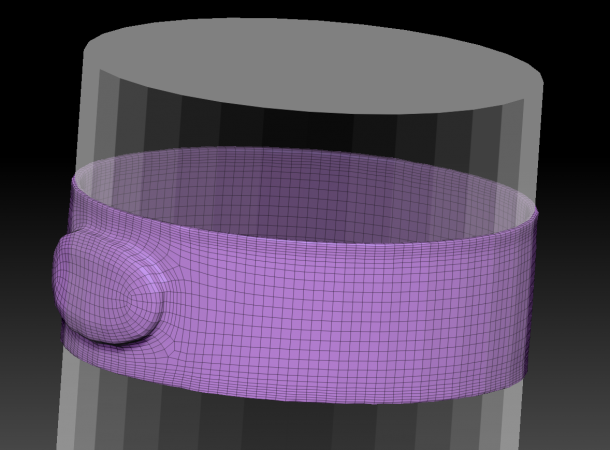
So today I’ve learnt how to achieve the same thing using something called Panel Loops. It a nutshell, with this feature ZBrush splits the whole model into separate little objects, adds thickness to them and merges if all back together again. It even adds Polygroups for all those little bits too.

Panel Loops can be used to create the backside of an otherwise single sided object (for example, a dress exported from Marvelous Designer).

Let me show you how to use it briefly.

Read more

Filed under: Categories 3D Tagged as: Tags

How to install 3D Content from a ZIP Archive on Mac OS X

Alt-Drag-and-Drop

Dealing with ZIP files from 3D content marketplaces isn’t easy. I’ve been asked several times how to install such content, and thought this article may come in handy for future generations.

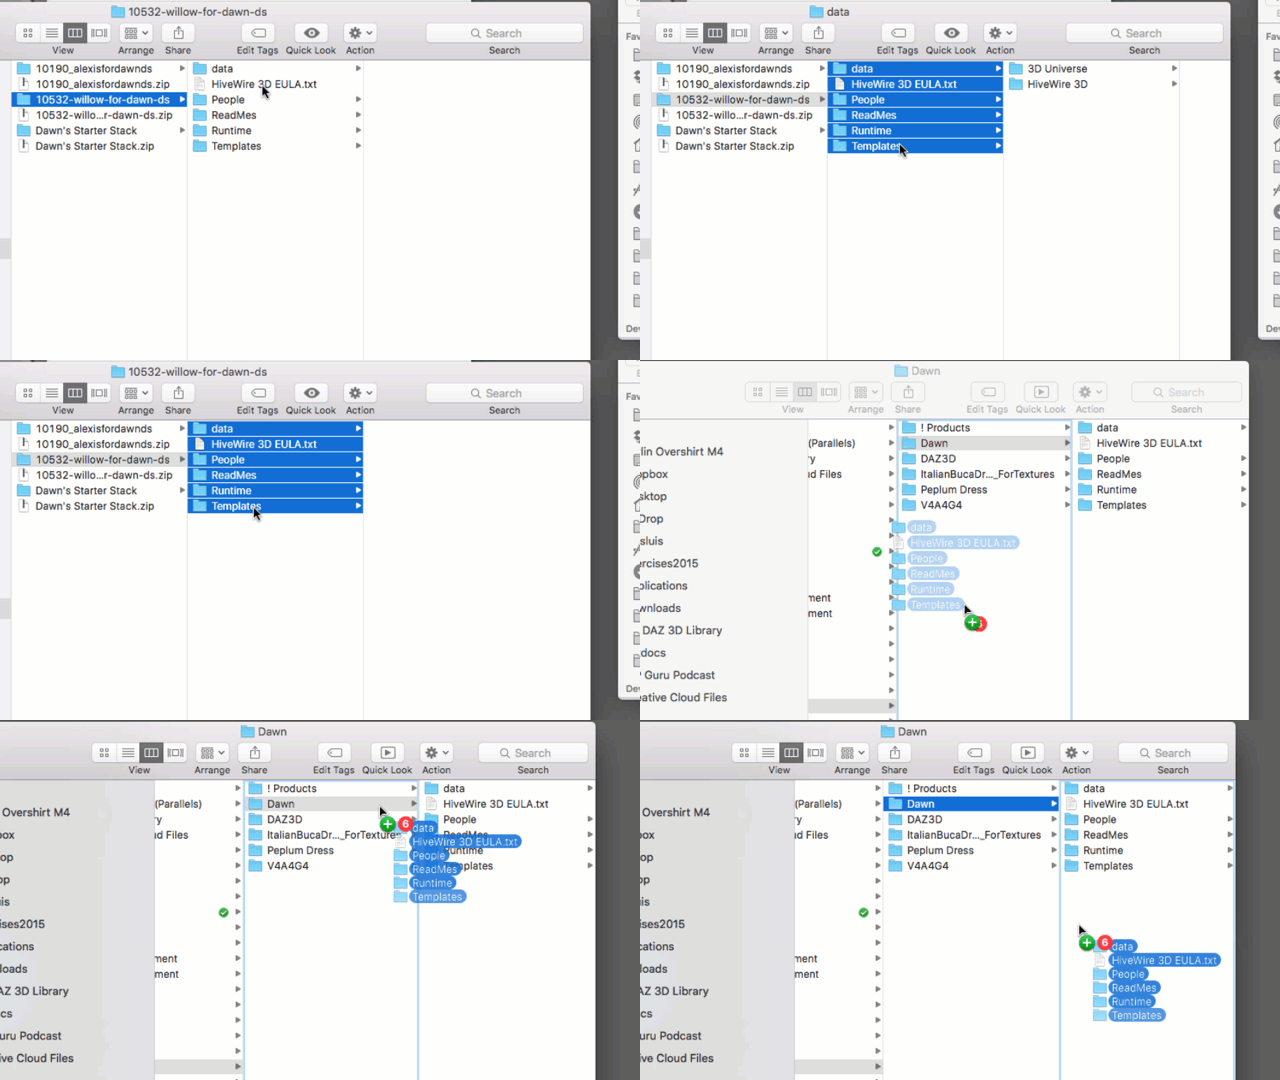
The principle is the same on Mac and Windows, however it’s slightly more tricky on a Mac because it wants to replace the whole folder rather than merge it. We’ll see how to deal with this peculiarity and have our content installed in no time!

Read more

How to export a UV Texture Template in Photoshop

Screen Shot 2016-04-29 at 11.21.17Sometimes it’s necessary to have a 2D Texture Template for a 3D model. It makes texturing a lot easier in 2D painting apps.
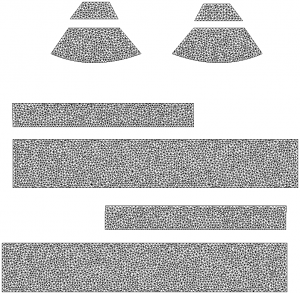
While some programmes like Marvelous Designer can create the UVs, and quite clearly show them to us, there’s no easy way to export them as a flat file – akin to the one you see on the right here.

Photoshop to the rescue! All versions of Photoshop 3D and Photoshop CC can import OBJ files, and they can not only display the UV Map as an overlay, they can turn it into a new Layer for us as well.

Here’s how to do it.

Read more

How to add thickness to an object in ZBrush using the Move Tool

While other 3D apps usually have an option to bring thickness to an otherwise flat object, ZBrush does not. Hurra.

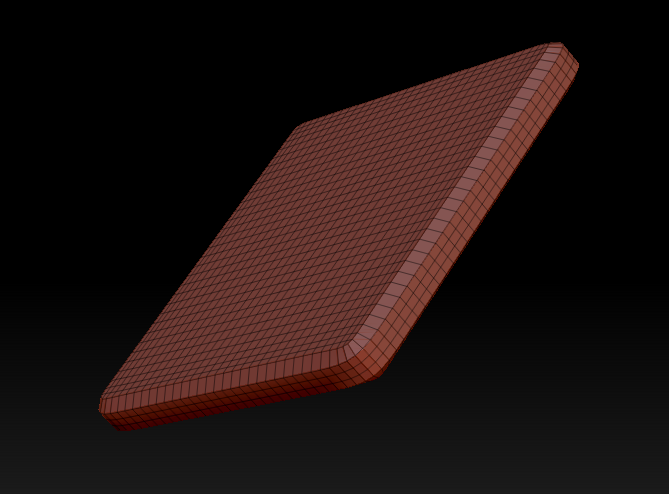
Here’s an extremely fiddly and imprecise way to add thickness to a flat object (such as a 2D plane) using a Morph Target trick I’ve learnt from BadKing the other day.

First, bring in a flat object into your otherwise empty document. The Plane_3D primitive will suffice nicely for this demonstration. Drag it out, enter Edit mode and turn this thing into a PolyMesh 3D.

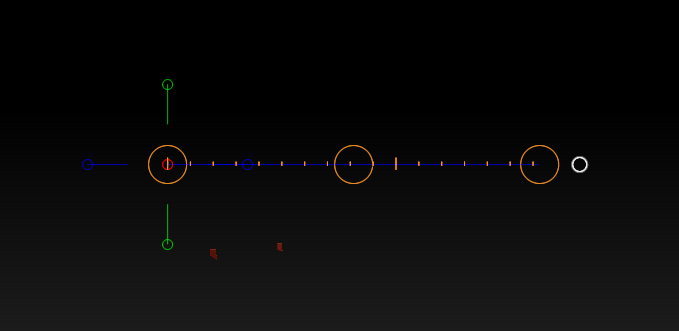
Turn the object on its side and hit Move (right next to the default Draw).

If you held down SHIFT while looking at the plane from its side, you’ll notice that you don’t see your object anymore – only the Move Tool. That’s just fine. It’s all part of the “fun” of using ZBrush. Have you used the Move Tool before? It takes a bit of getting used to. But I digress…

Click on the little blue circle on the right and you’ll see the tool change, expanding itself to the right. That’s excellent because we’ll move our invisible plane ever so slightly to the right in just a moment.

Screen Shot 2016-04-29 at 17.31.33

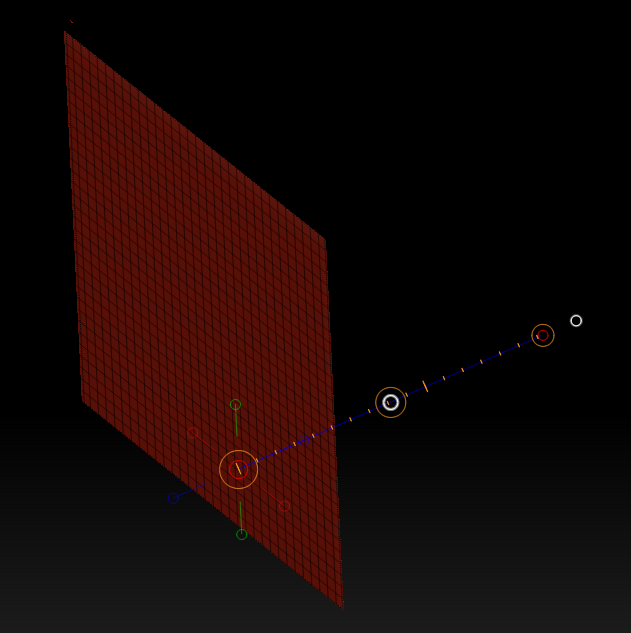
So in my screenshot, where the green line is, that’s the side of my plane. Feel free to turn the view around a little so we reveal the plane like so:

Screen Shot 2016-04-29 at 17.35.15

Read more

Filed under: Categories 3D Tagged as: Tags

How to apply Subdivision Surfaces in DAZ Studio

Screen Shot 2016-04-27 at 22.37.50

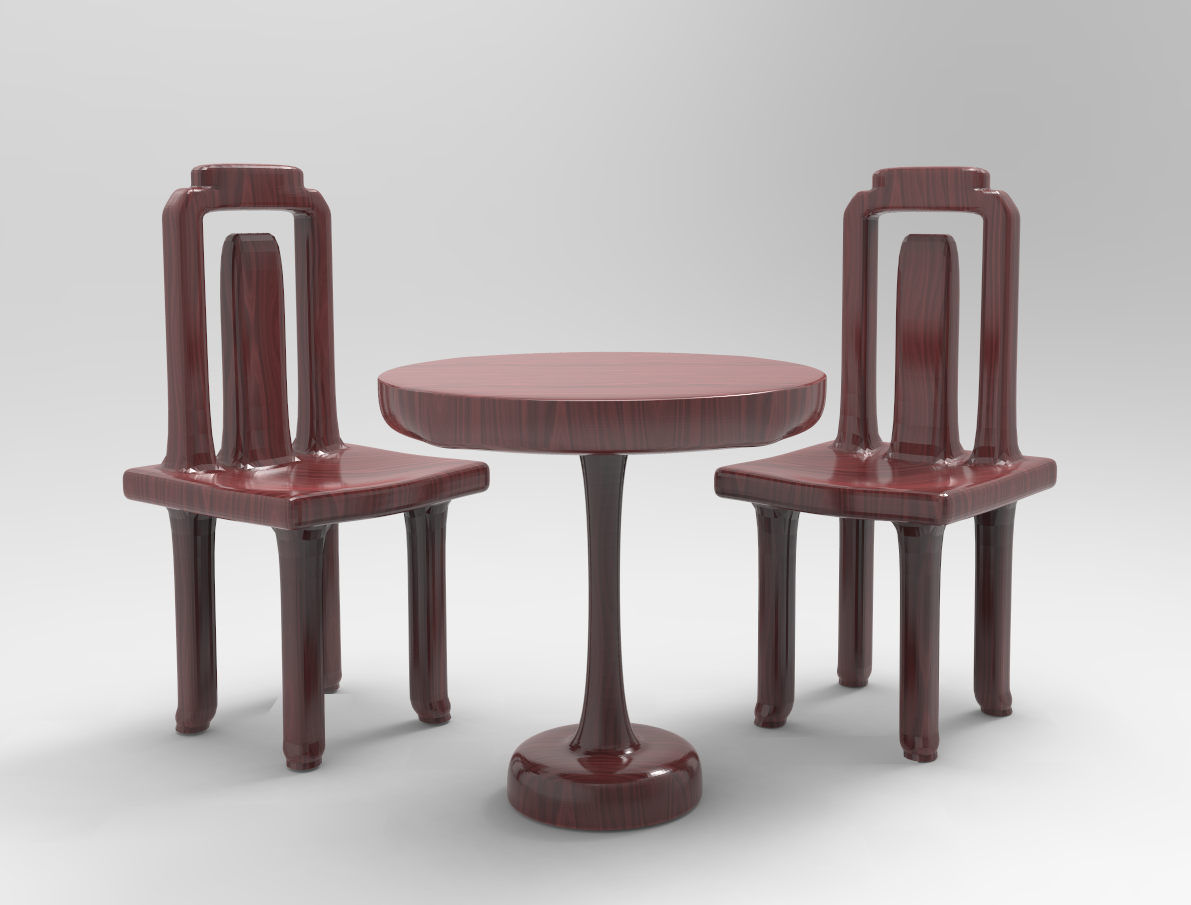
I was modelling a chair in ZBrush the other day and wanted to bring it into DAZ Studio for rendering. So I exported my chair as OBJ from ZBrush, imported it into DAZ Studio and was slightly surprised by the result: it looked more edgy, and not as smooth as it appeared in ZBrush.

Why was that, I wondered, and – more importantly – how could I fix that?

The secret sauce is called Subdivision Surfaces (SubD) and it’s easy to add to any object or figure that doesn’t already have it applied. Let me show you how to do this in DAZ Studio 4.8.

Read more

How to cut holes in ZBrush

Screen Shot 2016-04-27 at 10.52.43

Sometimes we need to cut holes into an object. Every other 3D app under the sun would call this a Boolean Operation – except for ZBrush of course, where this problem is solved with a (totally unintuitive) DynaMesh trick.

While the ZBrush manual mentions that this is easily achieved, they’ve missed out the part on how to actually do it.

Let me explain that here before I forget (which is probably tomorrow).

Read more

Filed under: Categories 3D Tagged as: Tags

How to use Radial Symmetry in Manga Studio

Manga-Radial

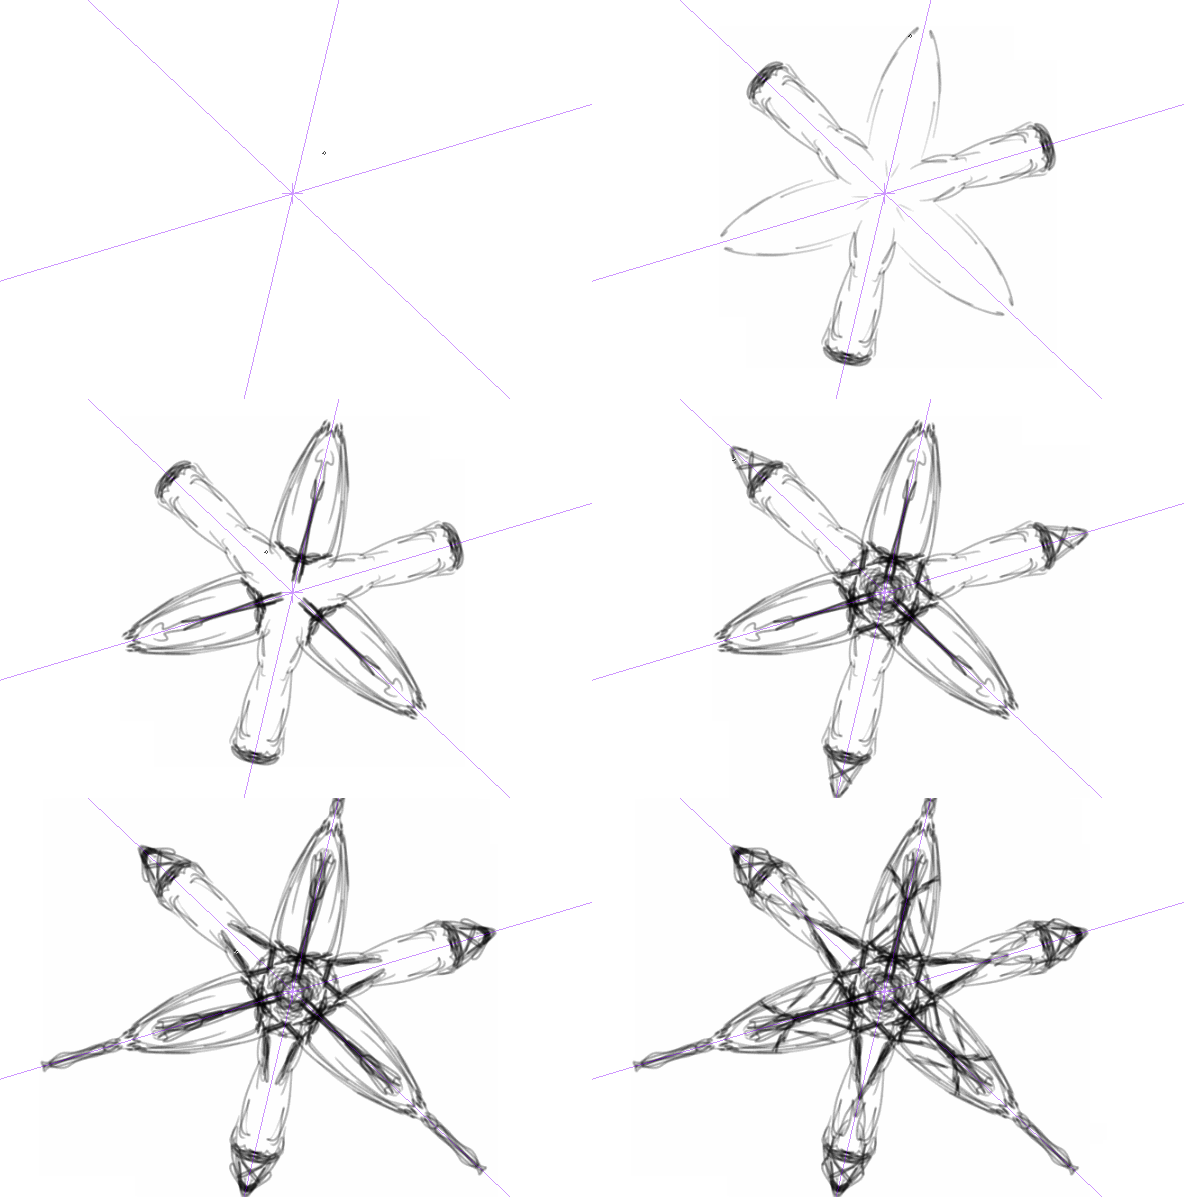
In my previous article I’ve explained how to use Radial Symmetry in SketchBook Pro, and because I can never remember how to use it it Manga Studio (or Clip Studio Paint as it’s now called), I thought I’d explain it here for future reference.

The Radial Symmetry feature has been part of Manga Studio since version 5.0, but it’s slightly complex to get started with it if you’ve never used it before. Radial Symmetry is created with a Ruler Layer, so I’ll explain how to create and use one.

Here’s how to accomplish this rather daunting task:

Read more

How to use Radial Symmetry in SketchBook Pro

Autodesk have recently introduced a new feature to SketchBook Pro: Radial Symmetry. While we had this feature for a while in Manga Studio, it’s much easier to use in Sketchbook Pro. Here’s how. Radial Symmetry is available to Pro members only, since version 8.1.0. From the menu bar, select the symmetry icon and click on the …

Read more

How to select multiple parts of a brush in ZBrush

Several brushes in ZBrush insert 3D meshes into your object rather than sculpting it. Some of the default brushes are named IMM in the brush menu, but you can get dozens of others from sites like BadKing.com.au (check it out – they’re phenomenal). IMM stands for Insert Multi Mesh, and such brushes can be created …

Read more

Filed under: Categories 3D Tagged as: Tags ,

What does “Delivery Status not updated” mean with USPS tracking

Screen Shot 2016-03-16 at 12.02.59A few months ago I ordered something from… I can’t actually remember from where, but the sender used USPS (United States Postal Service). He provided a tracking number, which usually works great, and you can keep an eye on where in the world your package is. I always find this really interesting, especially when the item travels across the US via all those destinations you didn’t even know existed.

The big day came when the status update read “Out for delivery”, which usually means it’s on my postman’s van, and I can expect the doorbell to ring any moment now.

To my surprise, said event didn’t happen, and in the evening the status had changed to “Delivery status not updated”. No package, no tracking information. What gives?

I did some investigating, and there’s a relatively simple explanation for this. Let me share it with you. First of all, here’s a screen grab of the tracking history:

Read more