How to use First Person Navigation in Blender

In large scenes it can be handy to navigate as if we’re playing a 3D computer game. And that’s possible in Blender: Hit SHIFT+F to enter First Person Navigation mode, then use your mouse to look around in 3D space. Now use the following keys to move around your scene: Left Cursor (or A) – move left …

Read more

LILIKOI Textures – now available at Renderosity

Here’s another texture set I’ve made for the wonderful Cathy Outfit by outoftouch. I call them LILIKOI. It means “passion fruit” in Hawaiian. Very fitting I thought! LILIKOI contains a total of 20 texture presets for DAZ Studio, 10 for NVIDIA Iray and 10 for 3Delight. You can mix and match any skirt with any top for a total of 100 …

Read more

How to use the Seletion Brush in Photoshop

screen-shot-2016-10-09-at-14-31-03Manga Studio has a really nice feature that I have been looking for in Photoshop for some time: a Selection Brush.

In addition to the usual lasso, marquee and Magic Wand tools, there is a way to simply paint over a part of your image, which then becomes part of (or reduces) the current selection.

Turns out this feature (and then some) is part of Photoshop too – it’s just not called a Selection Brush. Although from what I understand, there is such a feature in Photoshop Elements (a different product entirely).

In Photoshop, this tool is called the Quick Mask feature. It’s dead simple and extremely versatile. What’s not to like? Here’s how to use it:

  • either, head over to Select – Edit in Quick Mask Mode
  • or simply hit the keyboard shortcut Q to toggle the feature on or off

Read more

How to get rid of that scary blue line in Photoshop

screen-shot-2016-10-06-at-11-08-37I was doodling away in Photoshop, one hand on the keyboard and the other using my Wacom pen, when out of a sudden this crazy cyan blue line appeared right across my canvas. Super annoying!

My Intuos tablet has a mind of its own sometimes, selecting things that I don’t want, and perhaps this was one of those occasions. Or perhaps I had accidentally hit one of the gazillion keyboard shortcuts that does something I didn’t even know Photoshop could do. Who knows.

Either way, I had an ultra annoying line across my document, and there didn’t seem to be a way to get rid of it. Here’s what it looked like:screen-shot-2016-10-06-at-10-50-08


Moving the document also moves the line, so it had to be something that could be turned off. But how?

Read more

EQUINOX Textures – now available at Renderosity

I’ve just released a new texture pack, this time for the very versatile Strapless Mini Dress for Genesis 3 and Victoria 7, by hameleon and santuziy78. EQUINOX contains a total of 40 texture presets for DAZ Studio, 20 for NVIDIA Iray and 20 for 3Delight. I’ve added presets for the whole dress, as well as separate presets for the …

Read more

How to add Material Zones to an object in Blender

screen-shot-2016-10-03-at-18-07-59
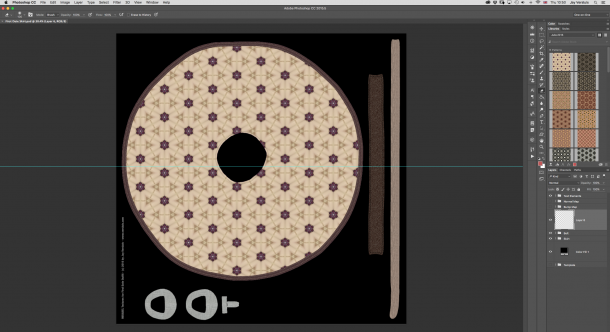
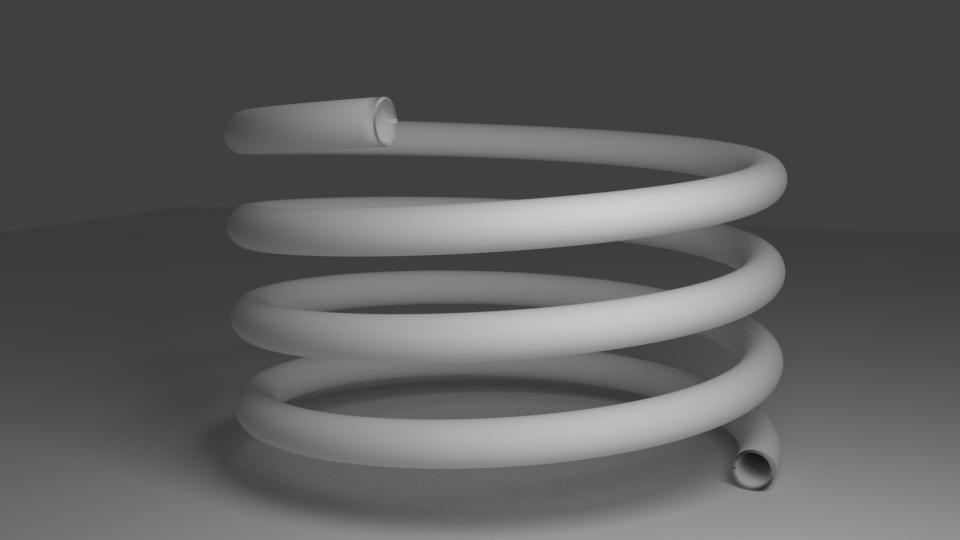
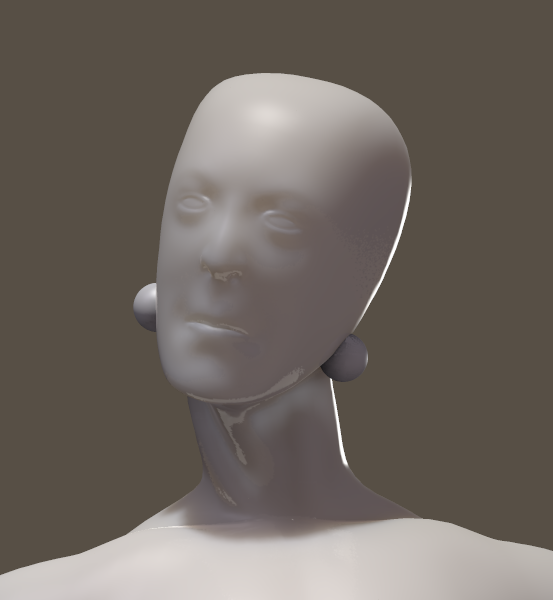
Material Zones are – as the name suggests – different parts of a single object that can each be assigned a shader. This sounds more complicated than it actually is.

In a nutshell, you can tell an object that its top should look different than its bottom at render time – figuratively speaking.

Such zones can be assigned only at the modelling level, so that each surface can be described differently by your rendering app. Here’s how to assign these Material Zones in Blender.

Read more

How to export only selected objects in Blender

By default Blender exports every item in your scene when you choose File – Export. That’s not so good if you only want to save out a small portion of a large scene. But it doesn’t have to be that way: there’s the often overlooked Export Options on the right hand side, on the same …

Read more

SYMPHONY Textures – now available at Renderosity

Here’s a texture set I’ve made for Jolina’s Swimsuit by outoftouch. SYMPHONY Textures is a set of 16 Material Presets for DAZ Studio, 8 for NVIDIA Iray and 8 for 3Delight. All maps are 4000×4000 pixels, ideal for ultra high resolution renders. Installation and Usage Unpack all ZIP files into your Poser/DAZ directory. Load a figure, …

Read more

COOL BREEZE Textures – now available at Renderosity

Here’s a texture set I’ve made for the Jolina Dress by my friends from Rotenburg and der Wümme, outoftouch. Although we don’t actually know each other, I feel a special connection because I used to live in Verden an der Aller, which is a mere stones throw away from Rotenburg. It’s a small world! The …

Read more

How to open multiple images as layers in Photoshop

Did you know there is a way to open several images in the same document as layers in Photoshop? It’s a real timesaver if you have several renders that all need to be composited onto the same background for postwork. It’s really easy to do: open Photoshop (duh!) head over to Scripts – Add Files to …

Read more

How to create a HDRI image in Photoshop

Photoshop CC 25yrsPhotoshop can combine multiple images into one and save them as HDRI, which allows us to use them in our 3D renders – either as 360 degree backgrounds or as light sources.

The way to do it has changed several times over the years – so here’s how this works in Photoshop CC 2015.

Read more

How to fix “The interface of shader xxx is invalid” in DAZ Studio

Sometimes, the 3Delight render engine in DAZ Studio can throw a hissy-fit and complain with the following error message: 3Delight message #45 (Severity 2): S2069: the interface of shader ‘/Users/versluis/Library/Application Support/DAZ 3D/Studio4/temp/shaders/brickyard/{407f8e5c-3a9b-4708-b5e5-799ff1fe7c1d}/shader_Surface.sdl’ is invalid 3Delight message #45 (Severity 2): S2051: cannot load shader ‘brickyard/{407f8e5c-3a9b-4708-b5e5-799ff1fe7c1d}/shader_Surface’, will use ‘defaultsurface’ This problem occurs frequently on complex shaders, such …

Read more

How to combine several saved selections in Photoshop

Sometimes it’s necessary to select more than one saved selection in Photoshop. And I was often wondering how to do it, thinking there had to be a way – until I discovered it by sheer accident today while pressing seemingly random buttons. Usually I call up a seed selection by heading over to Select – …

Read more

My new HP Z600 Workstation

photo-sep-24-16-22-52I’m as excited as a kid in a candy store – because last Monday my new (old) HP Z600 Workstation has arrived! Built and sold to the government in the summer of 2009 for roughly $5000 (give or take a grand), it came to me via an eBay auction for $171 plus postage some seven years later.

Equipped with two Intel Xeon 5560 processors, no hard drive, 4GB of RAM and only a COA sticker for Windows Vista, I had a little bit of work to do to get it all going:

  • get a USB keyboard
  • get a power cord
  • get a graphics card
  • perhaps grab some more RAM
  • find a network cable
  • download a copy of Windows Vista (not easy to find in 2016)

I wanted to use this machine for 3D rendering in both Carrara and DAZ Studio, so for the latter I decided to buy an NVIDIA GTX 970 graphics card. I had to do a few internal modifications to the machine to make it work – but work it does, and it was a lot of fun to get this rig going.

Without further ado, here’s my Z600 story.

Read more

How to create a Smart Prop in Poser

Yesterday I’ve written about how to create a Smart Prop in DAZ Studio, and today we’ll learn how to do it in Poser.

The principle is the same: model your 3D object as you wish, then import it – or load and create a primitive in Poser. I’ll do the latter and give Andy some exciting earrings (even though he doesn’t have ears).

screen-shot-2016-09-17-at-14-19-44

As you’ve guessed it, these are just two sphere primitives. Poser can’t create its own, but you can load a variety from the library under Props – Primitives. I’ve scaled them and moved them into place.

Read more

Filed under: Categories 3D Tagged as: Tags

How to create a Smart Prop in DAZ Studio

Smart Props are little items of geometry that can follow another object without the need to be completely rigged – unlike conforming clothes, which need to have the same skeleton and rigging as the parent figure. Smart Props are great for things like jewellery and other ancillary items. Let’s see how we can create one …

Read more

Where are the HDR images stored in KeyShot

KeyShot comes with several pre-installed environments, based on HDR images. We can use them in other applications too, if we know where to look for them. On a Mac, the KeyShot5 HDR images are stored here: /Library/Application Support/KeyShot5/Environments To navigate there, hit the Go option in your Finder, while holding down the OPTION / CMD key. …

Read more

How to create Poser Companion Files in DAZ Studio

screen-shot-2016-09-08-at-16-47-21
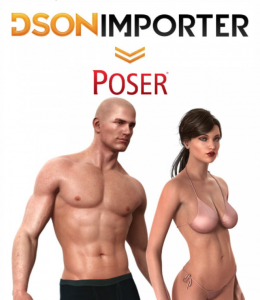
When the Genesis figure was released in 2011, it was not natively compatible with Poser and only worked in DAZ Studio.

Shortly after its release though, the folks at DAZ came up with a way to make Genesis and related content available in Poser, called the DSON Importer – a script that reads the DAZ Studio files and translates them on-the-fly into something Poser can understand.

It’s not perfect, but it works with both Genesis 1 and Genesis 2 figures – as well as related content, provided that so called Poser Companion Files exist. The good news is that DAZ Studio can create those files with minimal effort – if you know how to do it.

Let me show you how in this article, which was inspired by a forum thread over at HiveWire.

Read more

How to suppress the “Incoming Network Connections” Dialogue for DAZ Apps on your Mac

Screen-Shot-2015-06-02-at-08.28.12

Mac Users will be familiar with the above dialogue. If you have DAZ Studio, Install Manager and/or Carrara installed, this thing shows up several times during your working day:

  • when you start your computer
  • when you launch Install Manager
  • when you launch DAZ Studio
  • when you launch Carrara

Should this drive you crazy, then read on – because there is indeed a solution to this! It has to do with a bit of command line hacking and location scouting. But if you’re clever enough to figure out such complex 3D applications, the following steps will seem like a walk in the park to you.

The following steps worked for me on OS X El Capitan 10.11.6, DAZ Studio 4.9 and Carrara 8.5 Pro.

Read more

How to grow grass on a terrain in Carrara

Grass3
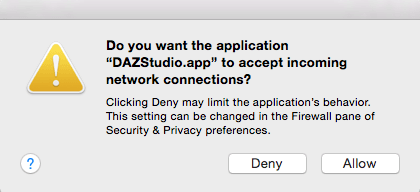
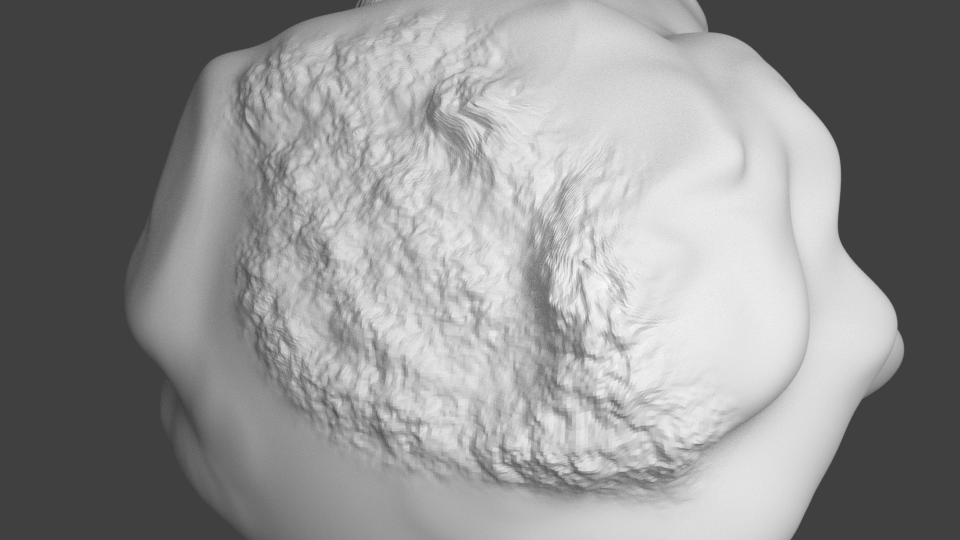
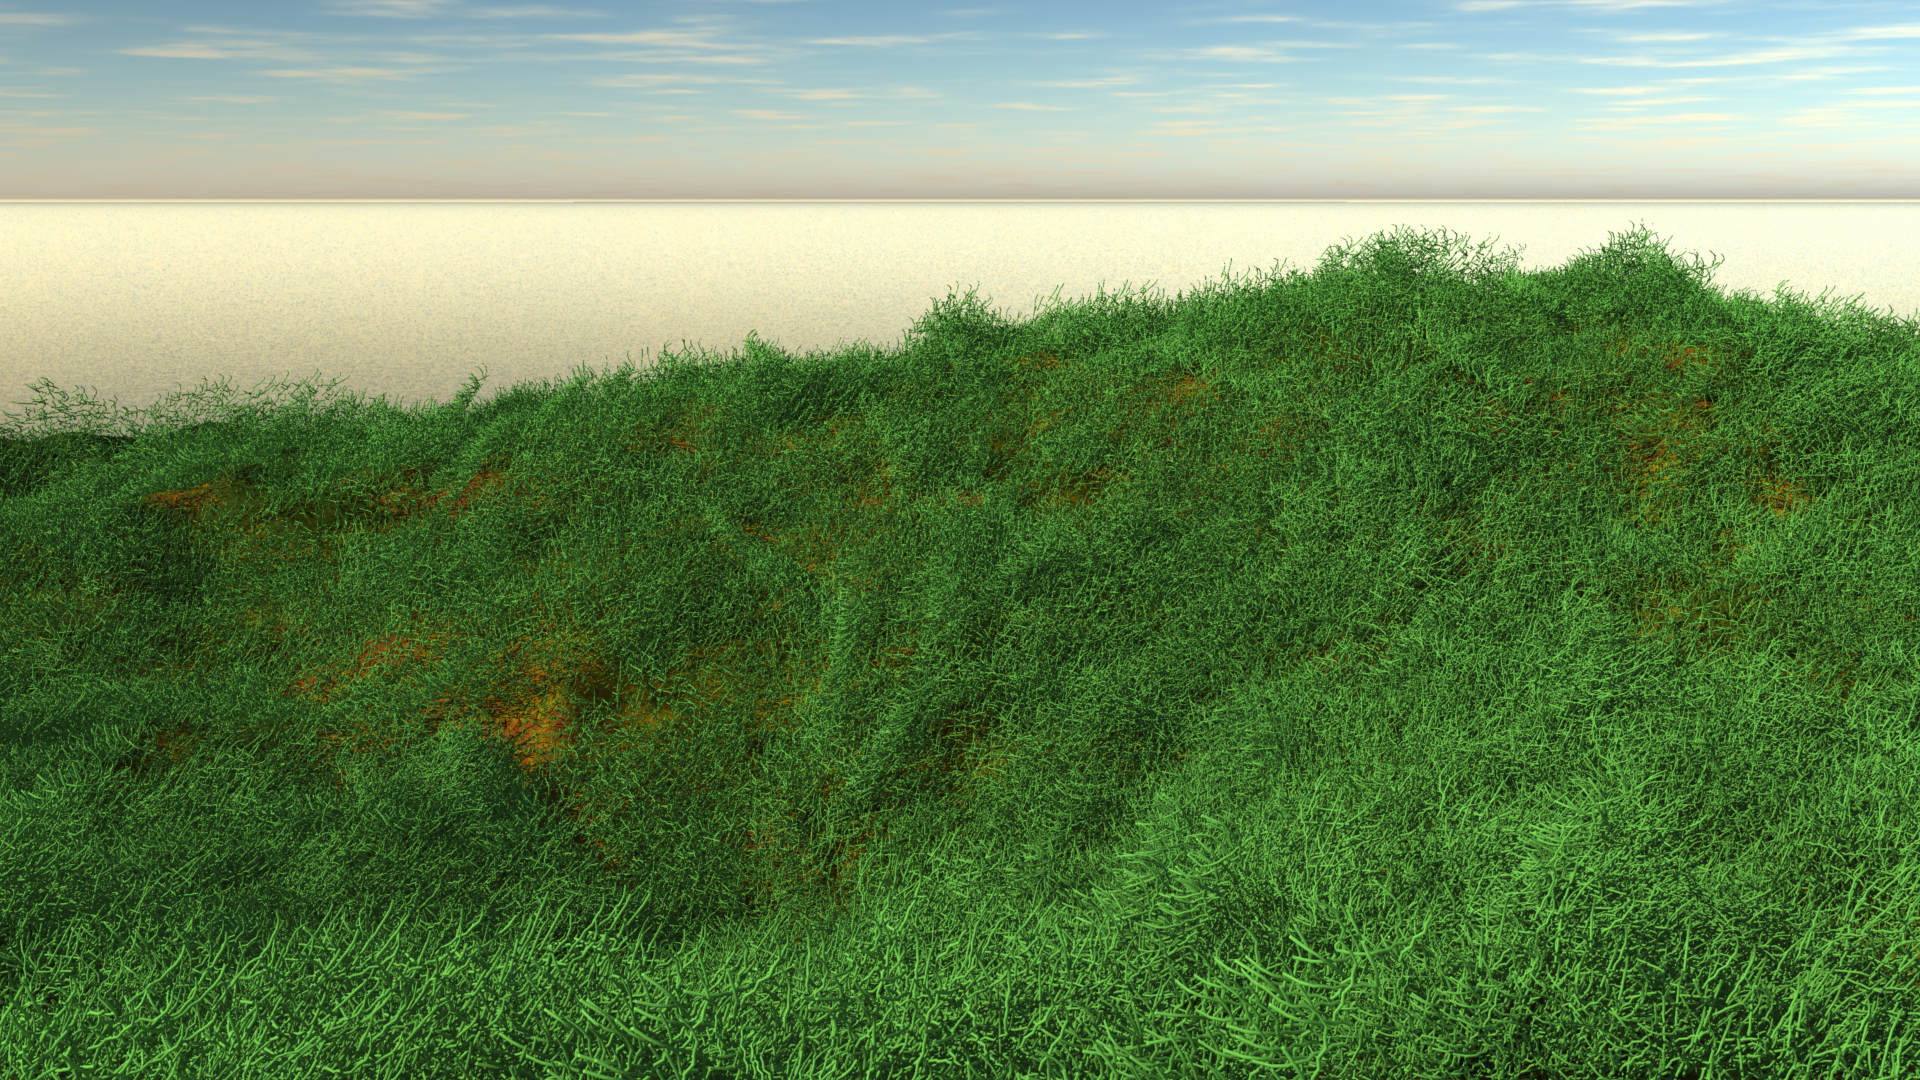
My first idea of growing grass in Carrara was to make use of the Hair Object. It sounds like an easy workflow too: drag the hair object onto my terrain, adjust its growth behaviour, adjust the colour to resemble grass, and case closed. This approach works fine with primitives and vertex objects.

But sadly, it doesn’t work with terrains. So I thought, perhaps I’ll apply a patch of hairy grass to a plane, and then use a Surface Replicator to replicate the plane all over the terrain. That doesn’t work either: while the plane itself is being replicated, the actual hair (or grass) that’s growing on it is not. I compare this to using the best string trimmer vs scissors on your lawn. Perhaps the Hair Object isn’t such a good idea to be used with growing grass on a huge terrain after all.

A very different approach comes from Phil Wilkes, who has kindly shown how to model a more complex patch of vegetation in this video. I’ve taken the same approach but only modelled a single stalk of grass, replicated it onto a plane, and then replicated that plane onto my terrain.

Here’s how I did it step by step.

Read more

Filed under: Categories 3D

How to animate clouds in Carrara

Carrara’s Realistic Sky produces some pretty decent clouds. I’m particularly fond of the Cirrus clouds. The manual suggests that they can be animated too, but I didn’t really know how to do it. Thanks to a tip from Mark Bremmer I was put on the right track. Here’s how to do it: In the Scene …

Read more

Filed under: Categories 3D Tagged as: Tags

Running Bryce in Parallels Desktop

Sunset2Bryce 7.1 doesn’t reliably run under OS X, but it works fine in both Windows 7 and Windows 10. Being the Mac User and avid 3D enthusiast that I am, and having a bit of time on my hands, I thought I’d give Bryce another go. And thanks to Parallels Desktop I can run it in a virtual Windows installation. Nice!

I’m only getting started with Bryce, but the first thing I’ve noticed was that many of the mouse controls didn’t work as expected. For example, dragging a slider up or down only works in one direction, and much too erratic to be useful. Imagine how awkward camera and positioning controls are! Anything that has to do with leaving the left mouse button clicked while dragging up/down/left/right is affected.

The Problem

I’m using Apple’s Magic Trackpad, and those controls need to be translated by Parallels Desktop and given to Windows as Mouse Controls. This works fine out of the box in most Windows applications – but not with Bryce. Don’t ask me why.

So I thought, how am I going to make this work? Fiddle with Windows Mouse Settings (has no effect), fiddle with Parallels Desktop Settings (also has no effect), install Snow Leopard or Windows on an external partition? Ah, let’s just not go there.

But there is something surprisingly simple that came to me this morning: connect a dedicated input device directly to the Windows VM, rather than have Parallels Desktop translate the controls. And hey presto: it works a treat!

Let me show you how to do it in this article.

Read more

How to use the Photoshop 3D Bridge in DAZ Studio

In this video I’ll show you how to use the Photoshop 3D Bridge in DAZ Studio 4.9.

It’s a little clunky and a little old school, but it can still be a helpful tool to either render a scene from DAZ Studio directly into Photoshop for compositing, or exchange texture maps for easy changes and amendments. I’ll also discuss how to bring a whole 3D scene into Photoshop and add a few troubleshooting tips.

But I know that videos aren’t for everybody, so I thought I’d also add some written instructions here for good measure.

Read more

How to add textures to a sculpting brush in Blender

Detail

Blender allows us to sculpt with textures to add fine detail to each brush stroke. In ZBrush this feature is called sculpting with alphas, but the principle is a little easier to understand in Blender (at least for me). Here’s how to add a texture to a sculpt brush in Blender. 

Read more

How to use the Screw Modifier in Blender

Screw

The Screw Modifier in Blender is very straightforward to use – if you know how. I tried to figure it out by myself which proved impossible. I guess unintuitive is the word I’m looking for. Reading the manual gives us an explanation like this:

The profile should be properly aligned to the cardinal direction of the object rather than to the screw axis.

Yes… this means what exactly? Thick people shouldn’t use this tool? Thankfully it’s far simpler than it sounds – let me show you how. 

Read more

How to use Boolean Operations in Blender

Blender uses a Modifier for boolean operations. Those can be used to cut into an existing object or combine two objects. In this example we’ll cut a hole into our default cube. Select the object you’d like to cut into, but have another object in your scene. We’ll use a cylinder that’s slightly smaller yet …

Read more

How to duplicate an object along a path in Blender

Cube Necklace

Hexagon had a nice feature called “copy on support”. With it we can create duplicates of
an object along a path, something that comes in handy when creating a ladder or a necklace. I wondered if Blender too had such a feature, and of course it has – even though it’s perhaps a little bit unintuitive (read: impossible) to figure out. Pretty much like the rest of Blender.

So here’s what we have to do in order to duplicate an object along a path in Blender, where this technique is called DupliFrames. Don’t worry about looking it up in the plethora of menus – it’s not to be found anywhere.

Read more

How to use Proportional Editing (Soft Selections) in Blender

Porportional-Editing

Proportional Editing is what Blender calls a tool with which you can modify part of your object with an area of influence around your selection. Other apps would call this Soft Selections. The principle is the same: pick a selection, and rather than just move the selection, you have influence over an area of gradual falloff.

In the above GIF I’ve selected a single face in the middle of a grid. Without proportional editing, only the face is moved. With proportional editing, the whole area around it is moved. Let’s take a look at how to use this tool.

Read more

Blender Keyboard Shortcuts

Here’s a list of shortcuts for use in our Blender adventures. These become second nature very quickly, but when you’ve been away from Blender for a while it’s really easy to forget them all. So while they’re in my mind, here’s what my brain currently knows and likes.

Read more

How to chamfer edges in Blender

You can chamfer edges in Blender using the Bevel Tool (from the Edge menu). To do this, enter Edit Mode and select one or more edges on your object. Hit CTRL+E to bring up the Edge Menu and select Bevel. Alternatively, hit CTRL+B to enter Bevel mode immediately. Now move your mouse and the an …

Read more