How to download previous versions of Marvelous Designer

Marvelous Designer (or Marvy D as some fans call it) receives frequent updates with a plethora of new features. With every round new version number, and upgrade fee is necessary – if you bought the software with a perpetual license (like I have, because I genuinely dislike the subscription model… but I digress).

This means that it is very likely that a new version passes you by, and you have the need to download an older version of Marvelous Designer.

Good thing you can: from the Download Archive.

Read more

How to play HALO on Windows 10

The other day I bought a brand new copy of the 2001 classic HALO – Combat Evolved for Windows. I really liked this game and played it on the original XBOX quite a bit – even thought I must admit that I neither liked nor got it the first few times I picked it up. …

Read more

How to avoid missing textures in Reality for DAZ Studio

I was playing around with Reality for DAZ Studio the other day, and the above phenomenon occurred. It’s a Michael 6 render that should have worked out of the box – especially because Reality is clever enough to convert his skin shaders to automatically. The render worked fine on one of my machines, but not on another.

Strangely enough though, I could see the textures fine in the viewport. And a quick test render in both 3Delight and Iray showed the textures fine too. But Reality and LuxRender wanted to render the skin tone as some scary metal.

So what’s going on?

The culprit is DAZ Connect. On this second machine, Michael 6 was installed not via the DAZ Install Manager, but from within DAZ Studio via DAZ Connect. This has happened because I loaded the scene (from Dropbox), and DAZ Studio recognised that Michael 6 was not installed, and hence offered to install him for me. I accepted the generous offer, but Reality and LuxRender can’t handle textures installed via DAZ Connect.

Read more

How to render “Manuel Bastioni LAB” characters without purple skin in Blender

I recently discovered the Manuel Bastioni LAB add-on for Blender. Judging it only by the title you’d never guess it’s an extravagant people generator of the highest caliber! Bastioni was working with the folks from MakeHuman for many years, but The LAB is his own project.

In a nutshell, it creates ready-to-use characters, complete with poses and morphs, as well as many other complex goodies. And as with many complex things, rendering can take a while. I tend to prepare a scene on one machine, transfer it to a faster system and let it render while I setup the next scene.

This workflow usually works a treat with .blend files, but not necessarily with those containing Manuel Bastioni characters. Turns out the skin has a good chance of looking alien purple. Quite a nice effect, but perhaps not all the time.

Lucky for us, knowing why this happens will help us understand how to fix the problem. It’s not a bug, just a question of which box to tick when saving those files. Let me show you which box that is and how to avoid the purple skin effect.

The Purple Skin Phenomenon

Read more

How to use Spotlights with NVIDIA Iray in DAZ Studio

The NVIDIA Iray render engine can be a bit of a mysterious box sometimes. Especially when it comes to lighting. But it doesn’t have to be. Let’s see how we can add a standard spotlight to our scene and set it up so we can use it properly with Iray.

Let’s take this simple scene as as demo and a staring point. It’s a there and a plane, both of which have Iray shaders applied (it’s Walnut on the floor, and orange car paint on the sphere).

Iray Default Light (IBL)

1-iray-default-lights

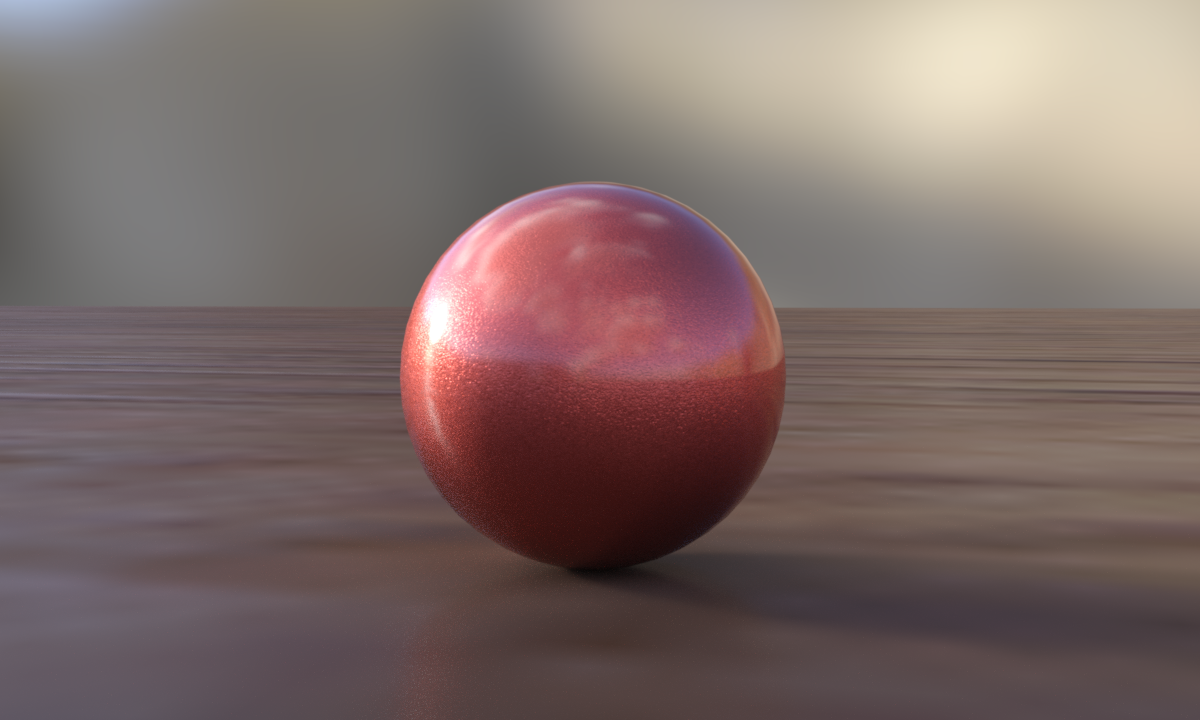
The default lighting for a new DAZ Studio Iray scene comes with a small HDRI image applied by default, and when we render our scene, we can see the effects of that light source.

Notice that there’s a small specular highlight on the sphere, on the left hand side (a small shots spot). This is the sun’s hotspot from the HDRI image map. As you turn the camera around, the hotspot moves. Alternatively you can move the Iray Dome to move that hotspot (under Render Settings – Environment – Dome – Dome Rotation).

Not every HDRI image has a sun though, and depending on which map you use, you may not even see such a hotspot in your renders.

Adding a Spotlight

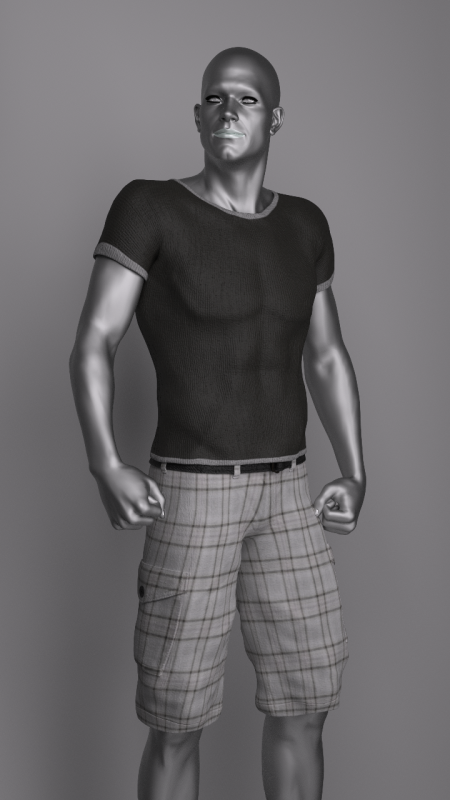
The left hand side of our sphere is a little darker, and if this was a character’s face, we may want to brighten it up a bit. In 3Delight we’d just add a standard spotlight, tweak the intensity and shadows until we’re happy, and then we’re done with it. With Iray we’ll do the same thing – but the settings are just a little different.

Read more