I have previously described how to render DAZ Studio Scenes without DAZ Studio. This is done by rendering to a RIB File (RenderMan Interface Bytestream), using the standalone 3Delight Studio to create the final render. The procedure frees DAZ Studio up and allows you to work on your next scene without having to wait for the render to finish.
I generally use Xender for PC for my file transfer needs, but I’ve been looking for ways to transfer such RIB files to another computer which does not have the content or even DAZ Studio installed, and I think I’ve found another one!
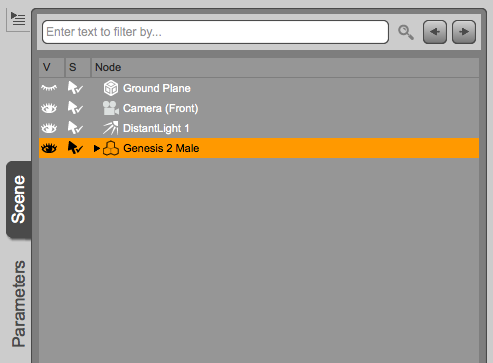
When used as described in my previous article, DAZ Studio creates a RIB file that references temporary files as well files on the local system. Neither of those can be used on a different computer because they most certainly don’t exist. This means your render will likely be missing a few textures.
There’s a handy command line tool that will collate all those files needed to render the image. The drawback is that – depending on the size of your scene – this may result in a rather large file (1GB or more). However the approach is great if you’d like to render that super long animation for several weeks without blocking your regular office computer.
Here’s how to do it.
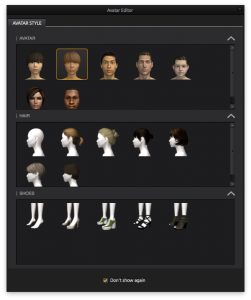 Marvelous Designer comes with 7 default avatars, but it’s very easy to use your own 3D figure and create custom clothing for it.