Summer Time means Bikini Time – unless you live in Miami Beach, where it’s Bikini Time all the time. May I present with pleasure a brand new texture set from Team V:
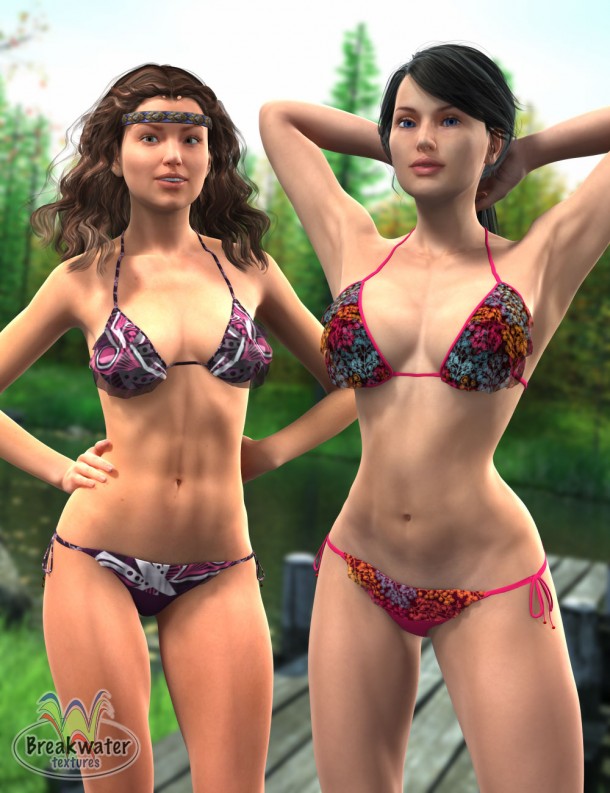
Breakwater Textures adds 10 new Material Presets for the beautiful Frilly Triangle Bikini by Nikisatez. Take your Genesis 2 ladies out for a dip in the lake or a stroll at the beach and give the Frilly Triangle Bikini a whole new spin (watch out for little green monsters though).
The set is now available from Hivewire3D.
This slideshow requires JavaScript.
All the above were rendered in DAZ Studio, but separate Poser Material Presets have been carefully crafted from scratch. The backdrop was made in Carrara using HowieFarke’s beautiful Secret Lake scene, and the little green critter is another 3D Universe classic called “Monsters in my Cupboard” (both available from DAZ).
Our models are Victoria 6 (left) and Lilith (right, and in single shots), featuring textures designed by my wife Julia. Right on!
Let’s see how to use those Breakwater Textures.
Read more