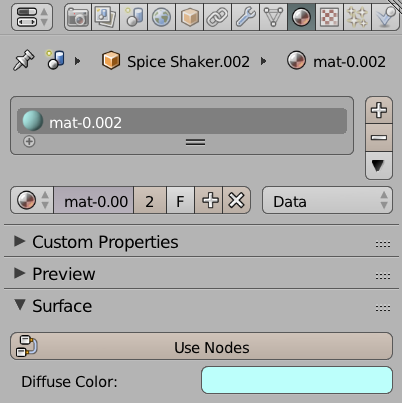
Material Presets in DAZ Studio describe the surfaces of your 3D objects. A simple object may only have one material zone, but more complex objects can have several. These zones are also known as Shading Domains, which are setup when the object is created in a 3D modelling application.
Material Presets are closely related to Shaders, in fact they work with very similar concepts. The difference is that a Shader describes a single surface, whereas a Material Preset describes which Shader is applied to which part of an object, or more accurately, which Shading Domain shall be rendered with which Shader.
While you can apply a Shader to any object’s surface, you cannot necessarily apply any Material Preset to any object: Material Presets are object specific, whereas Shaders are not.
Let’s take a closer look at Material Presets in DAZ Studio, how to set them up and how to save them to your library.

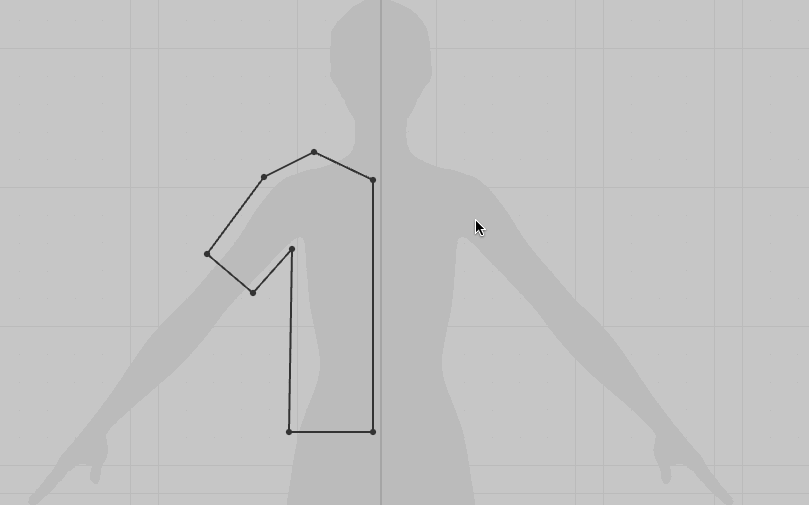

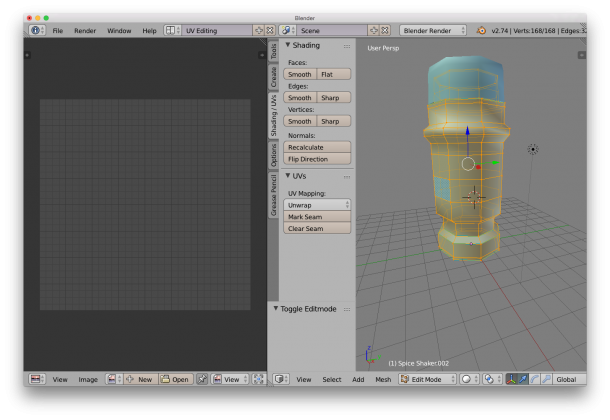 On the right hand side, make sure the Shading/UV tab is showing – it contains some vital tools for this endeavour. Choose edge selection and start marking seams for your unwrap. It’s easy to ALT-RIGHT-CLICK to select edge loops, or use the Select Menu for more funky options.