This month I’ve decided to start this list at the beginning of the month and add to it as I go along, rather than trying to retrace what I’ve been doing (like I did last month). The latter approach takes forever and is prone to losing something I did in the process.
Starting this list early means I can easily add to it, and even schedule the date of publication. It works great both for scheduling as well as a victory log.
Super Survivor Project
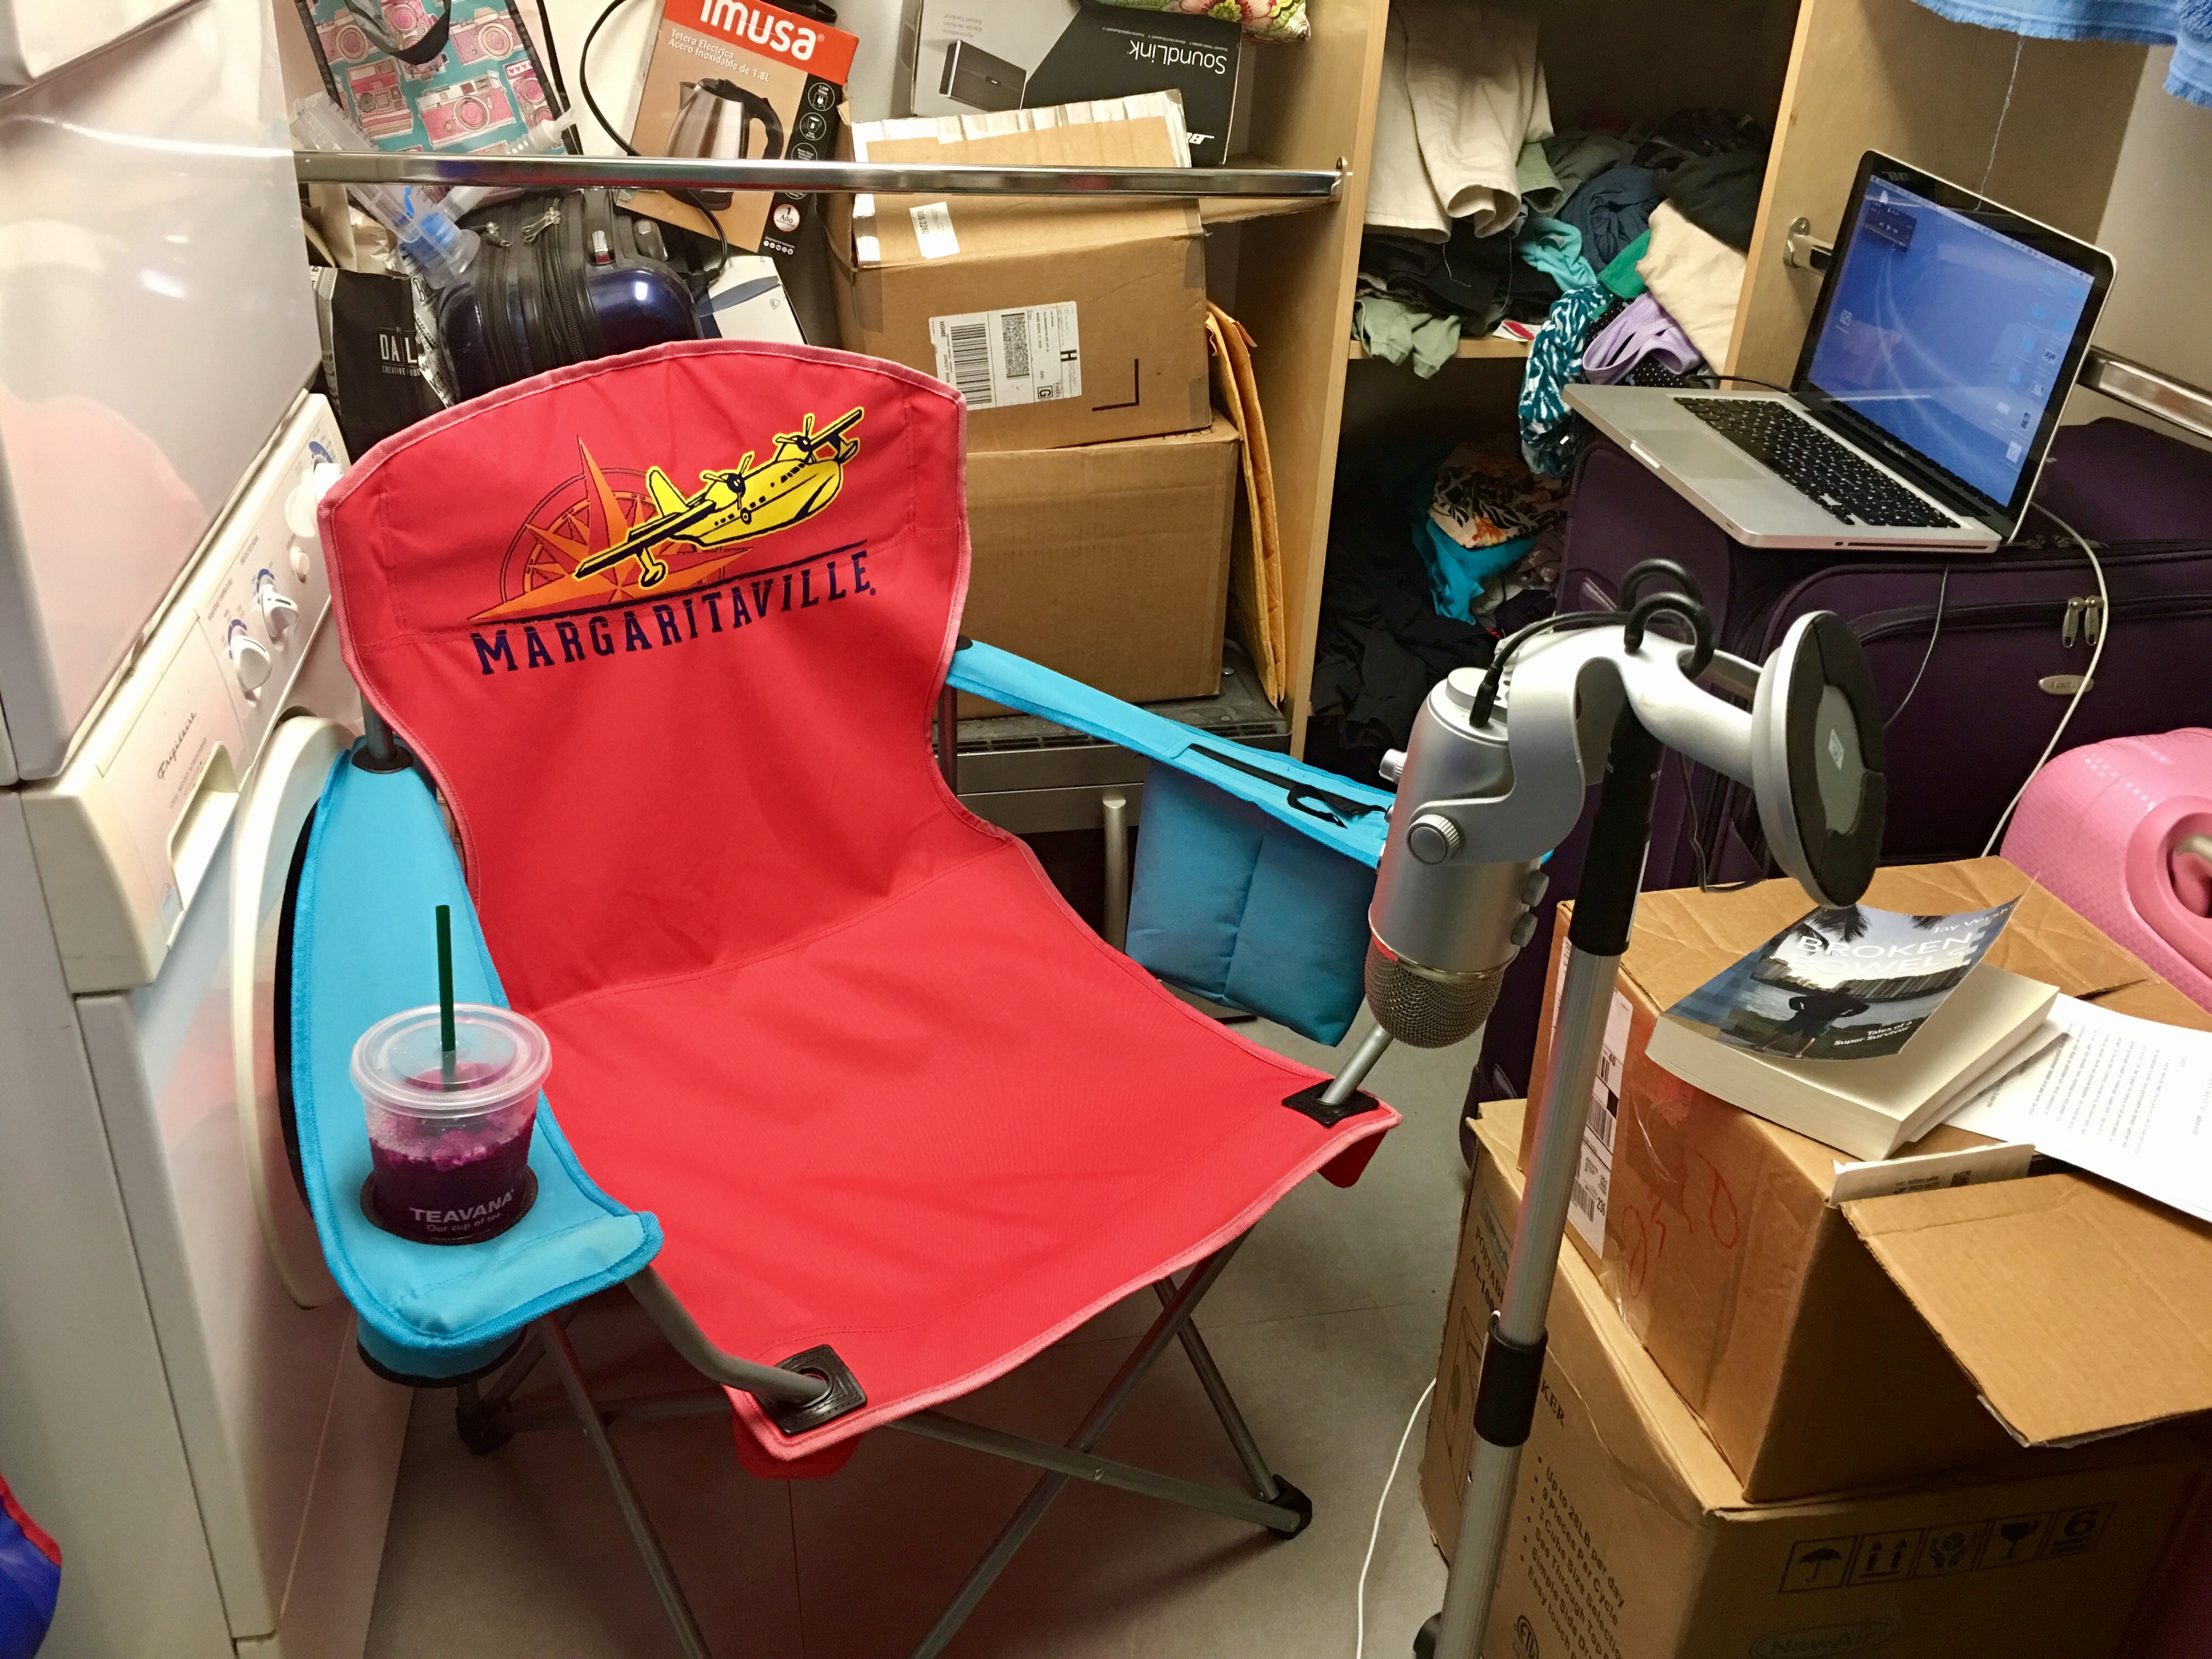
 I’ve spent the second half of May writing more of my book, something I’ve taken a break from for over two months. To see where I stand, I printed the whole 400+ pages out and bound them using 1″ book rings (just about fits). The book is definitely coming together, but there’s so much more I want to say. It will probably take me the better part of June finish t.
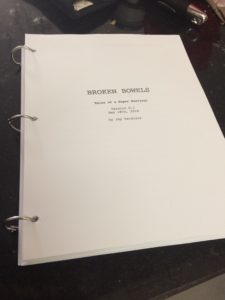
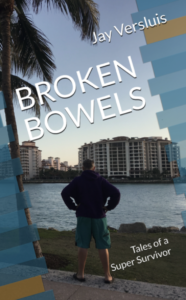
I gave myself an (already extended) deadline: Broken Bowels shall be released on the 4th of July, which means I need to deliver the final manuscript to Amazon no later than June 30th 2018.
My original plan was to have it all done by the end of March but I had reached a point at which it just didn’t flow anymore. As I later found out it was the premise that wasn’t working for me. The more I thought about it, the less I felt that an account of the events as they happened during my cancer journey wasn’t telling the whole story.
What was fascinating me more and more was the question, “how did I survive this ordeal – both mentally and physically”. And as soon as I started writing with that question in mind, things kept flowing like never before. Hence I’m very happy to report that I’m back in the game, hitting the keys almost every day and I’m very much enjoying it!
I had several very successful sessions that yielded more than 4200 words per day (about 20 A4/Letter pages) and the whole project is becoming more than what I had envisioned it to be when I started it. Here’s what I did in detail:
Read more

 Last month I’ve been flat out writing the last chapters of my book “
 Did I mention that my book LAMP Stack for Humans is also available in paperback format?