2D Archives

Ramblings, Tips and Tricks around 2D drawing apps such as Photoshop, Manga Studio, SketchBook and the likes.

How to create a drape effect in Photoshop

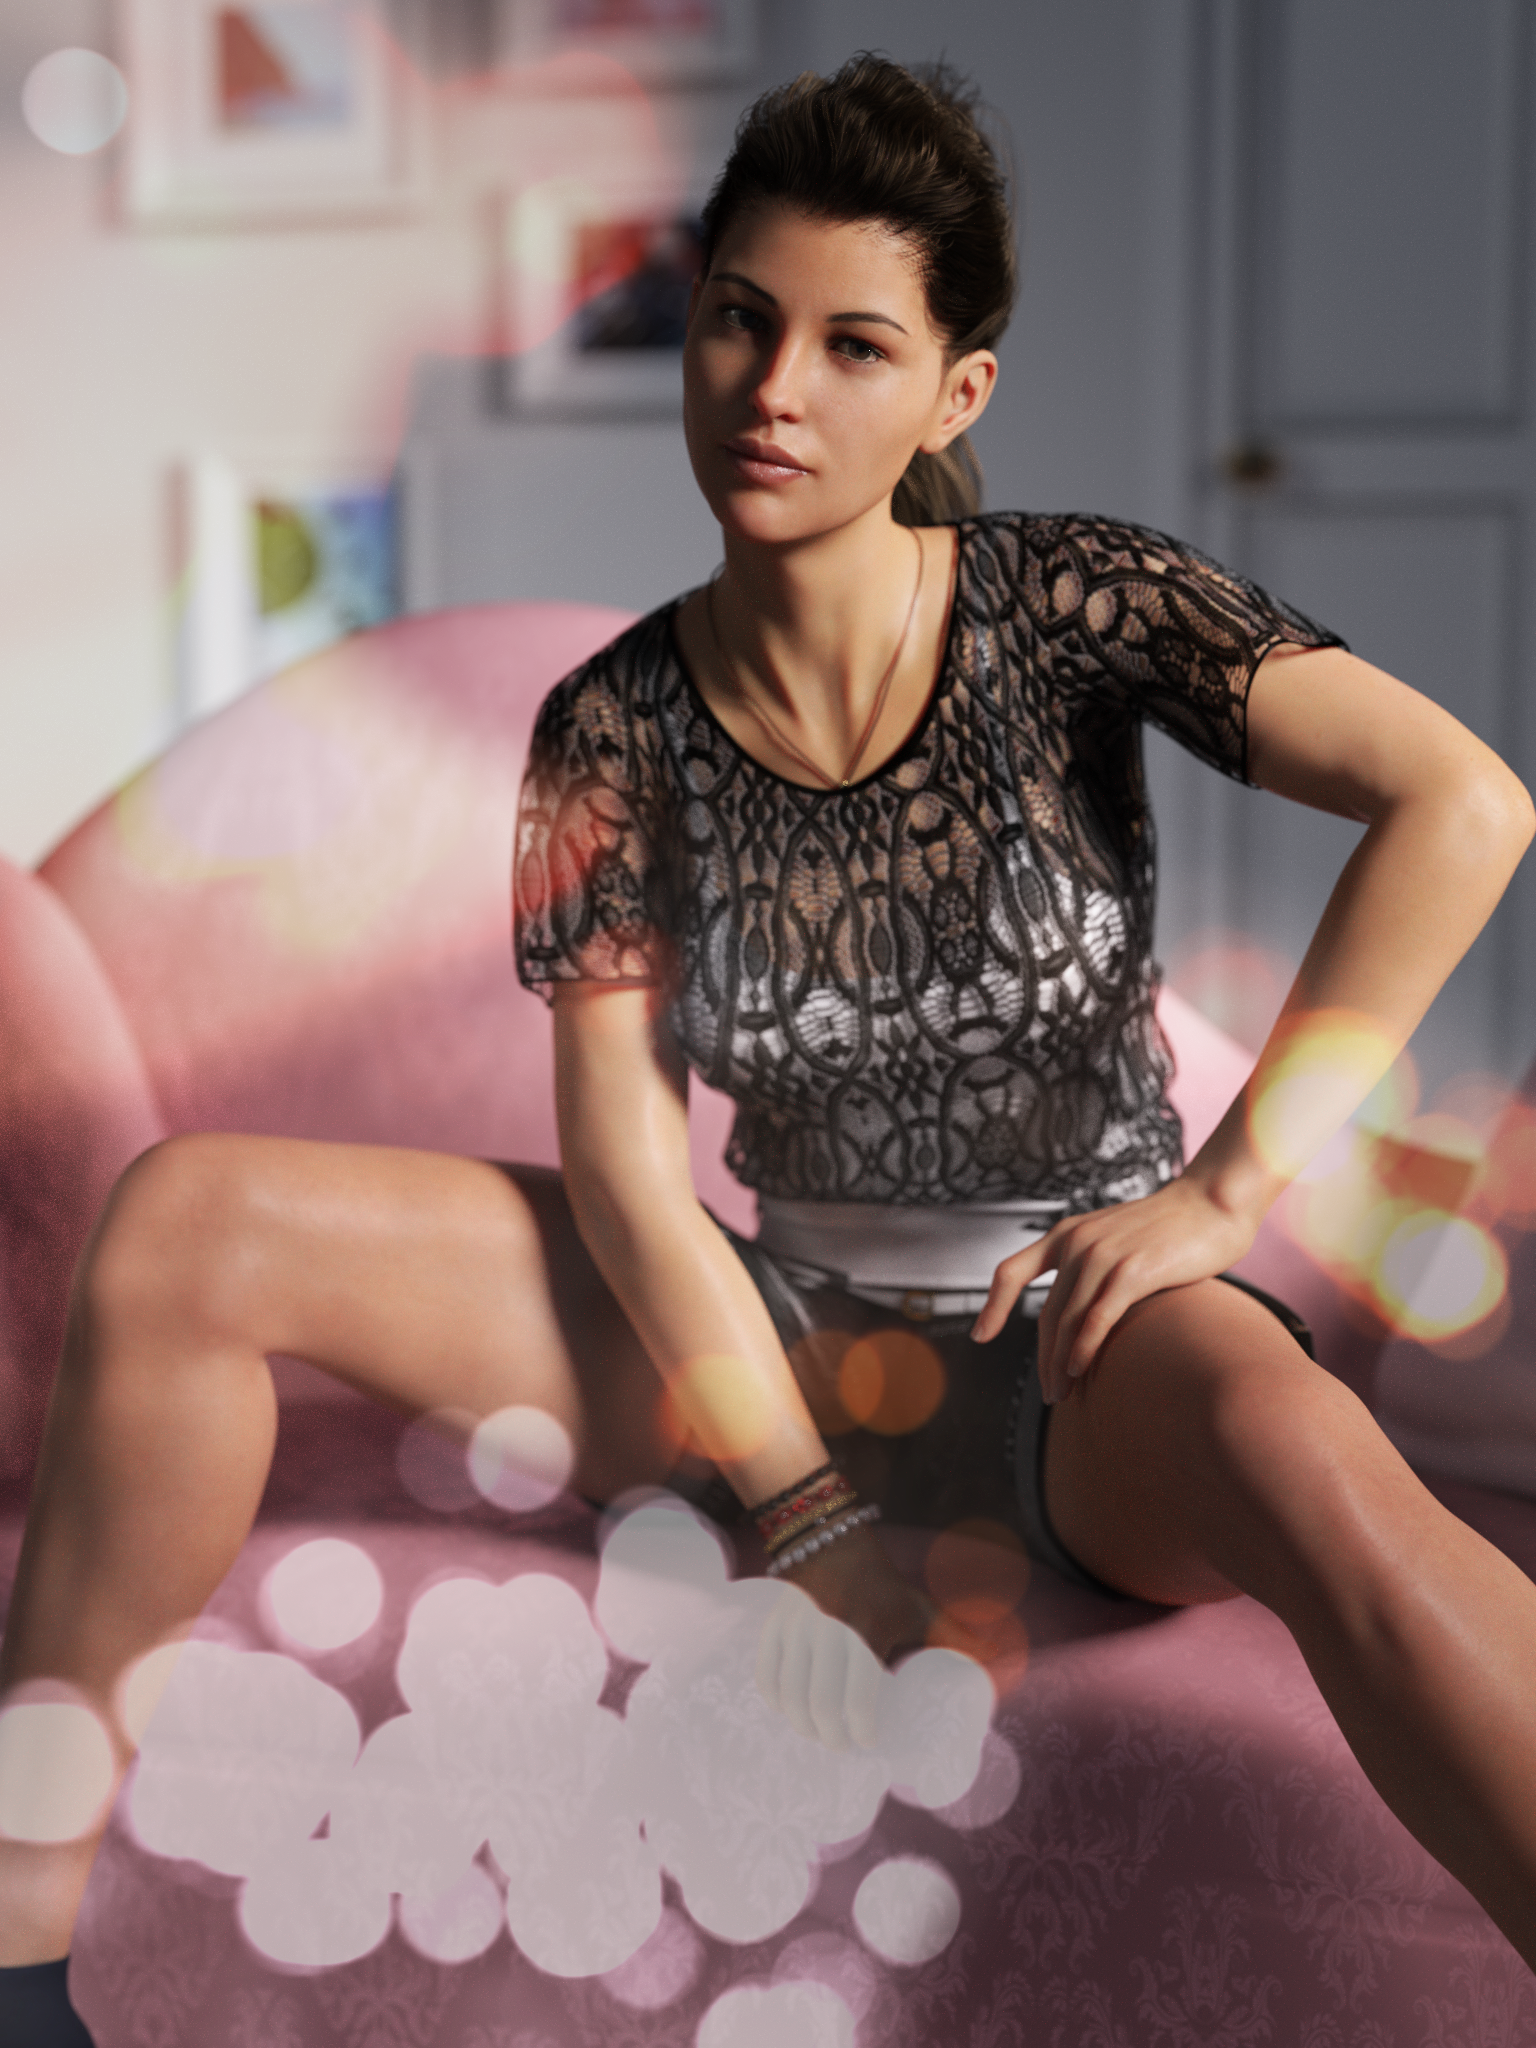
It’s easy to create an effect of draped cloth in Photoshop, like in the image above. We can do this with the Gradient Tool. It’s the icon with an actual gradient on it, sometimes hiding behind the Paint Bucket or 3D Material Drop tool (if you don’t see it, left-click and hold for about one …

Read more

How to export 4k video with Premiere Pro CS 5.5

I’ve finally worked out how to export 4k and 2.7k footage with my 6 year old version of Premiere Pro. That’s exciting news and gives the software a new lease on life!

With the standard export presets, tweaked to a resolution higher than 1920×1080, I’ve always encountered the following error message:

Invalid framesize/framerate for this Level. Please lower the Frame Dimensions, Frame Rate or increase the Profile and Level and try again.

Turns out Premiere has actually given me the answer to my problem right there in that error message, I just never really read beyond “lower the frame dimensions”.

Let me show you how to overcome this 1080p limitation in Premiere Pro CS 5.5 and export hi-res video without a hitch, but first make sure to check video production company phoenix so that you can get a quote.

Read more

Combining a DAZ Studio Render and a background image in Photoshop

In this episode I’ll show you how to render an image in DAZ Studio and compose it onto a background image in Photoshop. We’ll use the Shader Mixer and a Shadow Catcher to make the figure cast a shadow but be otherwise transparent in DAZ Studio. In Photoshop we’ll add artificial depth of field to …

Read more

How to render an image sequence as video in Photoshop

Up until now I had always used Premiere Pro to assemble image sequences of a rendered animation.

I’m still using Premiere Pro CS 5.5 and I’m not currently subscribing to the whole Creative Cloud package. As such, my version of Premiere is stuck somewhere in the past, when 4K was barely an idea, and 1080p was the highest result you would ever need.

The trouble is, I was working on an animation whose resolution was larger than 1920×1080. While Premiere Pro CS 5.5 can handle this and higher resolutions for editing, there doesn’t seem a way to export it at anything above 1920×1080.

My editing needs were moderate at best: assemble 250 frames, repeat those several times, and add a fade to black either end. Which application would be capable of doing this swiftly and efficiently, I wondered?

Photoshop CC can do it! Would you believe it? Here’s how.

Read more

How to create a brush from an image in Manga Studio

screen-shot-2016-10-09-at-15-00-57Manga Studio (or Clip Studio Paint as it’s now called) has a very versatile brush engine. We can customise our own brushes too, so that we can “paint” with our own images – just like the ones above, all of which come with the app.

The process is less than intuitive, but once you’ve done it a couple of times it grows on you. I tend to forget how these things work pretty much instantly, so here are some notes on how to create a brush from a seamless tiled image in Manga Studio.

Read more

How to use the Seletion Brush in Photoshop

screen-shot-2016-10-09-at-14-31-03Manga Studio has a really nice feature that I have been looking for in Photoshop for some time: a Selection Brush.

In addition to the usual lasso, marquee and Magic Wand tools, there is a way to simply paint over a part of your image, which then becomes part of (or reduces) the current selection.

Turns out this feature (and then some) is part of Photoshop too – it’s just not called a Selection Brush. Although from what I understand, there is such a feature in Photoshop Elements (a different product entirely).

In Photoshop, this tool is called the Quick Mask feature. It’s dead simple and extremely versatile. What’s not to like? Here’s how to use it:

  • either, head over to Select – Edit in Quick Mask Mode
  • or simply hit the keyboard shortcut Q to toggle the feature on or off

Read more

How to get rid of that scary blue line in Photoshop

screen-shot-2016-10-06-at-11-08-37I was doodling away in Photoshop, one hand on the keyboard and the other using my Wacom pen, when out of a sudden this crazy cyan blue line appeared right across my canvas. Super annoying!

My Intuos tablet has a mind of its own sometimes, selecting things that I don’t want, and perhaps this was one of those occasions. Or perhaps I had accidentally hit one of the gazillion keyboard shortcuts that does something I didn’t even know Photoshop could do. Who knows.

Either way, I had an ultra annoying line across my document, and there didn’t seem to be a way to get rid of it. Here’s what it looked like:screen-shot-2016-10-06-at-10-50-08


Moving the document also moves the line, so it had to be something that could be turned off. But how?

Read more

How to open multiple images as layers in Photoshop

Did you know there is a way to open several images in the same document as layers in Photoshop? It’s a real timesaver if you have several renders that all need to be composited onto the same background for postwork. It’s really easy to do: open Photoshop (duh!) head over to Scripts – Add Files to …

Read more

How to create a HDRI image in Photoshop

Photoshop CC 25yrsPhotoshop can combine multiple images into one and save them as HDRI, which allows us to use them in our 3D renders – either as 360 degree backgrounds or as light sources.

The way to do it has changed several times over the years – so here’s how this works in Photoshop CC 2015.

Read more

How to combine several saved selections in Photoshop

Sometimes it’s necessary to select more than one saved selection in Photoshop. And I was often wondering how to do it, thinking there had to be a way – until I discovered it by sheer accident today while pressing seemingly random buttons. Usually I call up a seed selection by heading over to Select – …

Read more

How to export a UV Texture Template in Photoshop

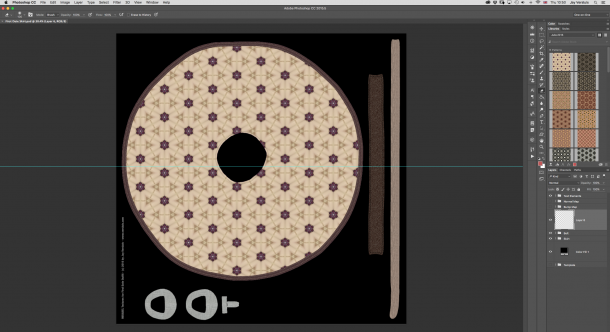
Screen Shot 2016-04-29 at 11.21.17Sometimes it’s necessary to have a 2D Texture Template for a 3D model. It makes texturing a lot easier in 2D painting apps.

While some programmes like Marvelous Designer can create the UVs, and quite clearly show them to us, there’s no easy way to export them as a flat file – akin to the one you see on the right here.

Photoshop to the rescue! All versions of Photoshop 3D and Photoshop CC can import OBJ files, and they can not only display the UV Map as an overlay, they can turn it into a new Layer for us as well.

Here’s how to do it.

Read more

How to use Radial Symmetry in Manga Studio

Manga-Radial

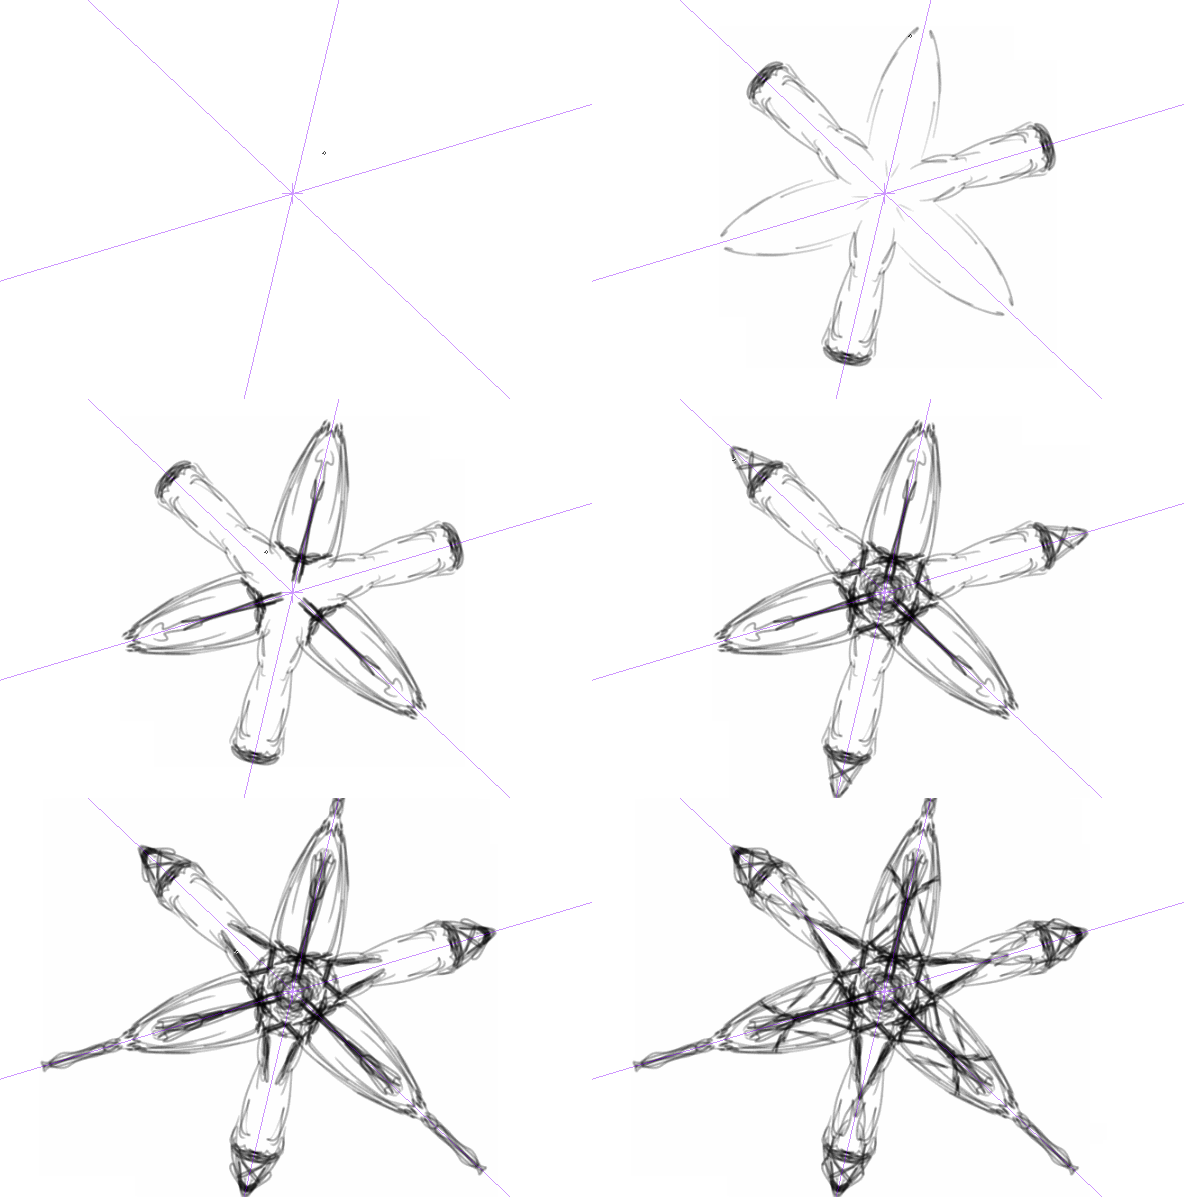
In my previous article I’ve explained how to use Radial Symmetry in SketchBook Pro, and because I can never remember how to use it it Manga Studio (or Clip Studio Paint as it’s now called), I thought I’d explain it here for future reference.

The Radial Symmetry feature has been part of Manga Studio since version 5.0, but it’s slightly complex to get started with it if you’ve never used it before. Radial Symmetry is created with a Ruler Layer, so I’ll explain how to create and use one.

Here’s how to accomplish this rather daunting task:

Read more

How to use Radial Symmetry in SketchBook Pro

Autodesk have recently introduced a new feature to SketchBook Pro: Radial Symmetry. While we had this feature for a while in Manga Studio, it’s much easier to use in Sketchbook Pro. Here’s how. Radial Symmetry is available to Pro members only, since version 8.1.0. From the menu bar, select the symmetry icon and click on the …

Read more

How to bring back pressure sensitivity for Pogo Connect in Procreate 3

Procreate-Icon

Procreate 3 has been released last week. Several new features have been added, and it includes support for iPad Pro and Apple Pencil.

Sadly, as with many app updates (and to my great annoyance), things that were working perfectly fine may occasionally stop working suddenly. And we users have no way to bring back an older version of our favourite apps. Pressure sensitivity for my Pogo Connect is a good example: it was working perfectly fine before the update, but in Procreate 3 (Build 70704bb) there’s an issue.

But fret not, the team are aware of it and they’re working on a fix as we speak.

After extensive testing and community input, I found a workaround that makes the Pogo Connect play nice again with Procreate 3. I’ve posted this solution in the Procreate Forums, but I thought I’d add it here too.

Here’s what worked for me step by step. I’m using an iPad 3 with iOS 9.1, with two Pogo Connects (version 1 and version 2).

Read more

How to use Reference Layers in Manga Studio 5

Manga Studio has a nice feature that makes colouring areas on another layer a breeze: Reference Layers. The idea is that you draw your line art on one layer, but fill in your colours on another layer. The concept is the same as the Colour Drop feature in Procreate, but Manga Studio has a few …

Read more

How to fix Brush Lag in Manga Studio 5

I’ve been very happy with the performance of Manga Studio 5 on my Surface Pro (1st generation). Today I’ve discovered that there was an upgrade to to Manga Studio 5.0.6 available and installed it. All is working fine on Windows 10!

So I thought, perhaps I’ll try it out on my Mac too. Admittedly it’s been a while since I’ve used it on my desktop, simply because it’s just not as enjoyable to draw on my  Wacom Intuos than it is to draw directly on the screen of my Surface Pro. But with a bit of practice I’m sure I’ll soon get back into it. Besides, Manga Studio is an awesome weapon to have on your graphic arsenal.

To my shock and surprise though, I’ve discovered that Manga Studio (before AND after the update to 5.0.6) had a huge brush lag problem out of a sudden! Where did that come from? Last time I checked, my hardware was working perfectly fine with Manga Studio!

By brush lag I mean, “make a stroke on the tablet, and see a line appear 1-2 seconds later on the screen”. Yes, it was that bad. Unusable is the word I’m looking for.

So what changed if it wasn’t my hardware?

I tell you what’s changed: El Capitan has been released, and being the avid geek that I am, I’ve updated my quad core Mac Mini to the latest and greatest OS X. El Capitan has been very good so far… until I’ve tested Manga Studio today! Yikes! I certainly had no such issues when I upgraded my Surface from Windows 8.1 to Windows 10. There had to be a way to get rid of that brush lag on my Mac too – and I think I’ve figured it out.

Read more
Where is Save For Web in Photoshop CC 2015

The swanky new slash screen isn’t the only thing that’s changed in Photoshop CC 2015. One of those functions that I use probably THE MOST in Photoshop is File – Save For Web. It’s been around for ages and means that you can quickly create a flattened JPG or PNG of your otherwise well-stacked and complicated …

Read more

How to export a single frame from your timeline in Adobe Premiere Pro

There’s an extremely handy shortcut that allows us to export single frames from the playhead’s current position in Premiere’s timeline. It’s not available via a menu command, it’s not particularly advertised, and it saves having to go via the File – Media – Export option, potentially downsizing the original footage. Take a look at your …

Read more

How to save Layer Effects as Style Presets in Photoshop

HW-Promo6

To apply a carefully crafted Layer Effect in Photoshop to more than one layer or group, we can save it to the Styles Swatch for easy access later. It’s that little palette I never quite take seriously – mainly because it’s impossible to decipher which effect does what from the tiny preview icons.

Nevertheless, the styles palette is a handy tool to bring back such effects in other documents. Great for things we use on a regular basis. In the above image for example, the Layer Effect is the white border around each small inset image, as well as the drop shadow. Next time I create such a collage I may want to bring the same effect back with a single click. I can do that by using a style.

Here’s how to save a Layer Effect as a Style in Photoshop.

Read more

How to clear temporary files in Adobe Premiere Pro

Premiere writes a lot of temp files to various locations – the most obvious of those are saved at the same location as the current project, in a folder simply called Adobe Premiere Pro Preview Files. If you delete an old project, make sure to delete this folder too. But Premiere does create temporary files in …

Read more

How to convert Layer Effects into actual layers in Photoshop

Layer Effects are great in Photoshop, but sometimes you may need to apply another such effect to a layer that already has Layer Effects applied. For example, a Pattern Overlay may require another Pattern Overlay. What can we do? It’s astonishingly simple really: we convert the Layer Effects to discreet layers. Here’s how to do it. …

Read more

How to avoid empty audio tracks in Premiere Pro

Why

Have you ever wondered why a source clip’s audio ends up at the very bottom of the timeline, even though you have several empty tracks above it? Well I have, and I was convinced there had to be some kind of setting responsible for this.

And there is: it has to do with the way a Sequence is setup when you first create it. Let me explain how this works and how to change such behaviour to avoid annoyances in the future.

Read more

How to reset User Preferences in Premiere Pro

The other day my copy of Adobe Premiere Pro started exhibiting strange behaviour: new projects opened with four timelines (three of which were always empty), audio never made it to the target track (only ever to track 6) – so I thought, perhaps I’ll reset my preferences. But how do we do that in Premiere? …

Read more

How to animate motion with Bezier Tweeners in Premiere Pro

Premiere-Tweener

Tired of linear animations in Premiere Pro? We’re in luck, because Premiere does support full control over ease-in and ease-out controls when you animate with keyframes. It’s just extremely clunky to use.

The process of rendering such frames in between is sometimes referred to as “tweening”. Let’s find out how to use it.

Read more