 Bryce 7.1 doesn’t reliably run under OS X, but it works fine in both Windows 7 and Windows 10. Being the Mac User and avid 3D enthusiast that I am, and having a bit of time on my hands, I thought I’d give Bryce another go. And thanks to Parallels Desktop I can run it in a virtual Windows installation. Nice!
I’m only getting started with Bryce, but the first thing I’ve noticed was that many of the mouse controls didn’t work as expected. For example, dragging a slider up or down only works in one direction, and much too erratic to be useful. Imagine how awkward camera and positioning controls are! Anything that has to do with leaving the left mouse button clicked while dragging up/down/left/right is affected.
The Problem
I’m using Apple’s Magic Trackpad, and those controls need to be translated by Parallels Desktop and given to Windows as Mouse Controls. This works fine out of the box in most Windows applications – but not with Bryce. Don’t ask me why.
So I thought, how am I going to make this work? Fiddle with Windows Mouse Settings (has no effect), fiddle with Parallels Desktop Settings (also has no effect), install Snow Leopard or Windows on an external partition? Ah, let’s just not go there.
But there is something surprisingly simple that came to me this morning: connect a dedicated input device directly to the Windows VM, rather than have Parallels Desktop translate the controls. And hey presto: it works a treat!
Let me show you how to do it in this article.
Read more

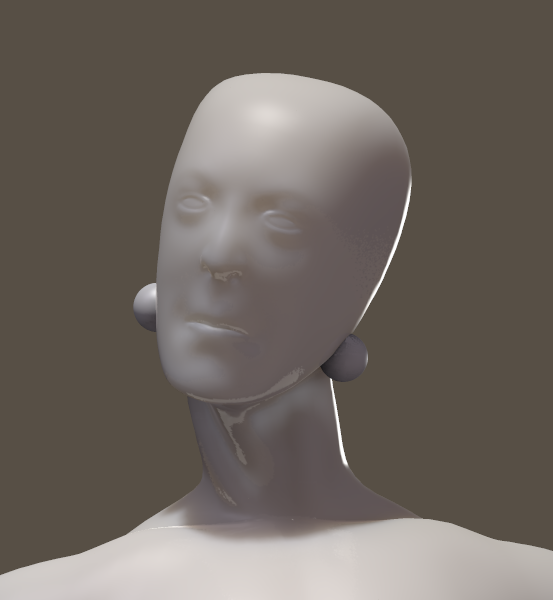
 Material Zones are – as the name suggests – different parts of a single object that can each be assigned a shader. This sounds more complicated than it actually is.
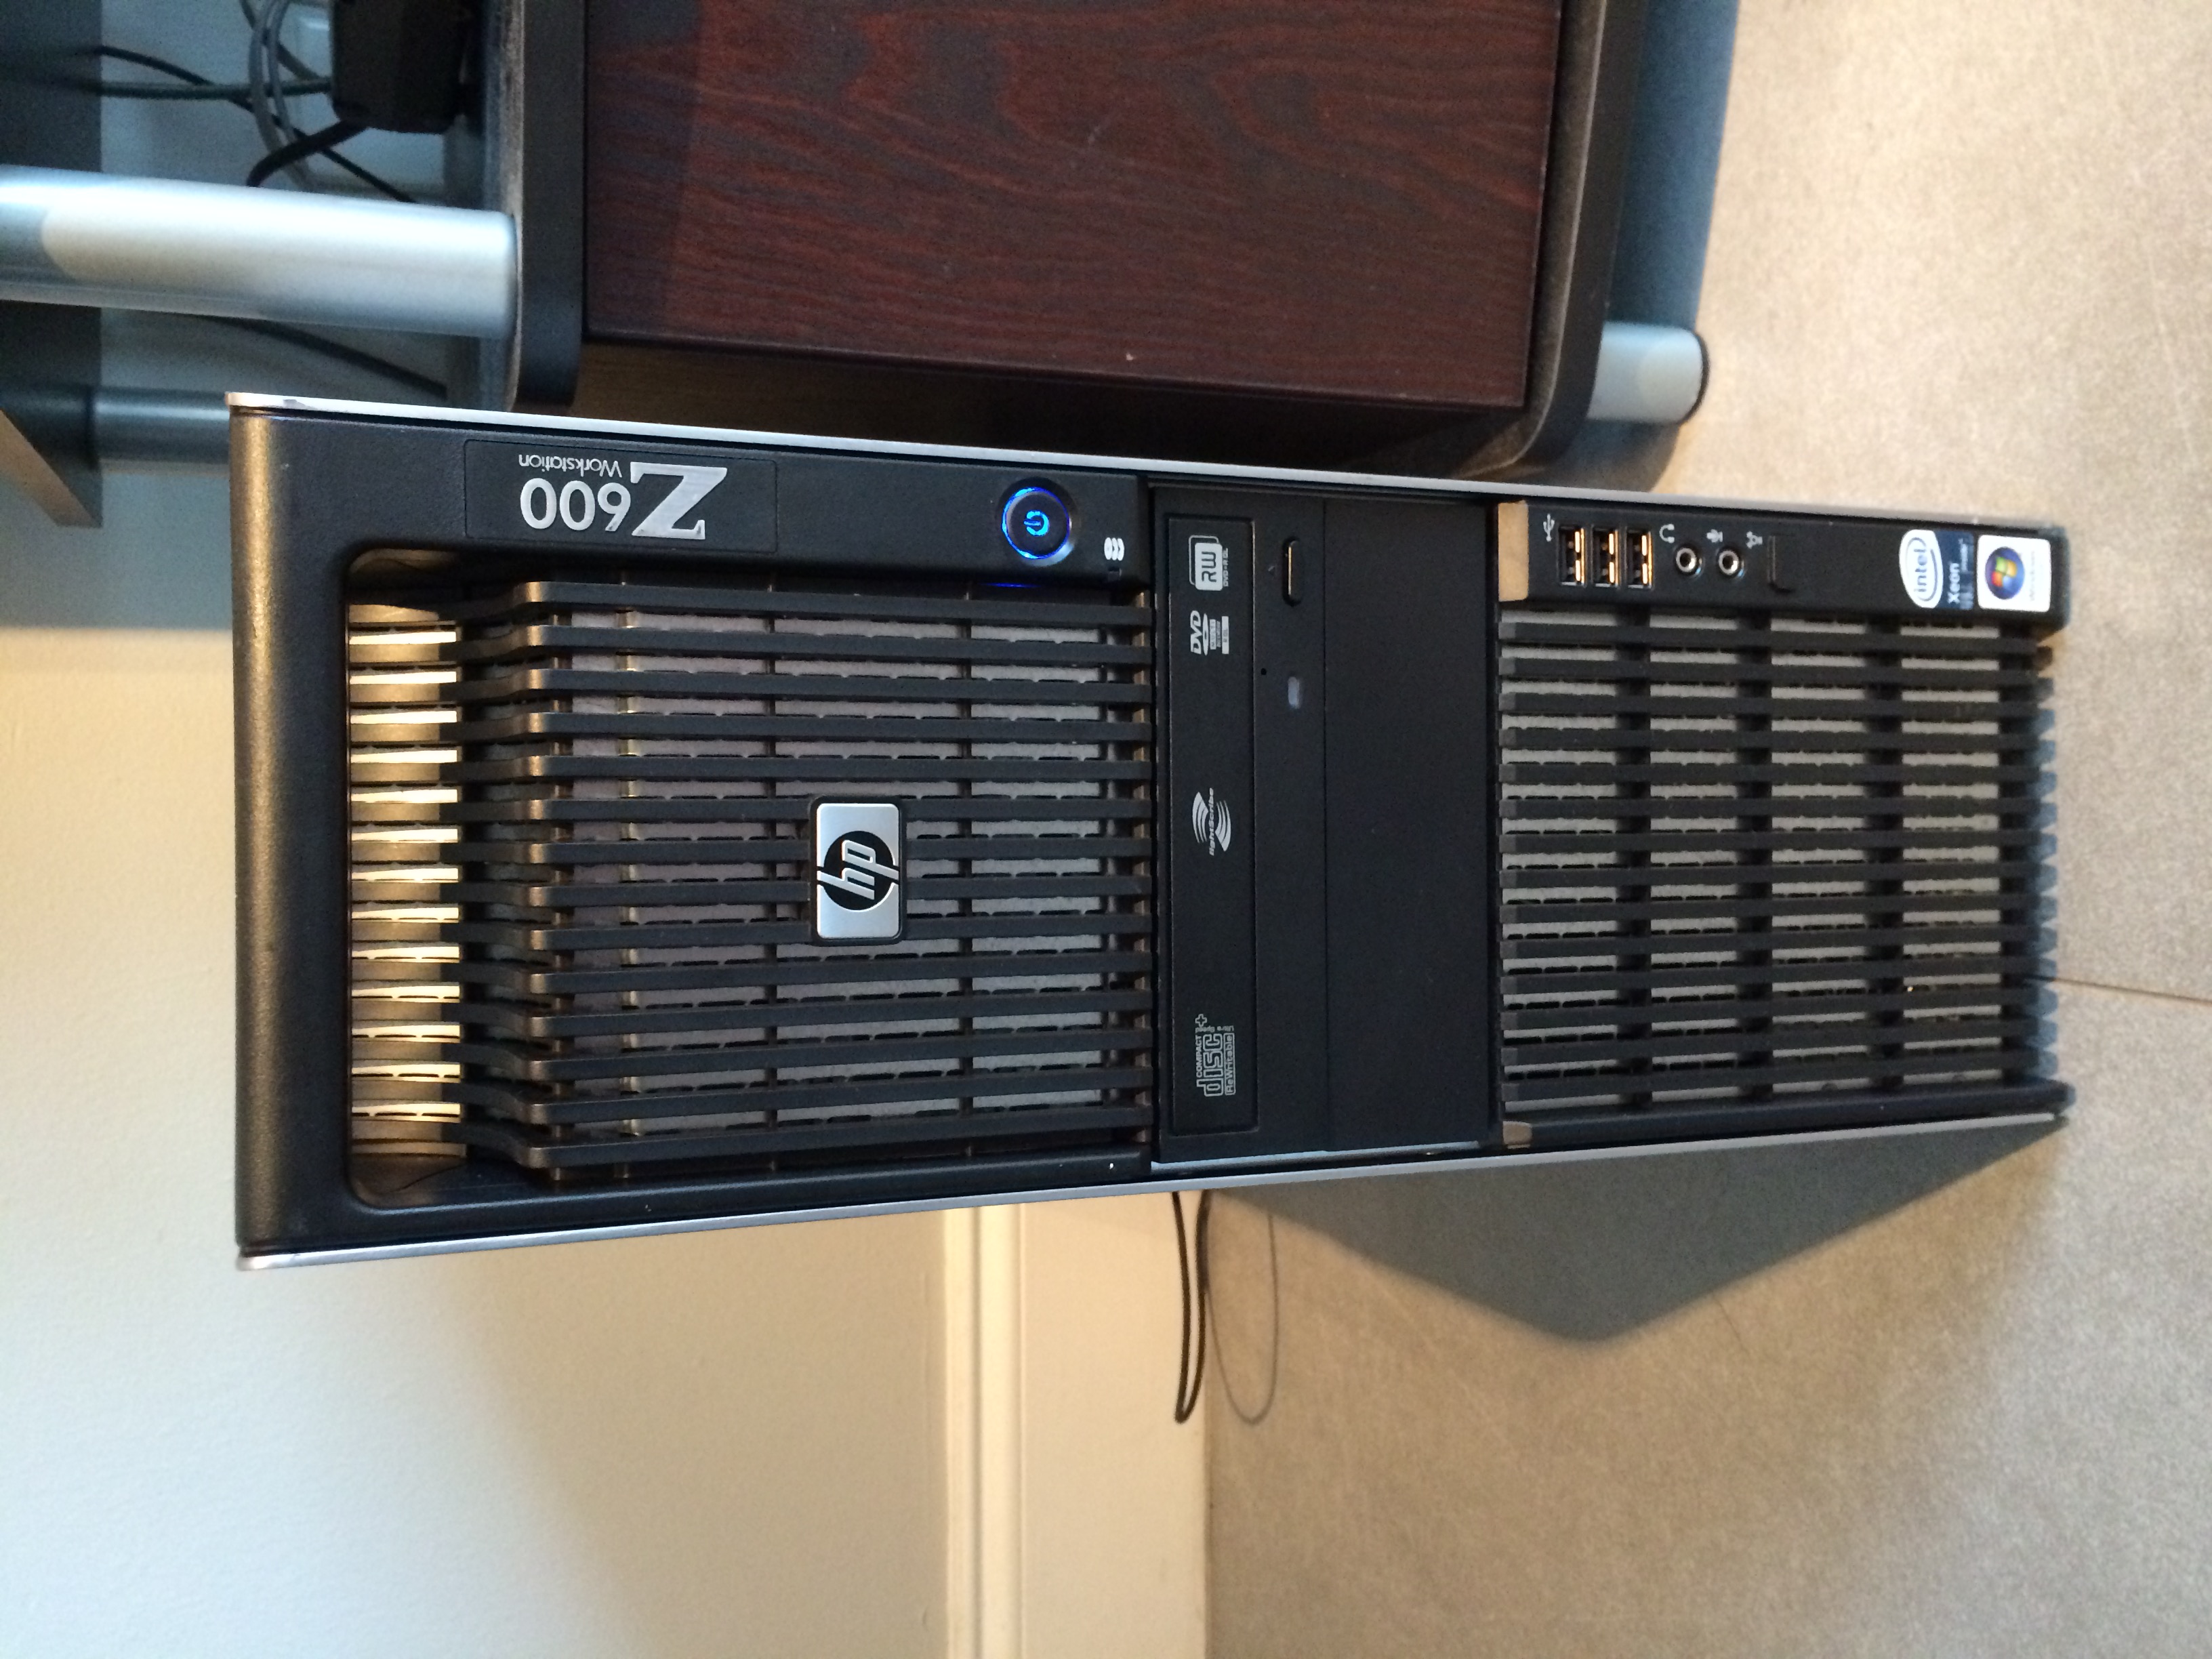
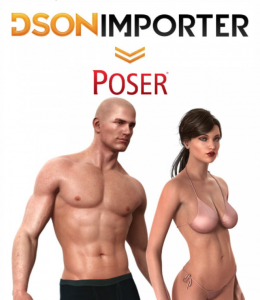 When the Genesis figure was released in 2011, it was not natively compatible with Poser and only worked in DAZ Studio.
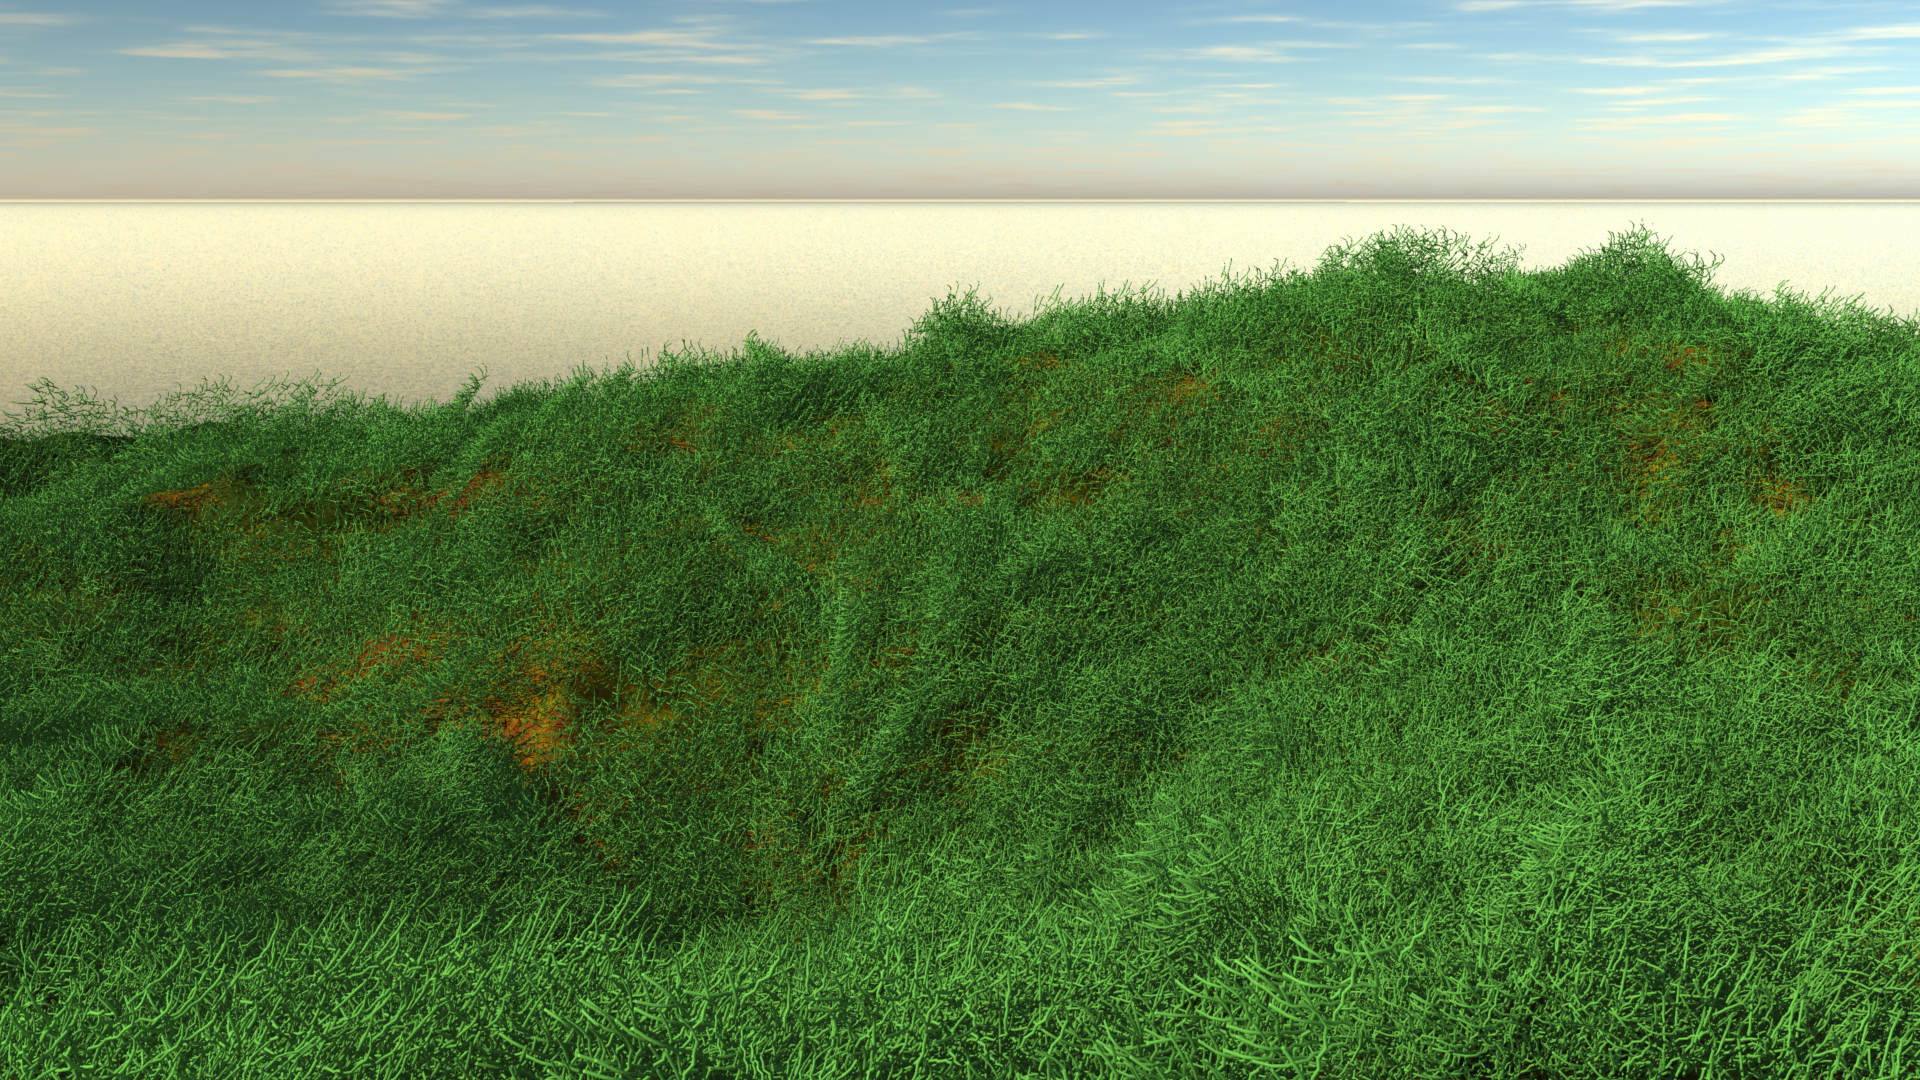 My first idea of growing grass in Carrara was to make use of the Hair Object. It sounds like an easy workflow too: drag the hair object onto my terrain, adjust its growth behaviour, adjust the colour to resemble grass, and case closed. This approach works fine with primitives and vertex objects.