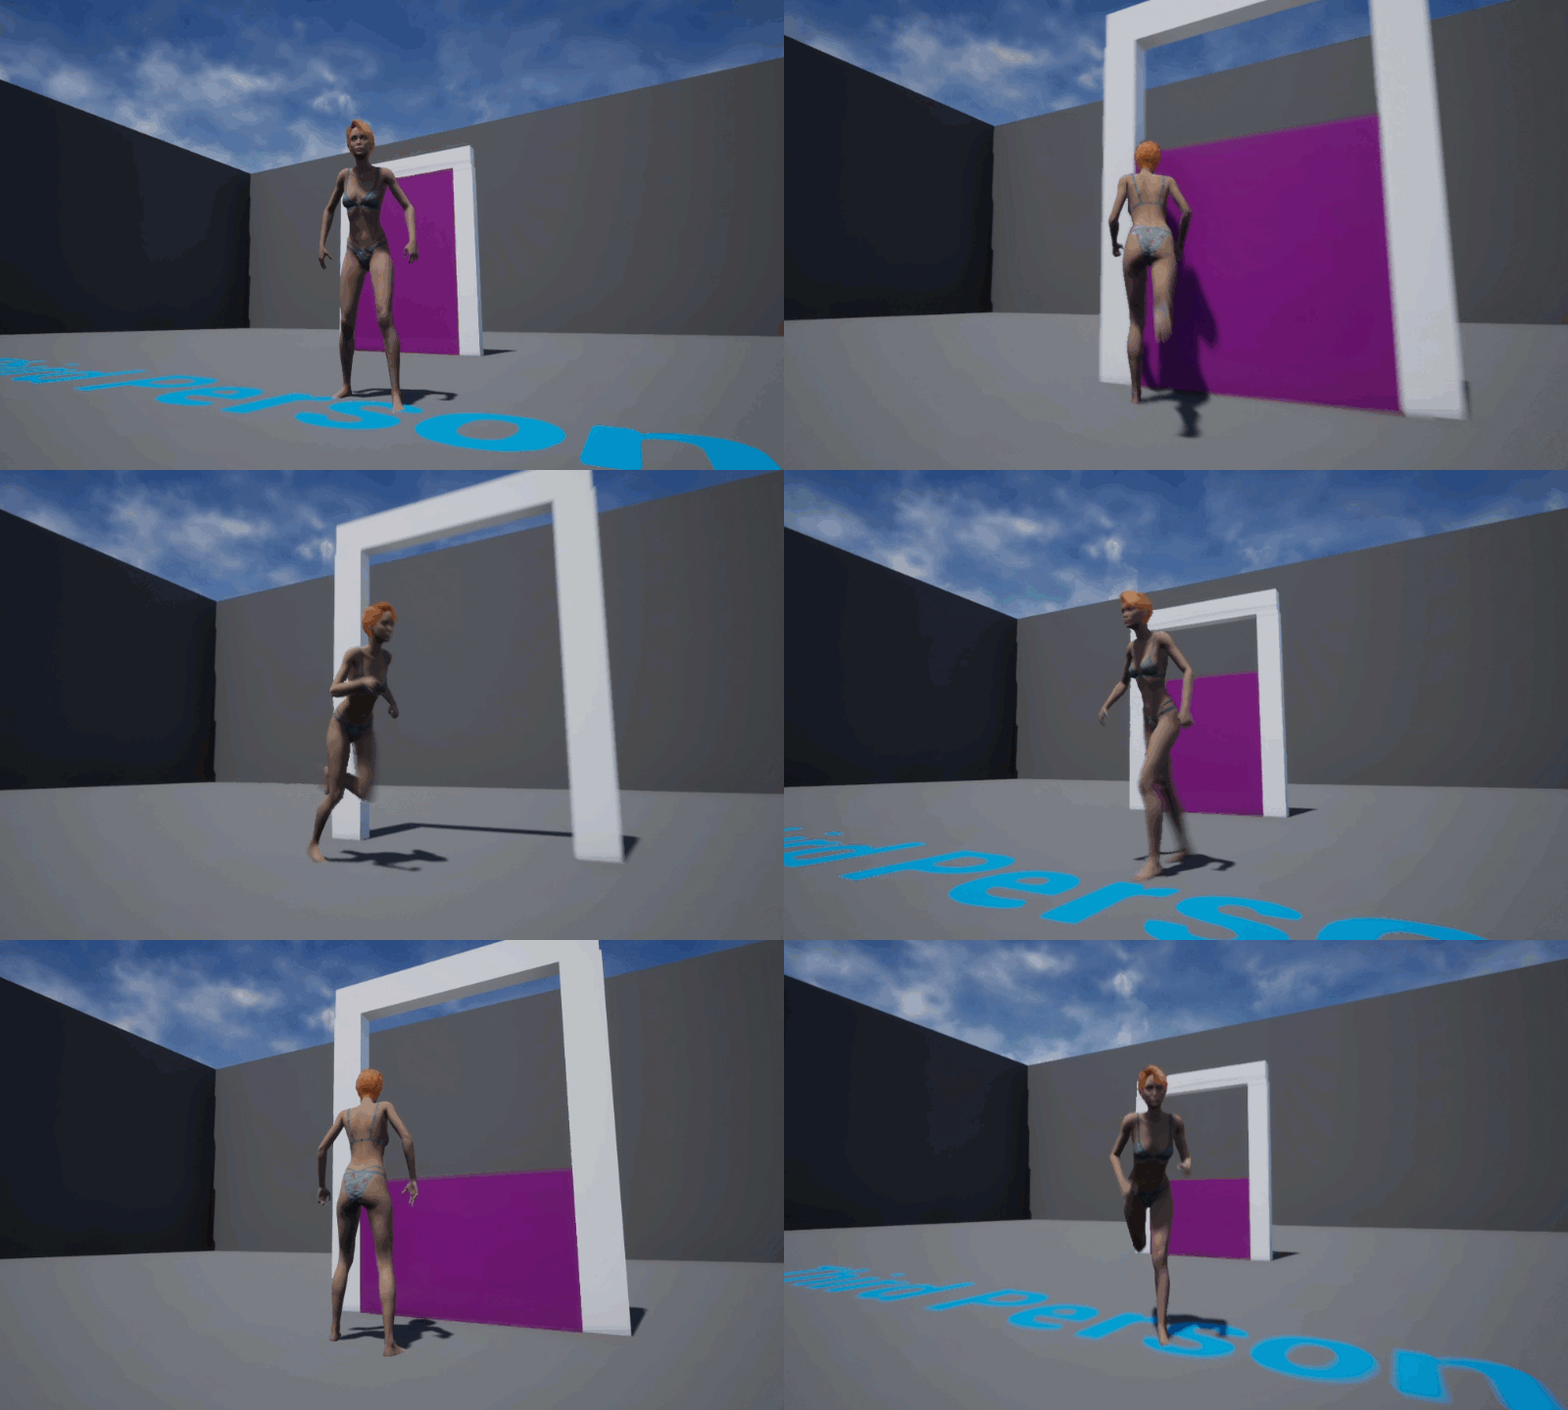
Adding subtle wind animation effects in Unreal Engine

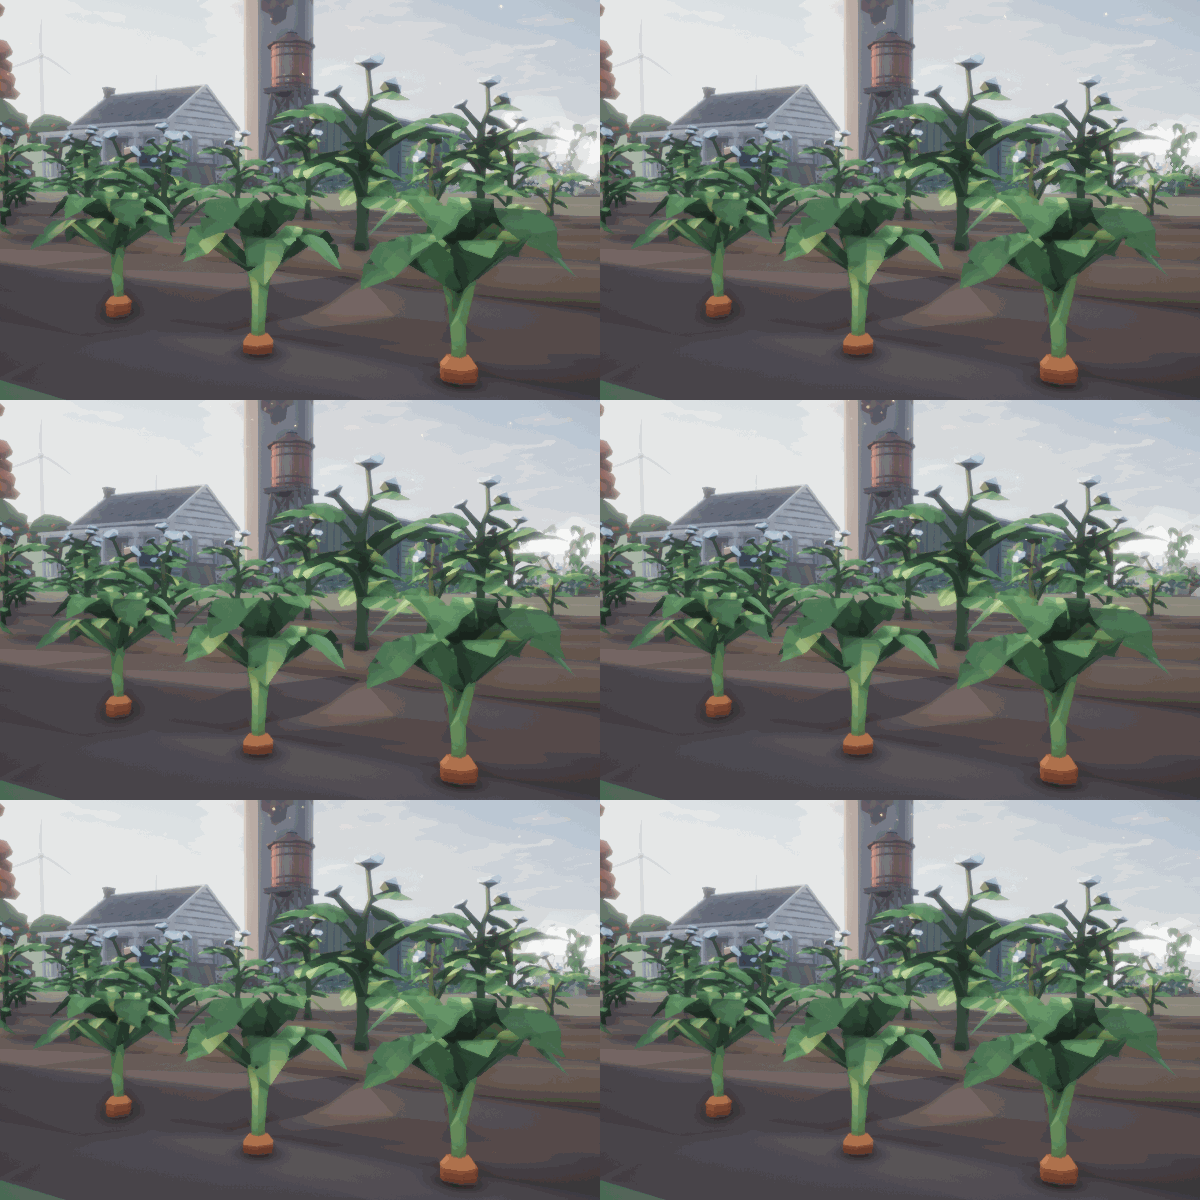
I’ve always been marvelling at all the little moving background items in video games. Most trees, grass, plants and such foliage appears to move subtly. How do they do that? Perhaps it’s a wind node? Surely that’ll eat up huge amounts of resources.

I just found a computationally cheaper trick to do this, namely by adding this effect to the plant’s material, thanks to a video by MetalGameStudios. It suggests that we can do this in two ways, both of which are described below. In either case, open the material of your object to proceed.

Read more

You can now buy me a Ko-fi

I’ve been on Patreon since May 2018 (I think), and I really like it. It’s a great way to support me and my projects ongoingly, and I’ve been able to invest your donations into anything from software to hardware, as well as coffee – all to improve my output and make the world a happier …

Read more

How to remove dForce from an object in DAZ Studio

I had a question from one of my supporters the other day about how to remove a dForce Modifier from an object, like hair or a dress. Turns our there are two answers to the puzzle, and I thought I’d them both here. Disabling dForce dForce is a surface property, and as such it behaves …

Read more

How to export Keyframe Animations from Unreal Engine

I’ve just figured out how to setup keyframe animations in Unreal Engine, and thought I’d make a note of it before I forget. I made the animation above a little while ago by “poking around”, but it wasn’t as smooth as I liked it to be. I think I’ve found the missing bits now, so here’s how it works. From what I gather, Unreal Engine calls Keyframe Animations “Cinematics”. They’re a little tricky to setup, because the whole engine is built for so much more, but in principle we need to:

  • create a new Level Sequence
  • create a Cinematic Camera
  • add the camera as a Track to the Sequencer
  • create keyframes for/with the camera
  • add a Camera Cut Track
  • export your animation as a video or image series

I’m going to create a camera animation like in the demo above, but any regular mesh object and Actor can be animated, including lights and their properties, so this process is not limited to cameras. However you need at least one camera to render out the sequence, at least that’s my goal here. The process will be different if you’d like to trigger the sequence from within a game, which is not in the scope of this article.

Let’s see how to do this step by step.

Read more

How to use Event Dispatchers in Unreal Engine

Following on from my earlier article about referencing a Blueprint from another Blueprint, Unreal Engine has another interesting way for inter-object communication. Sometimes we need to reference more than one object, say when press a button and want several objects to react, all in their own different way. Imagine pressing a button and a light goes off, a particle effect gets triggered and several enemies get spawned. Event Dispatchers can do that, and here’s how we can use them.

In this example I’ll have a Switch object, and a Lamp object. When we press the switch, it’ll send out a message to which the Lamp (and other objects) can react. Each object can implement the function and execute different code. I’ll only show the abstracted Lamp code here for brevity, from which I’m sure you’ll understand the gist.

Sadly the terminology “dispatcher” is a little confusing. At least to me, it suggests that an event is dispatched (i.e. sent), whereas in reality the dispatcher is actually the listener rather than the sender. Hence the dispatcher needs to be setup on the event that needs to react. A real-world dispatch worker doesn’t work that way (thanks code people for confusing us non-coders).

Read more

How to make an object invisible in Unreal Engine

I’ve recently had to use a helper object in Unreal Engine (a plane), but I didn’t want this object to be seen when the game was running. In a regular 3D application I would have just clicked that little eyeball icon to hide it, but that would temporarily remove the object from my scene in …

Read more

Creating a Moving Platform in Unreal Engine

I’ve made a simple moving platform in Unreal Engine today. This is used in platform games all the time, be it as a triggered mechanism or an automatically moving always-looping/moving thing. Remember all those gaps you need to cross over a deep ravine, while stone platforms are moving left and right, and you’ll have to …

Read more

Building a Sliding Door in Unreal Engine

I’ve been following Katie’s videos to get my feet wet with Unreal Engine, and thought I’d take a note on how to build her sliding door so I don’t forget. Here’s how I’ve built mine in principle:

  • create a new Blueprint Actor
  • bring in a cube and build an “InnerDoor” piece (that’s the one that will slide up and down)
  • build a frame for the door (will remain static)
  • add a Box Collision and extend it (it will trigger our animation)
  • use a Timeline node to raise the door
  • reverse the process so the door closes

I’m doing it slightly different to how Katie suggests it, but there’s really no right or wrong way. I’ve described how to do something similar with a Level Sequence in another article. Let’s see how to do it with a Sequence Node here.

Read more

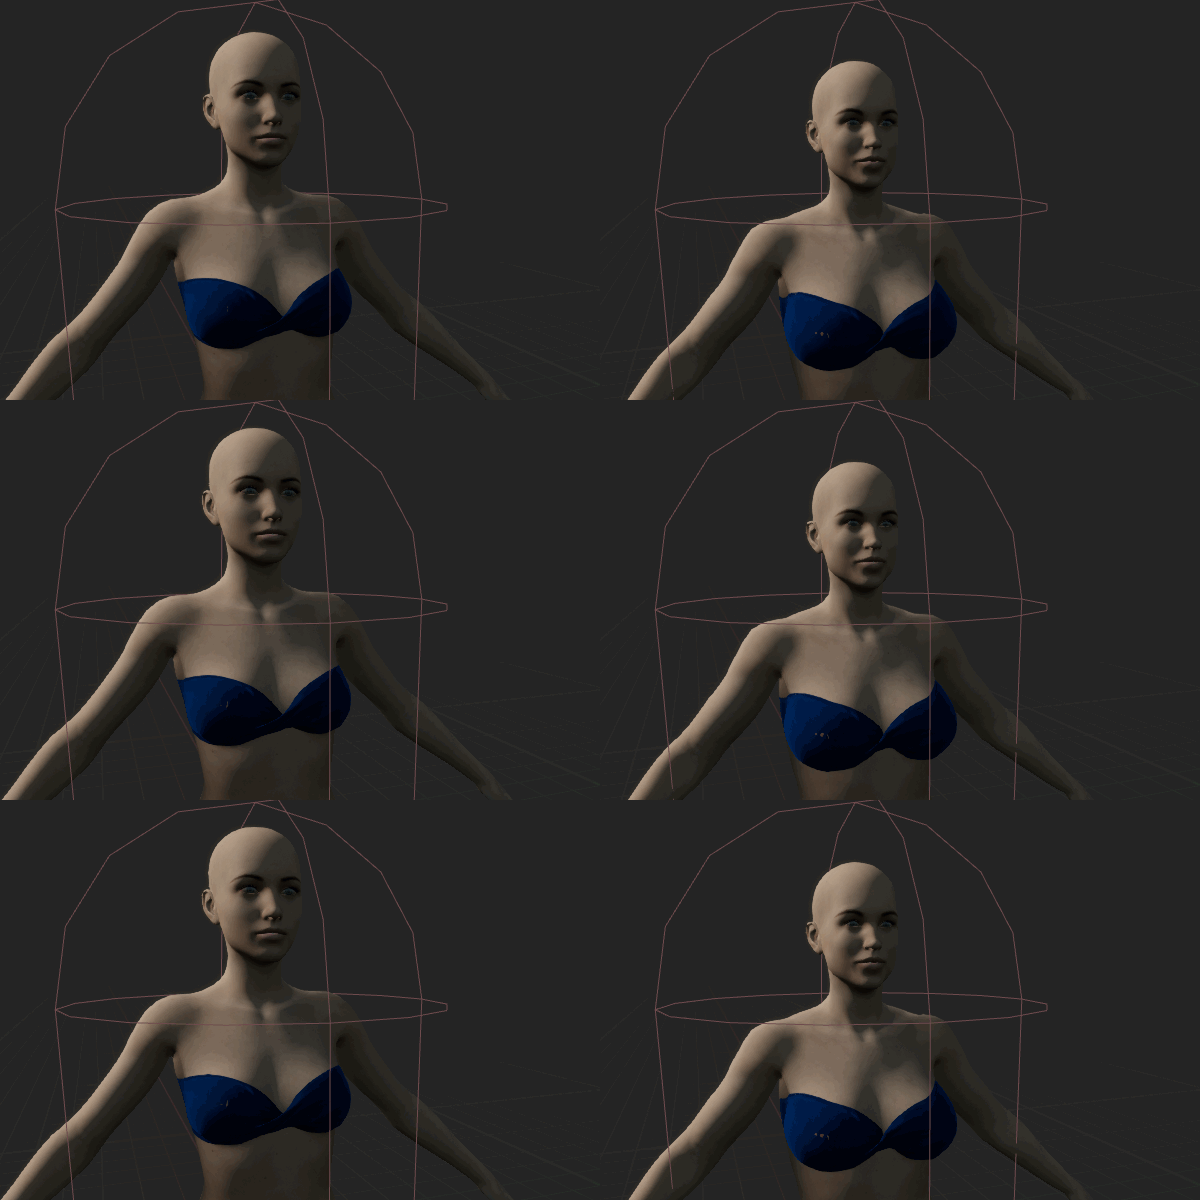
Changing Morph Targets programmatically in Unreal Engine

I’ve just found out how to change values for Morph Targets on objects in Unreal Engine via code. This will come in handy when any attribute needs to be updated either as a result of user input, or via automation. Here’s the basic workflow:

  • know the exact name of the Morph Target
  • add a Set Morph Target node in Blueprints
  • populate it with the name of the morph
  • give it a value (between 0 and 1, equivalent to 0% to 100%)

Here’s a small example that continuously changes my Genesis 8 character from Basic Female into Olympia. While not particularly useful in itself, it illustrates how a parameter change can trigger a morph.

Read more

How to get rid of the white ball in Unreal Blueprints

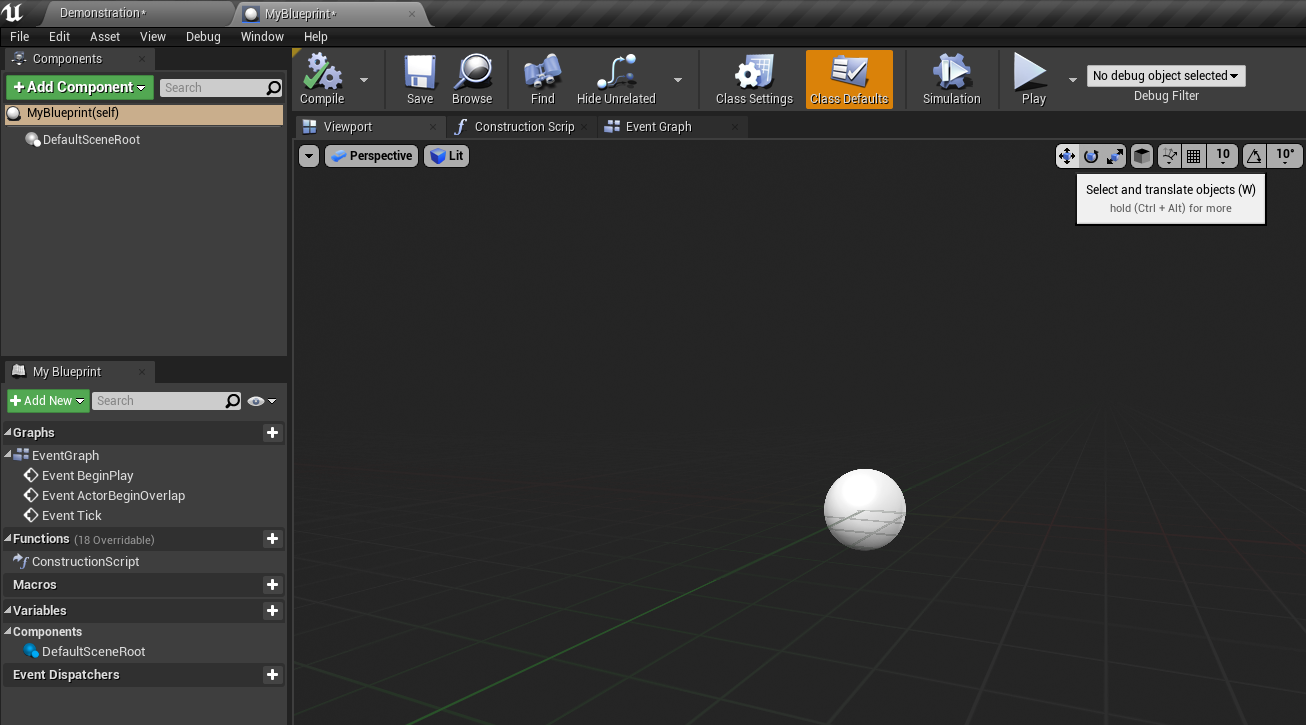
When you start a new Blueprint Class in Unreal Engine, there’s this weird white ball that shows up in the centre of the viewport. I believe it represents the Default Root object. Trouble is, there’s no obvious way to get rid of it, even when you add a mesh object to your Blueprint. For a troubled and easily confused beginner like myself, I don’t even know what question to type into Google to get an approximate answer.

In this article I’ll show you the simple solution to the problem. Here’s the ball I’m referring to:

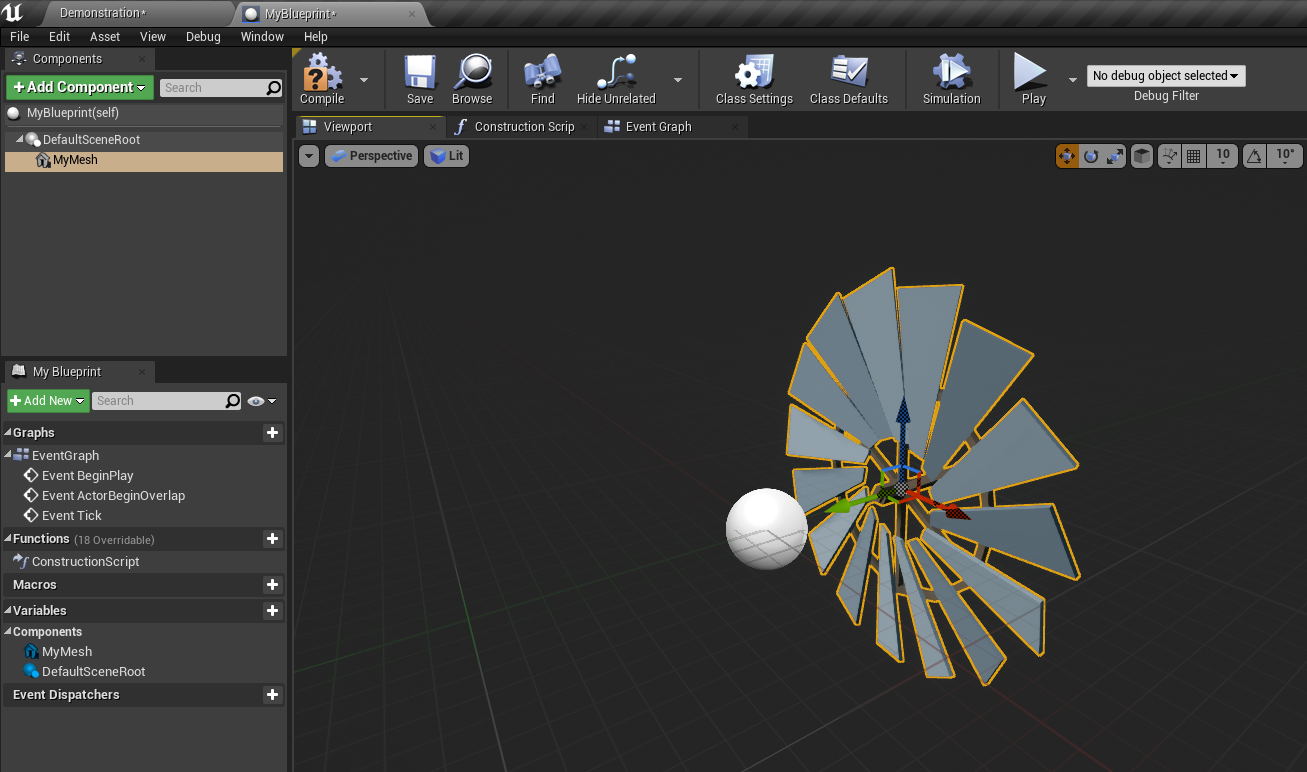
Even with a Static Mesh in my scene, that ball persist. I can’t even select it.

Read more

How to create animated dust particles in Blender

In this episode I’ll show you the complex process of setting up animated particles in Blender. I’m doing this for an Eevee render, but the principle will work in Cycles just as well. They can be used to give atmosphere and depth to your renders, or to create other exciting effects like bokeh. There’s a lot going on in this video, so I thought I’d provide some written instructions in this article too. Here’s what’s coming up:

For this whole project I’ve used Blender 2.83.1. You can see an example of the effect in action on my Sad Robot animation. My wonderful Patreon Supporters have access to the scene file I’m building for dissection, study, amendment and commercial use.

Enjoy!

Read more

Here’s what Amazon sell as “new” these days

Remember how I was so thrilled about that new Blue Yeti microphone in my previous post, and how this thing sold out so quickly? Well it arrived… and I’m less than pleased with the service I’ve received from online giant Amazon.

What they’ve sent me as the correct item, but it was not a new item. It showed heavy signs of usage. Let me show you some pictures below, anon about that hilarious chat I had with their customer services agent.

Grab a coffee and read a funny story of how Amazon may have lost their edge in Customer Satisfaction.

Read more

How to rotate a HDRI in Blender

I always forget how to rotate HDRIs in Blender. It’s really not that difficult, but somehow this information doesn’t seem to save in my brain. I’ve given up trying understand why, so I thought I’d write it down for a future visit. At least I know where to look now 🙂 In the Shading Tab, …

Read more

How to use TeleBlender 4 by mCasual / Jaques

Getting characters and scenes from DAZ Studio into Blender is one of the toughest things to get right. It’s an endlessly time consuming, confusion and generally un-fun process. Several scripts exist to make this happen, yet many of them fail to make it a one-click solution. Jacques aka mCasual has been working for years on something called TeleBlender. Steve aka Backdoor 3D recently did a live stream on the process, and I finally had a chance to try it out myself.

In this article I’ll show you the workflow that I found worked best for me. You may know a better way, and perhaps it’s not the intended way of working, but it thought it might come in handy (since usage instructions on the download page of TeleBlender are literally non-existent).

I’m using the following versions, which will probably no longer exist by the time you read this article:

  • Blender 2.83.1 LTS
  • DAZ Studio 4.12.1
  • TeleBlender 4 (Beta 06252020)

Read more

Funny Story: My new Blue Yeti Microphone (which is blue)

I had some audio issues with my 5 year old Blue Yeti recently. It started as occasional small crackles when listening via the headphone output, some of which ended up on recordings as well. It was so occasional that I could edit it out, so I never thought much of it. For the last couple of weeks though, the crackles are now audible during my daily Stardew streams. Again they’re subtle, but I thought perhaps replacing the USB cable might do the trick.

Sadly it did not. Something else must be amiss, so much so that I lost audio completely during the stream today. I replaced the cable again, and it held up for the remainder of the stream, but it looks like I’m in the market for a new Blue Yeti microphone.

And this is where the story begins.

Read more

Importing Genesis into Blender via Mixamo

I’ve just been experimenting with uploading a Genesis 1 figure to Mixamo, and importing the animated figure into Blender. There are several trillion options what with the combinations of tick-boxes and values. Thankfully, nothing is documented, just the way I like it. I thought I’d quickly post a screenshot of what actually works – for …

Read more

Why do DAZ Characters take so long to load?

I’ve had this question twice recently, and it’s another interesting nugget of information I thought I’d share with you: why do DAZ figures take so long to load? Especially the no-frills base figures? And why does this only happen for some users, and not for others? The two guys who contacted me about this (Richard …

Read more

How to completely reset DAZ Studio and Install Manager

I was talking to a viewer recently about how he had made some changes in his DAZ Studio installation by manually moving folders, and as a result, nothing appeared to be working anymore: Install Manager didn’t show any content, DAZ Studio didn’t either, and a complete reset was in order. I mentioned briefly how this could all be reset during a Stardew Valley stream, and the information was so helpful that I thought I’d share it as a stand-alone clip.

When I was done editing, I thought perhaps some written instructions on this process might be a good idea, so here they are. This is all I know about how to completely reset your DAZ Studio Installation. Use it as a last resort if nothing seems to be working anymore and you’d like to start with a clean slate.

Note that these steps will remove ALL traces of ALL versions of DAZ Studio and Install Manager from your system!

Read more

My Animation Workflow in DAZ Studio – The Basics

I often get questions in regards to Animations in DAZ Studio. It’s a complex topic, because it combines “animating in general”, and “using the animation tools in DAZ Studio”. I recently described my animation workflow to a reader/viewer (Nkem) and thought this information might be useful to others too, so here’s what I said.

Most new users have an issue with the time it takes to both build the animation itself, but also the enormous time it takes to render an animation out. Something relatively short and simple like this is a good example:

Aside from the setup, rendering an animation frame should be treated differently to a still image. We need to live with compromises, because we’re rendering quite a few images (30 frames per second, on a 10 second animation, that’s 300 images). If each of them would take 6 hours to render, the whole thing would take about 75 days, or nearly 3 months. And that’s a very short animation.

Let’ see how we can trim that down to a few hours or less instead.

Read more

Using non-native 3D content in DAZ Studio

I get a question every now and then that goes something like this:

I bought content from (non-DAZ store), but I don’t know how to use it in DAZ Studio. Can you help?

It’s a complex situation, so perhaps I can shed some light on it. Let me explain the basics of what’s happening here, then we’ll move on to the process of making a compromise work.

First of all, transferring content between multiple 3D applications is a pain. You’d think for an advanced society like us there would be a “universal format” of all things 3D, but sadly that’s not the case. Every 3D professional is struggling with this fact. If you’ve ever tried formats like FBX, Collada, OBJ or Alembic, and have been disappointed with how they transfer content, then you’re not alone. They all work to a certain extent, but usually not perfectly.

Most 3D applications (DAZ Studio included) can import 3D objects from other applications and display them somewhat. The trouble lies not in the 3D shape of an object, but mostly in the material descriptions. These are very much dependent on the render engine for which the source object was intended. Hence, while the diffuse texture map is usually imported correctly, none of the other parameters are (such as bump, transparency, normal, etc). Furthermore, the material properties (like shiny, rough, translucent, emissive etc) are not working, because each render engine has different ways of describing such properties.

Read more
Removing x-translation wobble when converting keyframes to aniBlocks

When you convert keyframes to an aniBlock, there’s a phenomenon that can happen in that the figure seems to sway left/right. It’s not something that is present in the keyframe animation, and I’m not entirely sure why this happens on conversion. The above shows how Darius 7 does his keyframe funny walk, while the bottom shows what happens after conversion to an aniBlock. In a word: terrible!

aniMate is a powerful tool, and in this article I’ll take a look on how to fix such shenanigans.

Read more

How to apply Mixamo Animations to Genesis 3 and Genesis 8

If you’ve ever tried to upload a G3 or G8 character to Mixamo, you’ll have noticed that it’s a complete and utter nightmare. Seemingly nothing will work in the plethora of export options, and a ton of time has been wasted globally, leading to anger, depression and frustration. In short: the stuff us creatives can’t …

Read more