I get a question every now and then that goes something like this:
I bought content from (non-DAZ store), but I don’t know how to use it in DAZ Studio. Can you help?
It’s a complex situation, so perhaps I can shed some light on it. Let me explain the basics of what’s happening here, then we’ll move on to the process of making a compromise work.
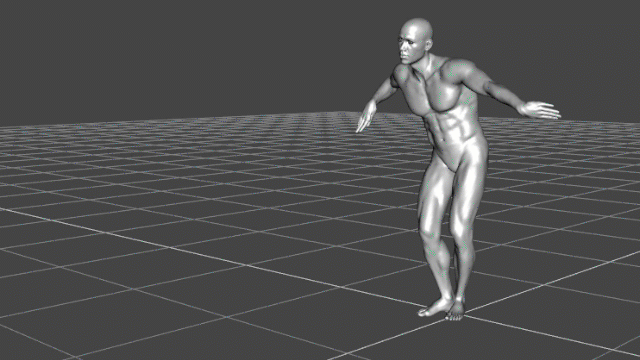
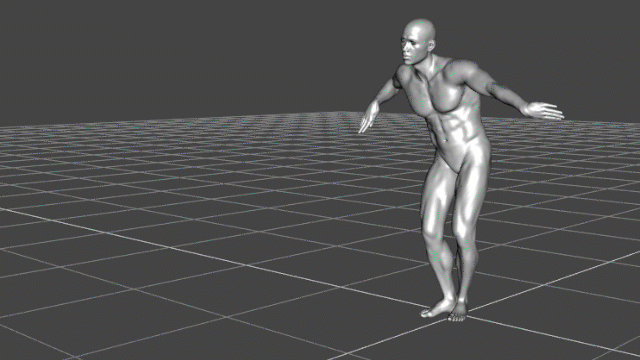
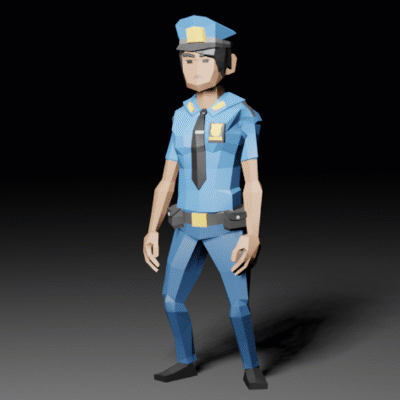
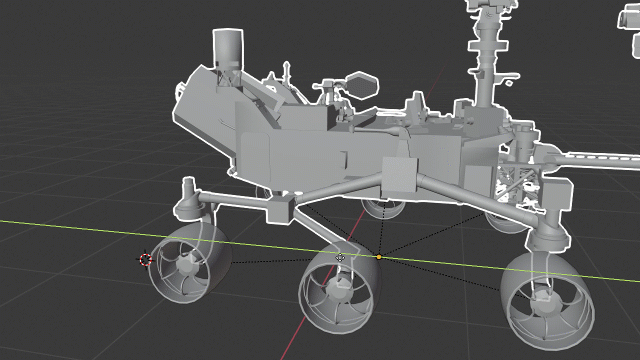
First of all, transferring content between multiple 3D applications is a pain. You’d think for an advanced society like us there would be a “universal format” of all things 3D, but sadly that’s not the case. Every 3D professional is struggling with this fact. If you’ve ever tried formats like FBX, Collada, OBJ or Alembic, and have been disappointed with how they transfer content, then you’re not alone. They all work to a certain extent, but usually not perfectly.
Most 3D applications (DAZ Studio included) can import 3D objects from other applications and display them somewhat. The trouble lies not in the 3D shape of an object, but mostly in the material descriptions. These are very much dependent on the render engine for which the source object was intended. Hence, while the diffuse texture map is usually imported correctly, none of the other parameters are (such as bump, transparency, normal, etc). Furthermore, the material properties (like shiny, rough, translucent, emissive etc) are not working, because each render engine has different ways of describing such properties.