Blender Archives

Free 3D Content Creation tool. It can do everything. It costs you nothing.

How to point a light source at an object in Blender

DAZ Studio has a helpful constraints function called Point At. With it we can point eyes at the camera, point a light at an object and do all kinds of other things. Blender also has this concept, but it’s called something else: Track To. Let me show you (and my future self) how to set …

Read more

Checking out Cycles X

I’ve spent some time this week putting Blender’s new Cycles X engine through its paces. The team have written about their plans, I’m excited about it and I appreciate the efforts it takes to make this work. I’m already very happy with the current implementation of Cycles, and with a bit of time on my …

Read more

What’s a good configuration for a 3D/Rendering/DAZ Studio computer

I’ve had various requests and discussions with supporters recently about what might be a good configuration for a DAZ Studio and/or rendering computer. It’s a good question, and with so many systems and components on the market, I thought I’d compile this article as a starting point. Feel free to ask specific questions in the …

Read more

How to change any Blender viewport to full screen

I always forget how to do this: most viewports can be changed into full screen mode by hovering over a window and selecting CTRL + SPACE BAR. This works great for 3D and node views, less so for things like the timeline or the outliner.

Importing animations from Marvelous Designer into Blender

I’ve been able to import Marvelous Designer animations into Blender for rendering! Here’s a short video I’ve tweeted showing my inflatable boat in action: This is how we make it happen in principle. In Marvelous Designer: animate your garment export an OBJ from the first frame export the animation as MDD using the same settings …

Read more

How to setup Normal Maps in Blender

Normal Maps contain data rather than colour. Even though we can see something like an image, and it’s technically a picture, the RGB values of each pixel are not treated as visuals by the render engine. To use a Normal Map in Blender’s node editor, do the following: create a texture node and open the …

Read more

How to break or remove a Node Connection in Blender

Unreal Engine has a nice feature that allows us to break a connect between nodes. Blender does too, I just never knew it existed. I had always assumed that deleting a node and re-creating it would be the only way. Turns out there’ a better way: To delete a connection between nodes, CTRL + Right-Click …

Read more

How to extract a UV Template in Blender

When you’re done with UV Mapping in Blender, you may need to save out a template of your hard work so that you or someone else in your team can get to work on some fabulous textures. In case you ever need to save out such a UV Template, head over to the UV Editing …

Read more

How to create animated dust particles in Blender

In this episode I’ll show you the complex process of setting up animated particles in Blender. I’m doing this for an Eevee render, but the principle will work in Cycles just as well. They can be used to give atmosphere and depth to your renders, or to create other exciting effects like bokeh. There’s a lot going on in this video, so I thought I’d provide some written instructions in this article too. Here’s what’s coming up:

For this whole project I’ve used Blender 2.83.1. You can see an example of the effect in action on my Sad Robot animation. My wonderful Patreon Supporters have access to the scene file I’m building for dissection, study, amendment and commercial use.

Enjoy!
Read more

How to rotate a HDRI in Blender

I always forget how to rotate HDRIs in Blender. It’s really not that difficult, but somehow this information doesn’t seem to save in my brain. I’ve given up trying understand why, so I thought I’d write it down for a future visit. At least I know where to look now 🙂 In the Shading Tab, …

Read more

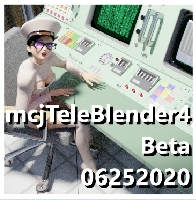
How to use TeleBlender 4 by mCasual / Jaques

Getting characters and scenes from DAZ Studio into Blender is one of the toughest things to get right. It’s an endlessly time consuming, confusion and generally un-fun process. Several scripts exist to make this happen, yet many of them fail to make it a one-click solution. Jacques aka mCasual has been working for years on something called TeleBlender. Steve aka Backdoor 3D recently did a live stream on the process, and I finally had a chance to try it out myself.

In this article I’ll show you the workflow that I found worked best for me. You may know a better way, and perhaps it’s not the intended way of working, but it thought it might come in handy (since usage instructions on the download page of TeleBlender are literally non-existent).

I’m using the following versions, which will probably no longer exist by the time you read this article:

  • Blender 2.83.1 LTS
  • DAZ Studio 4.12.1
  • TeleBlender 4 (Beta 06252020)

Read more

Importing Genesis into Blender via Mixamo

I’ve just been experimenting with uploading a Genesis 1 figure to Mixamo, and importing the animated figure into Blender. There are several trillion options what with the combinations of tick-boxes and values. Thankfully, nothing is documented, just the way I like it. I thought I’d quickly post a screenshot of what actually works – for …

Read more

Using Non-Linear Animation (NLA Features) in Blender 2.8

Many animation apps have an exciting feature that lets us re-use a group of keyframes in a more convenient way to build larger and more complex animations. They’re commonly referred to as non-linear editing. A popular example includes setting up an action as keyframes once, and then looping it using an NLA bock of sorts (like a walk cycle). Better yet, animations can be combined and transitioned without interruptions or ugly pops. We can even overlay several actions, such as a walk cycle, an eye blink and a waving hand gesture.

Blender has these features, and while difficult to grasp at first, they’re surprisingly simple to use once you grasp the concept:

  • setup an animation using regular keyframes, or import it from a service like Mixamo
  • turn this group into an Action Strip (that’s what Blender calls an NLA block)
  • add this Action Strip onto an NLA track, repeat it or combine it with other strips
  • add transitions in between blocks to seamless motion
  • add tracks to combine animations

Here’s how it works for me. This might not be 100% accurate, but it’s good enough to build seriously cool animations with ease. I’m using Blender 2.82 for this example, and I’m expanding on principles I’ve briefly touched on in my previous article about looping walk animations.

Read more

Switching between Cameras in Animations with Blender 2.8

If you have multiple cameras in your scene, chances are that you may want to cut to another one during the course of an animation. I’ve often wondered how to do that, but only finding outdated material on the internet, I decided to poke around myself. Half an hour later I had it sussed out …

Read more

How to render with the current Viewport Shading in Blender

Although I like Eevee, sometimes I’d like something even faster for animatic previews. Eevee still requires lights to be setup, whereas with the regular “material preview” setting in the viewport, we can see things just fine before we bring in our lights. It would be nice if there is a way to use the same …

Read more

Rendering with Transparency in Blender

I’ve encountered a small puzzle recently in regards to rendering the alpha channel of PNG images with transparency. I didn’t quite understand the complex setups I’ve read about, nor could I reproduce the results. Thanks to some hive-mind thinking, we could figure it out on my Discord Server.

Here’s how to do it, both for Eevee and Cycles.

Read more

How to loop Walk Animations with Blender’s NLA Editor

In my previous article I’ve explained how to import Synty characters into Blender, and how to apply animations from Mixamo. Now that we have an animation in there, we may want to play it more than once. In a walk cycle, we’d have to play the walk loop multiple times to create the illusion of walking. I’ll cover how to do that in this article before I forget again.

PS: These are just notes, not exactly a tutorial. I’ve only just discovered the basics of the NLA Editor, so if I’m mis-describing anything and you know better, or something isn’t working, please leave a comment so I can correct this article.

Here’s what we’ll do:

  • if necessary, remove the forward motion from the current animation
  • turn the keyframe animation into an Action Strip (that’s an NLA Block)
  • add the Action Strip to an NLA Track (that’s a special timeline)
  • modify the Action Strip to repeat
  • apply forward motion with two keyframes

The concept of the NLA Editor is similar to aniBlocks in DAZ Studio, or the NLA blocks in Carrara. We start with regular keyframes, turn them into a block (or Action Strip as Blender calls them), and then we mix and match them on a special timeline called the NLA Editor. If you’re curious, NLA stands for Non Linear Animation. Action strips can be mixed and matched to blend in, so there’s no popping when one animation ends and one begins.

The NLA Editor can be used in conjunction with regular keyframes. For walk cycles, it is common to exclude the forward motion from the Action Strip and instead replace it with a linear motion. If the forward motion is included in the Action Strip, the character would reset to the beginning rather than continuously move forward. Hence I’ll use a combination of the two.

Read more

Using Synty Characters with Mixamo and Blender

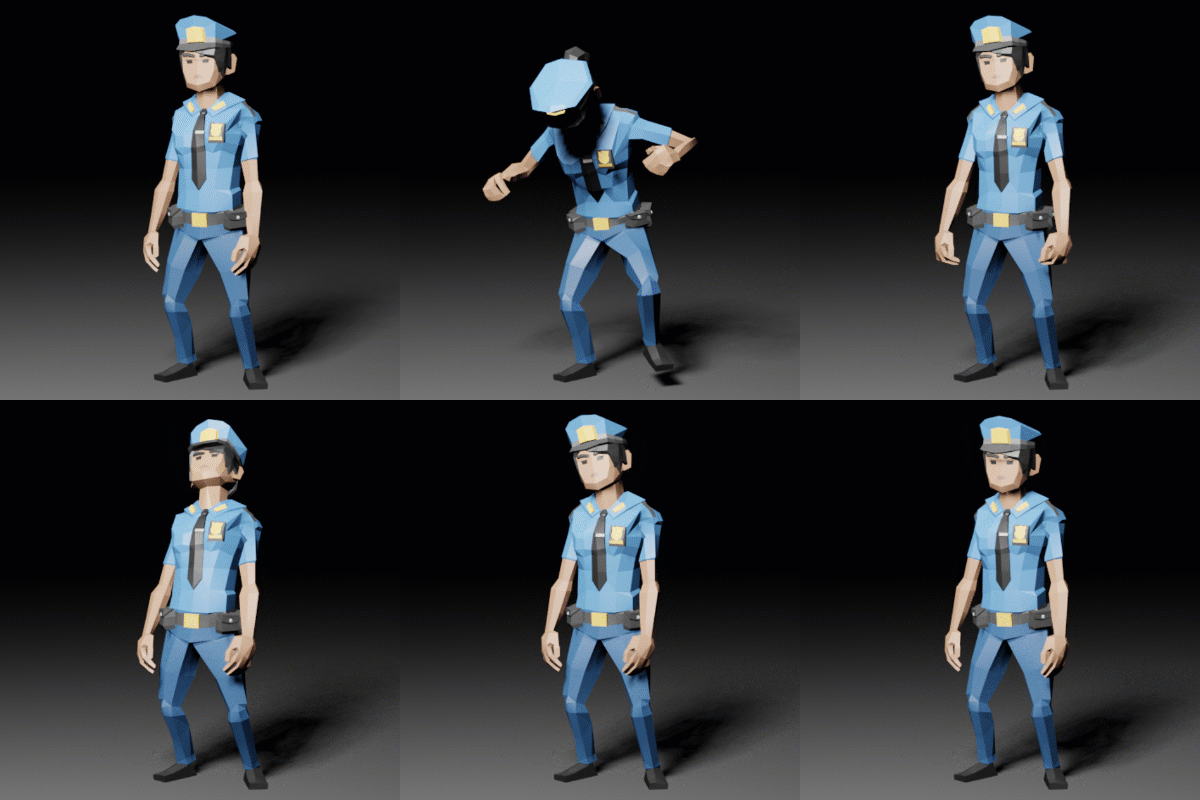
I’ve just worked out how to import Synty characters into Blender via Mixamo. It’s a somewhat complex process with a few pitfalls, and while it’s all fresh in my mind, I thought I’d best write it down somewhere. The workflow is similar for both the SimplePeople and the Polygon City characters, and I would imagine other Synty characters will probably work with these instructions just as well.

Note that I’m only using Blender and Mixamo, no other plugins or game engines. I’ll also explain how to add textures while we’re in the process, because that’s not exactly intuitive. Here’s the step-by-step outline:

  • import Synty character into Blender (as FBX)
  • correct pose and apply texture
  • export as FBX (see settings below)
  • import into Mixamo
  • apply desired animation and export (as FBX)
  • import into Blender and see the animation

Read more

How to D-NOISE an image sequence in Blender

I had an image sequence rendered on one of my nodes, and sadly my D-NOISE add-on did not kick in as expected. This was entirely my fault, and I thought I could perhaps just denoise the sequence rather than re-render it. Turns out it works, even though it does not match the results of a regular denoised render.

Be that as it may, let me show you how to use Blender’s mysterious Compositor to denoise a sequence of images automatically.

Read more

How to make wheels turn in Blender 2.8

I’ve recently built a little animation during a live stream, and Rod’s suggestion was to add NASA’s Curiosity Rover into the scene. It’s a freely available blend file, and I thought it was a great idea. It added a lovely character to the otherwise deserted alien landscape, and I quickly animated it into position.

Trouble was, the little guy was essentially an afterthought, and when I was watching the animation back, it became obvious that its wheels needed to be turning as it was driving around. While I was keen to do this, I had no idea what mechanism I should use for such an Endeavor (har har), or what Blender had to offer in this regard.

My first thought was to simply animate the wheels with keyframes, but this would be a lot of work, and if the rover’s speed were to change I’d have to probably animate those wheels again. There being six and all, I discovered a better way to make the wheels turn, using something called a Driver.

Read more

How to replace an object with another mesh in Blender

I’ve been wondering if there was a way to replace dummy objects I’ve placed in Blender with other meshes. Say we do a particle simulation, and during rehearsal it’s all about speed – but for the real render, we need higher resolution meshes that might take a while to render in the viewport. Thankfully it’s …

Read more

How to orbit around selections in Blender

While I was deep engrossed looking for a feature in the Blender Settings, I found something else I didn’t know about. It’s a way to always orbit around a selected object, rather than do that awkward thing where the viewport just goes off into oblivion when you least expected it. I frequently use the NUMPAD …

Read more

How to enable thicker outlines in Blender

With any software demo (or with failing eyesight as we get older), it’s important to have some visual aides so that your audience knows what you’re talking about. I’ve been streaming some Blender sessions recently, and I usually have my excellent little cursor highlighter tool called PointerFocus active. That’s good for viewers to follow the …

Read more

How to enable the 3D Manipulator Gizmo in Blender

The other day I’ve been happily using the 3D Manipulator Gizmo in Blender and the world was at peace. The next day, I guess a new version must have come along or some other bit in the matrix was dropped, causing my Blender scene to no longer show that manipulator. Where had it gone? Was I imagining things again?

A quick internet search suggested to enable this option at the top of the screen. However mine was already enabled, and my gizmo buddy still wasn’t showing up. What was going on?

Read more